Built-in Shelves |
February 5th, 2018 |
| house |
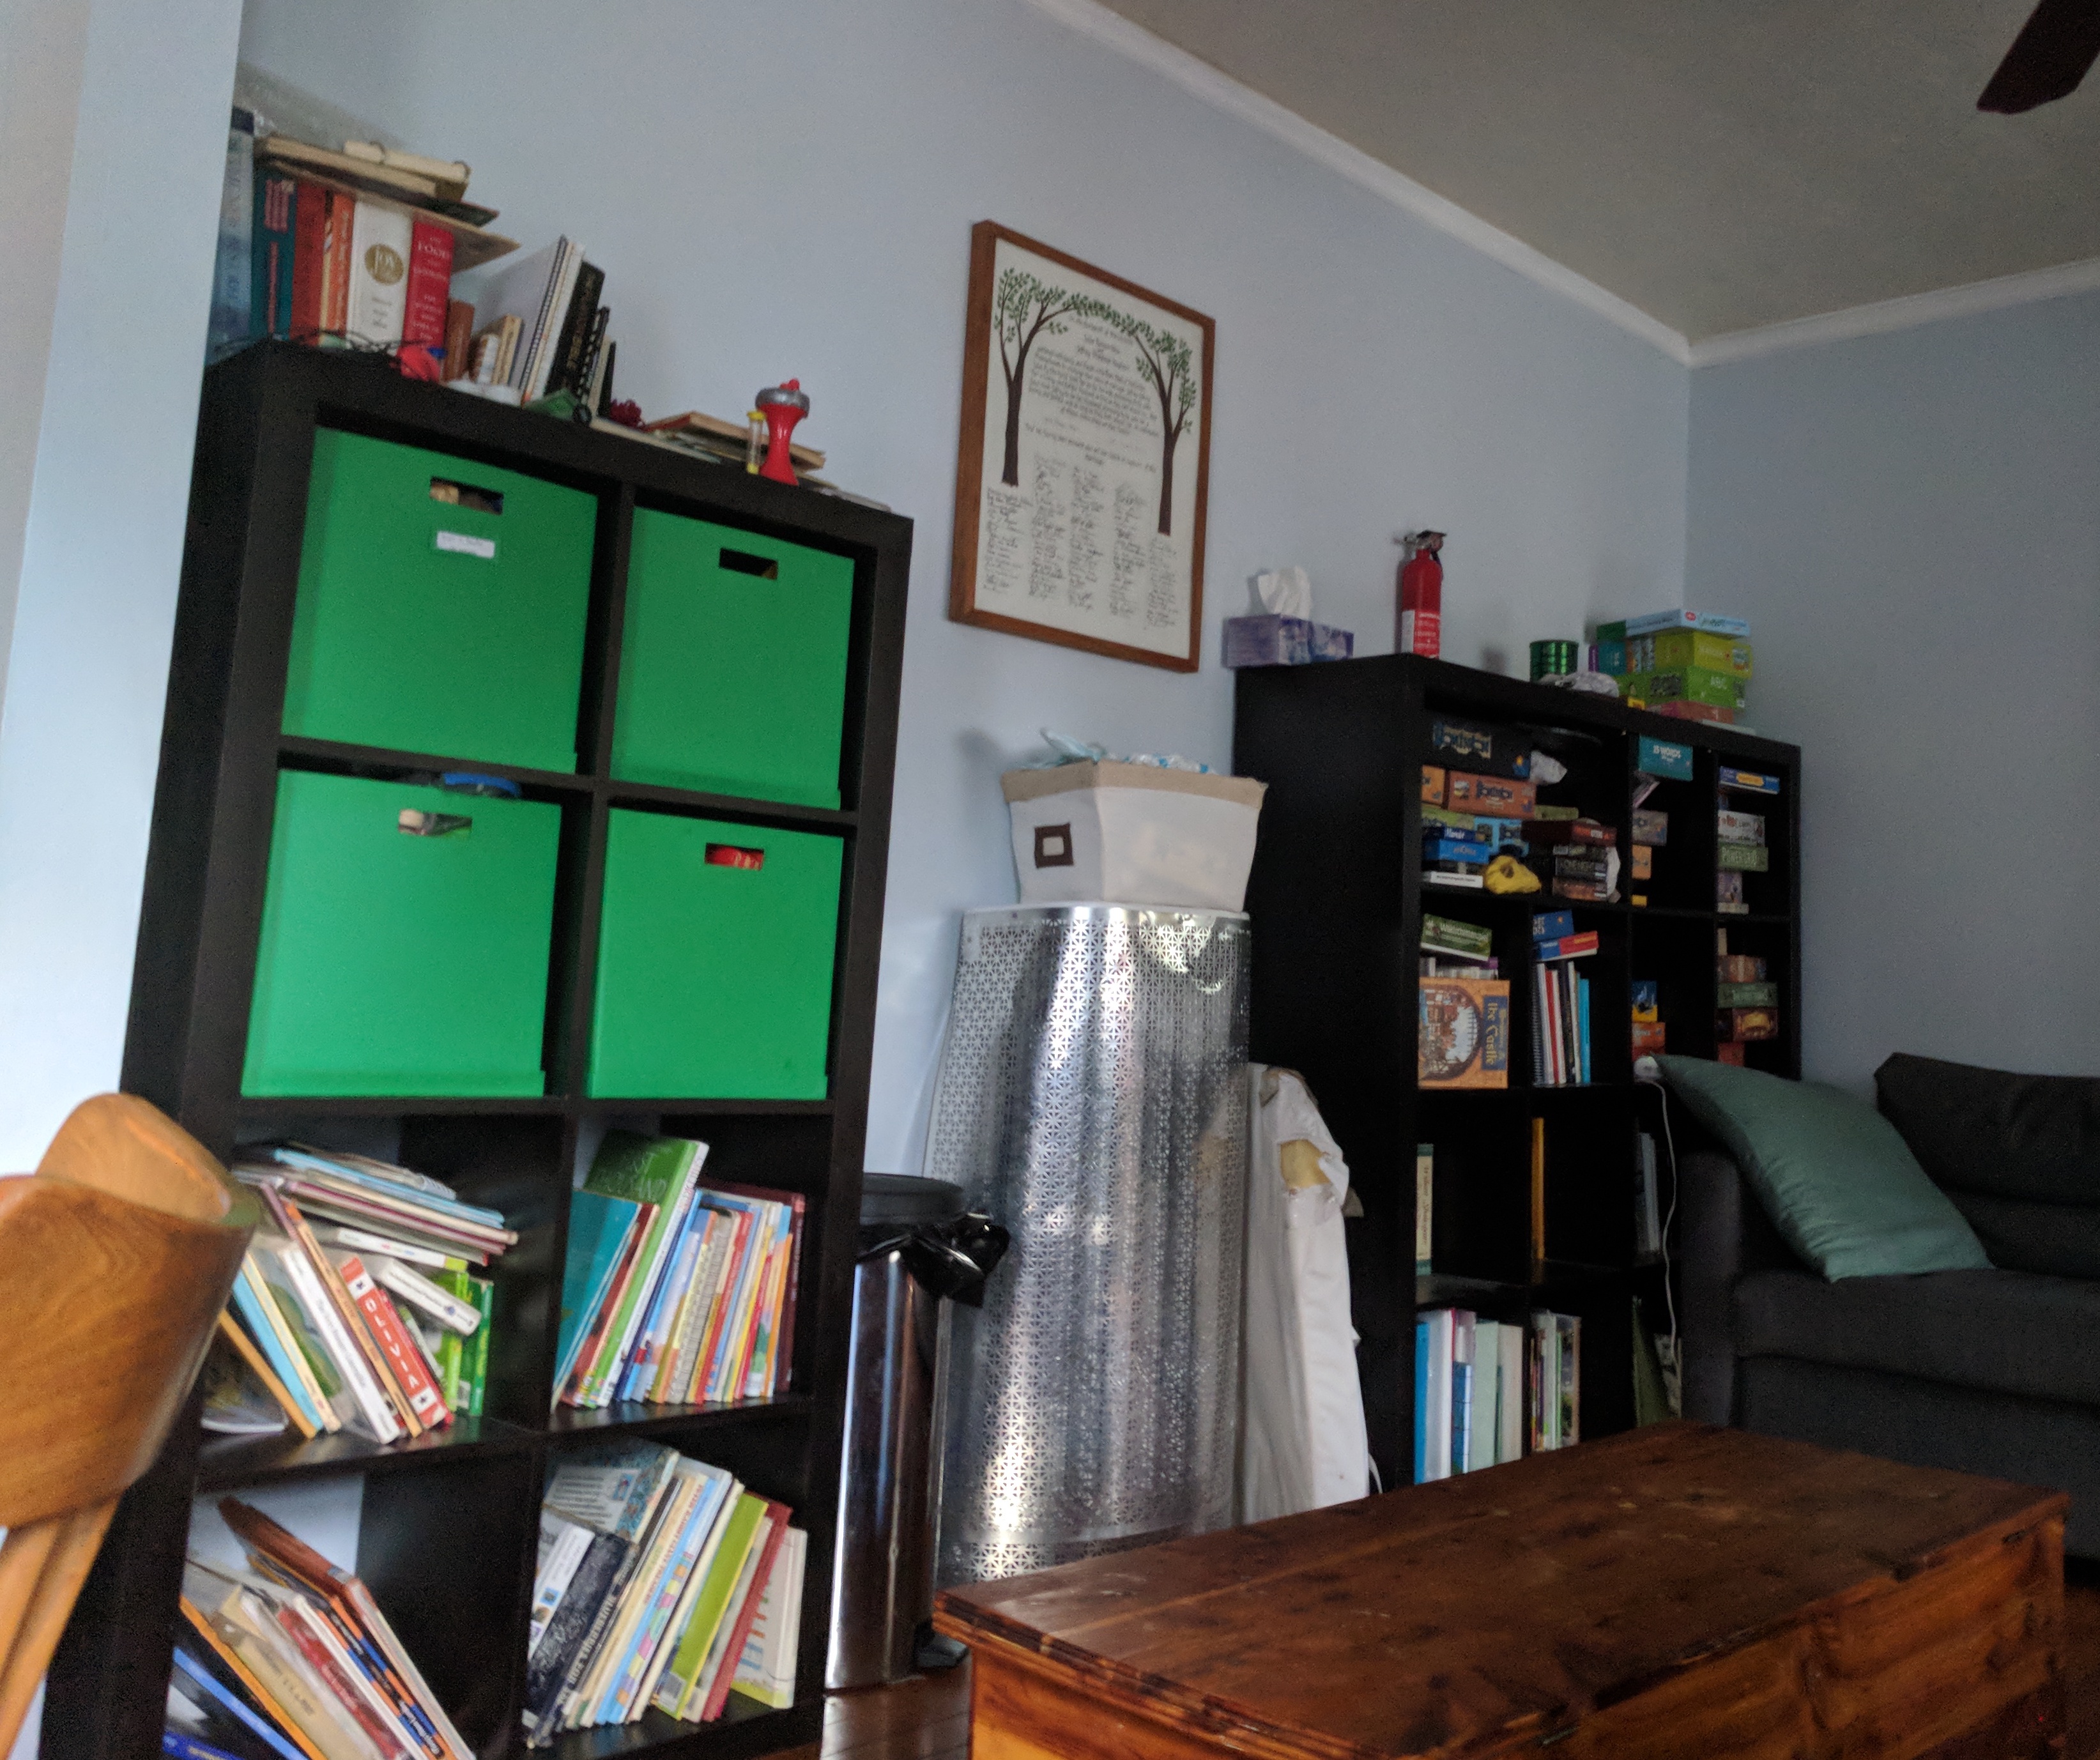
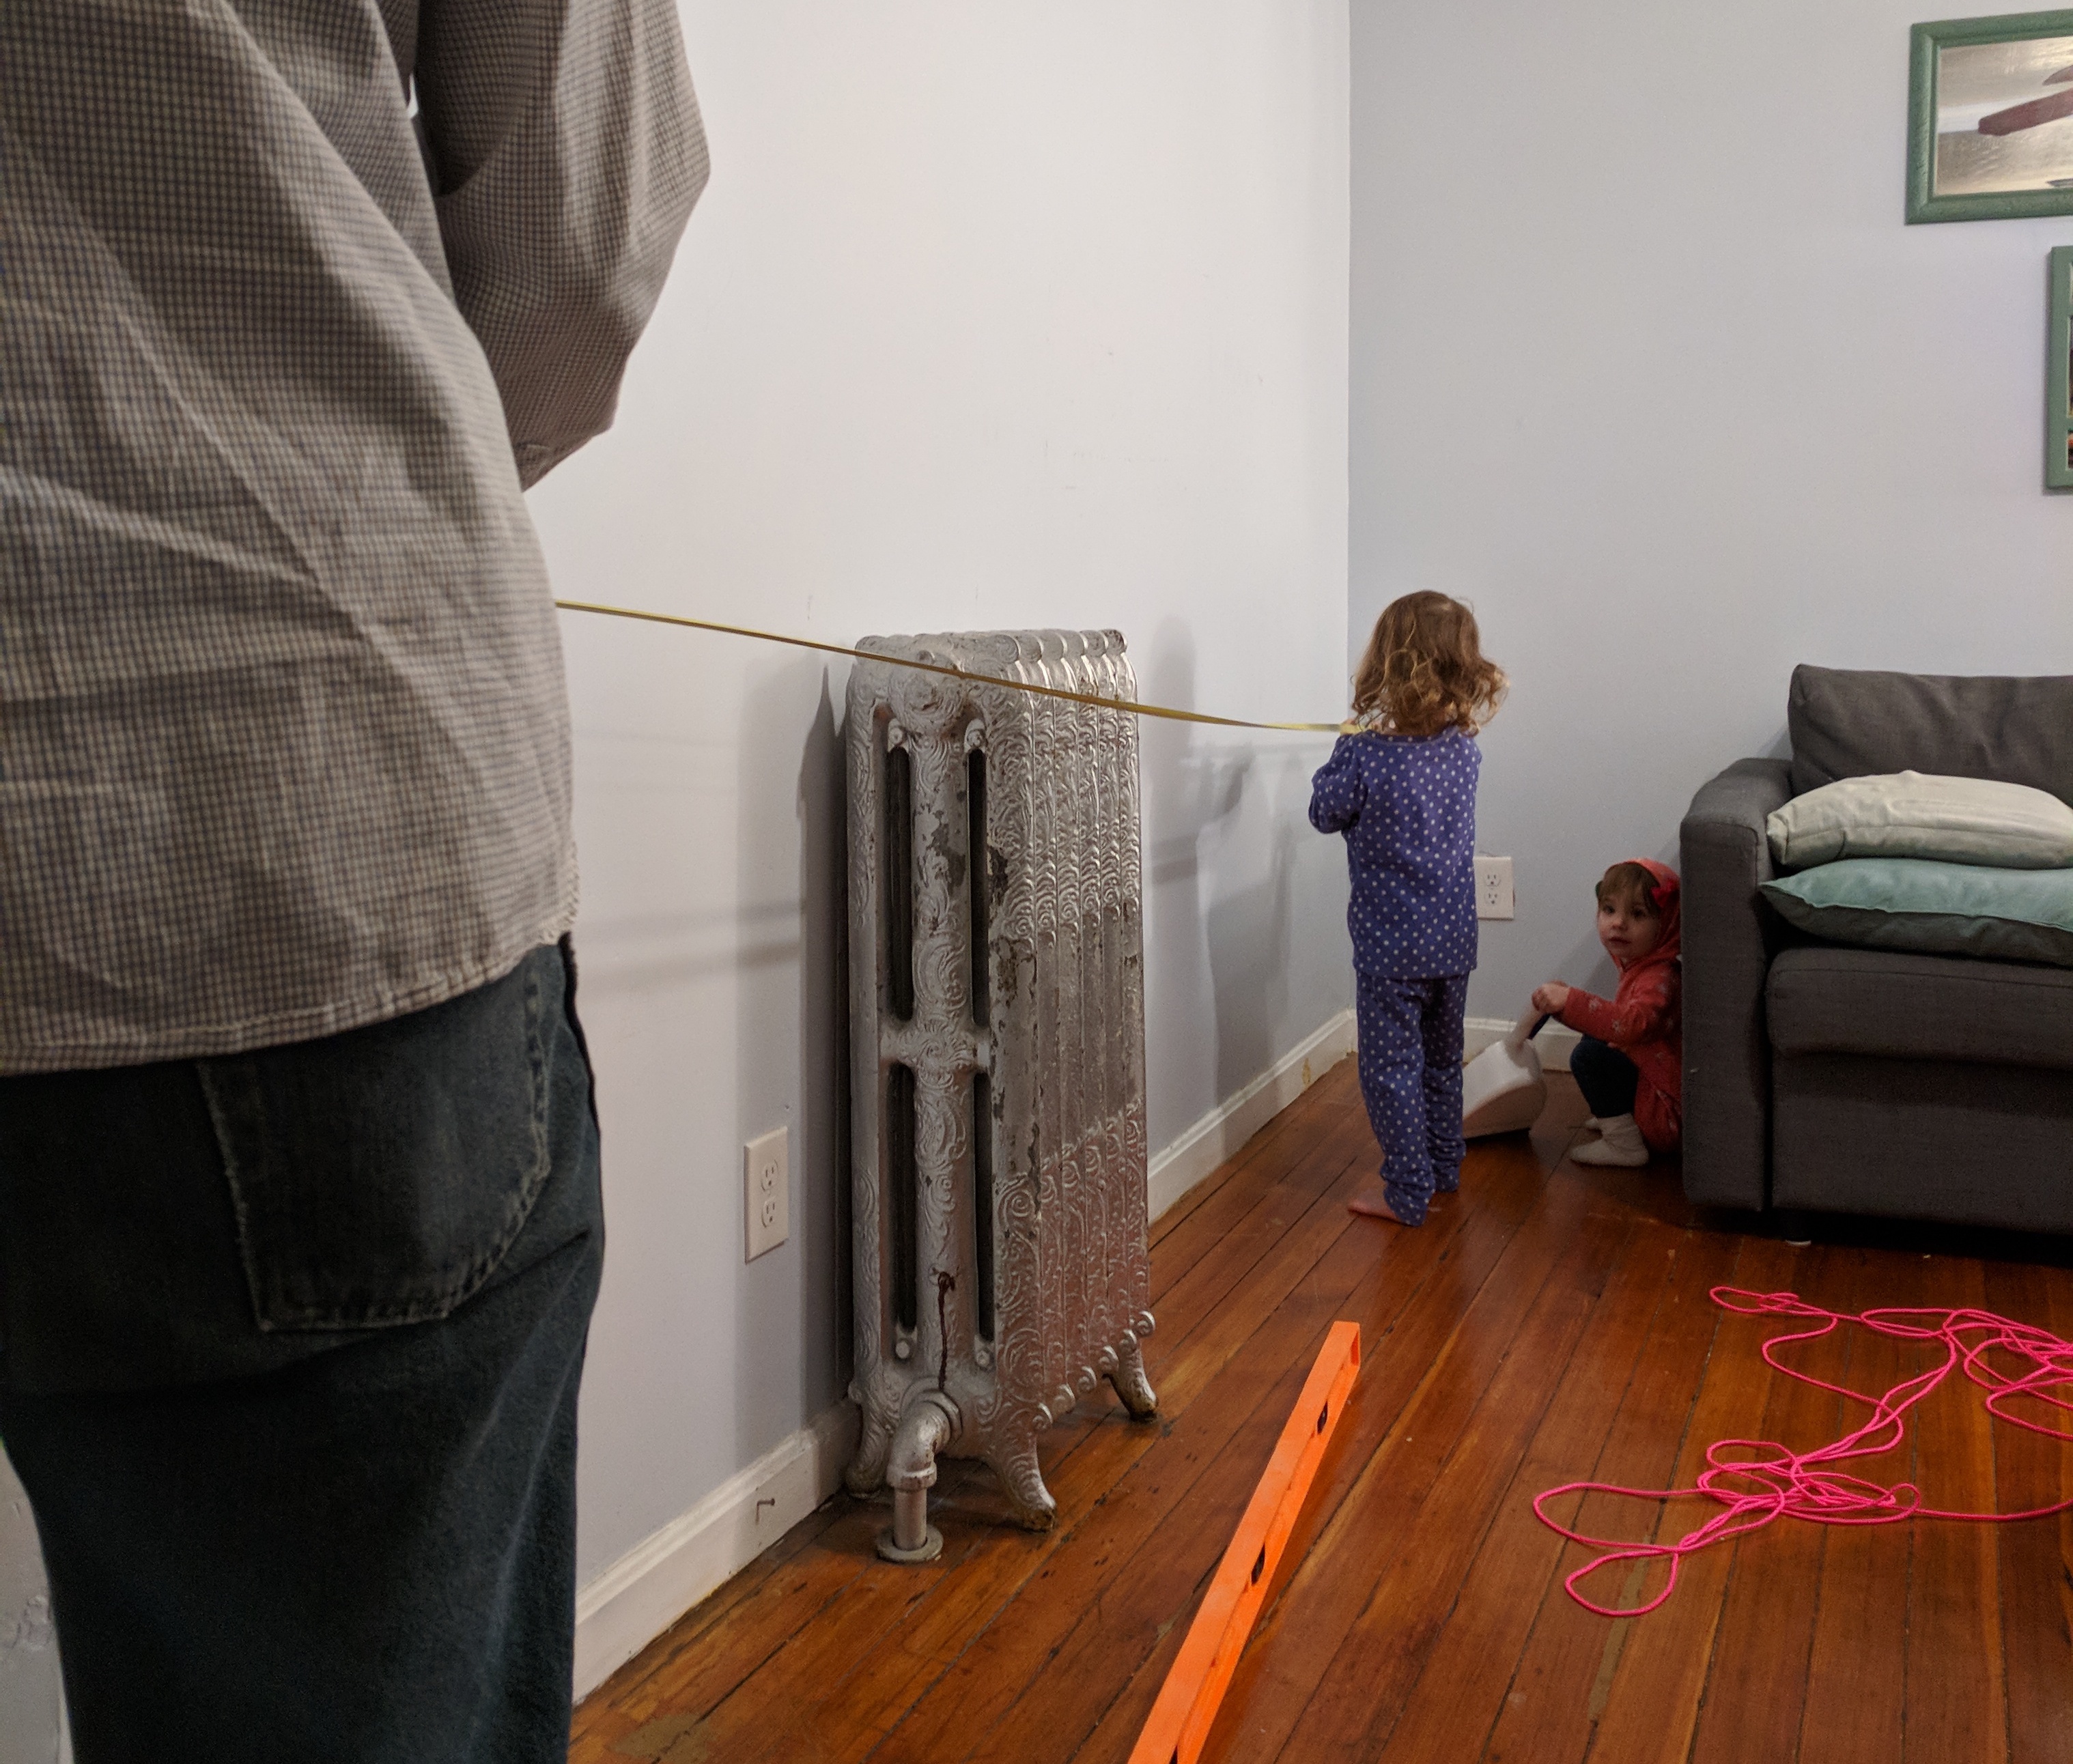
Our Ikea shelves were big enough that we couldn't put anything else against that wall, but they didn't use the whole space [1] I should have taken a "before" picture, but instead here's the best one I can find from looking through photos from a while ago:
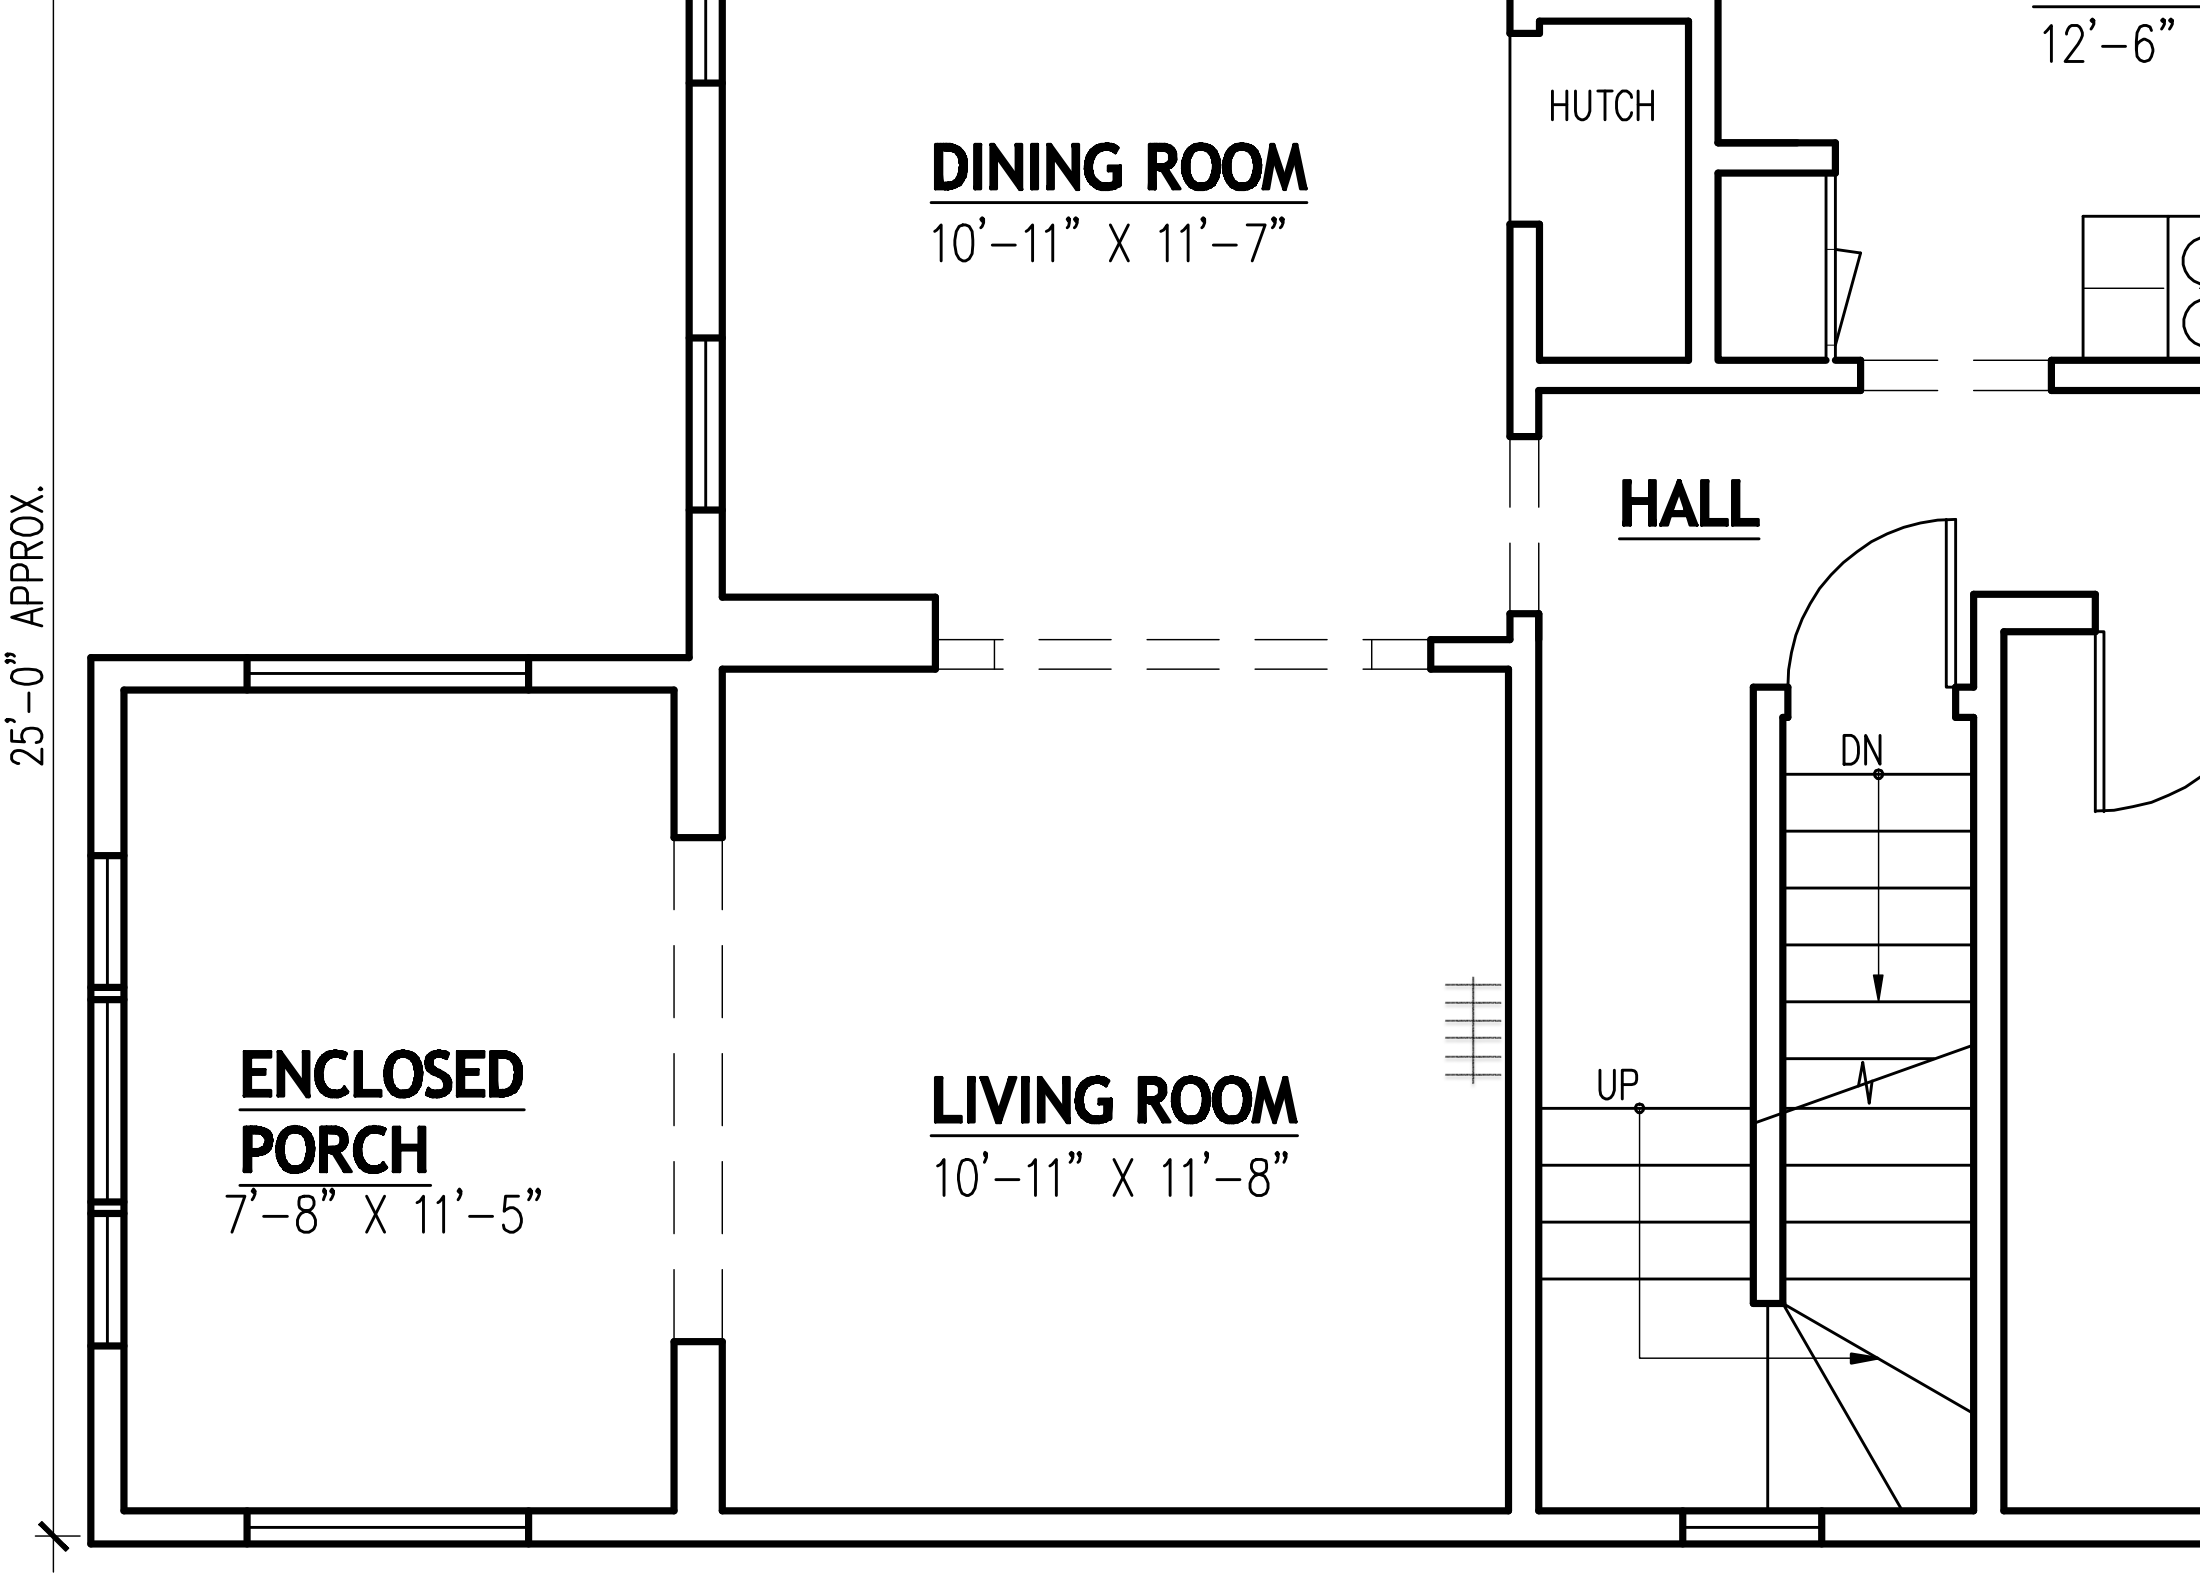
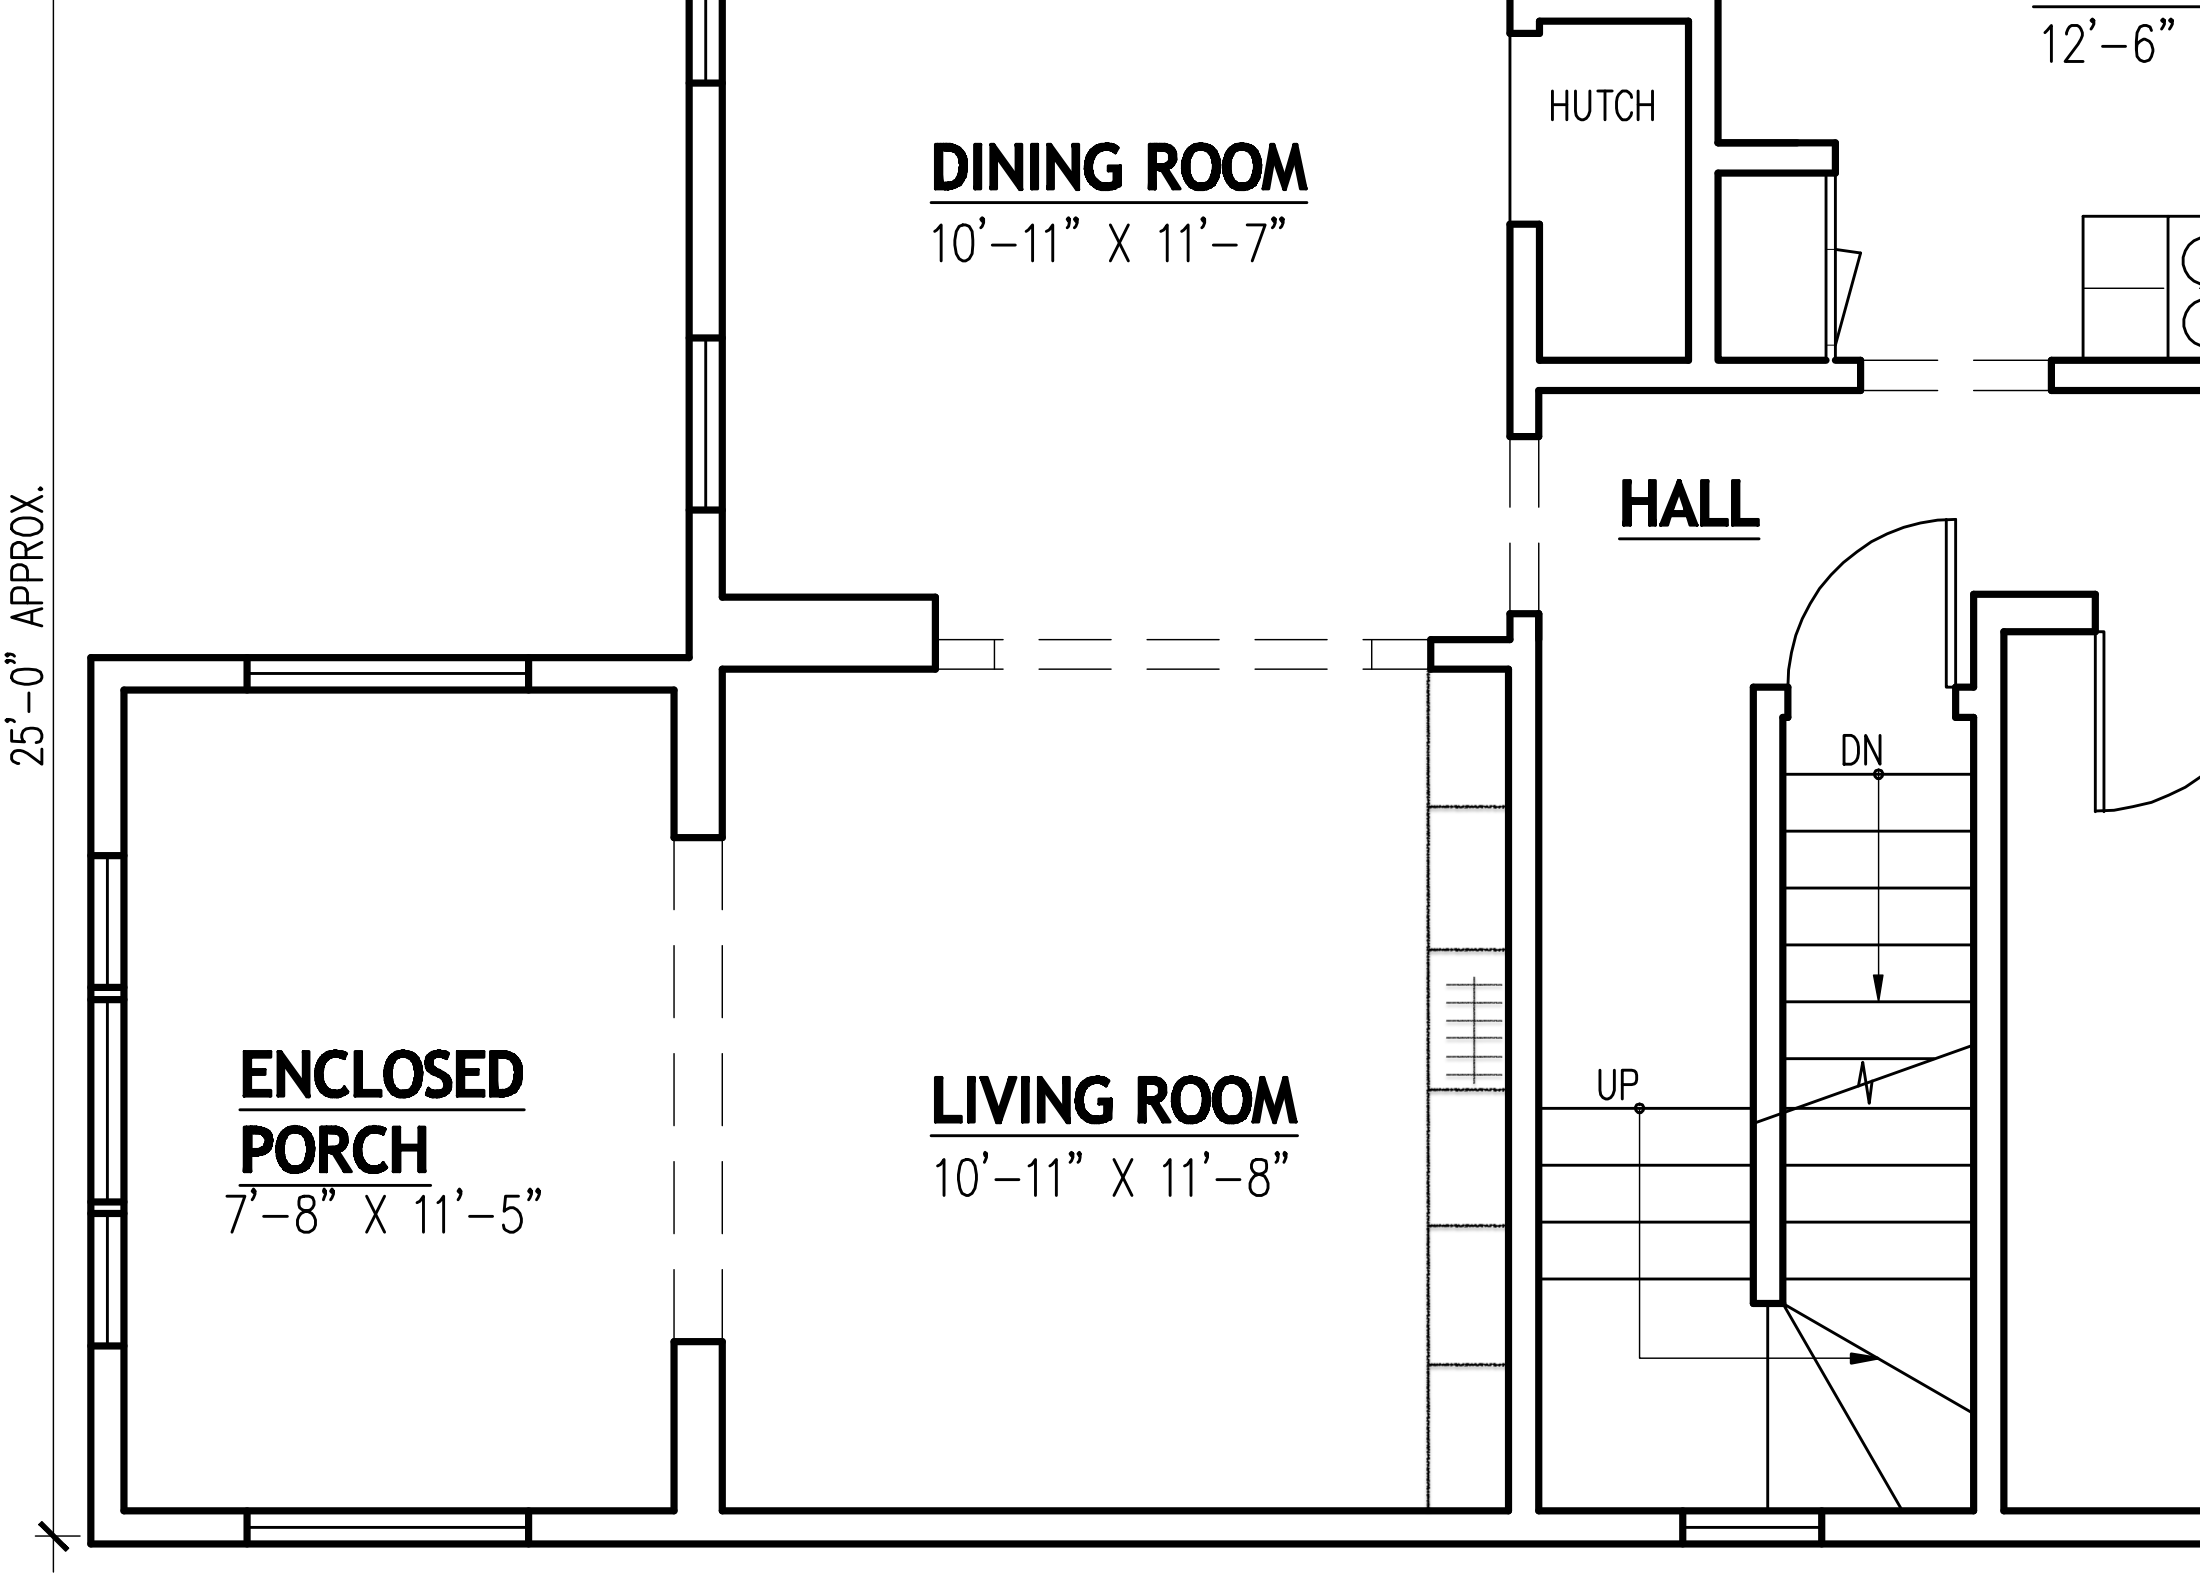
Here'a a diagram of the space, showing an 11.5 foot wall with a radiator near the middle:
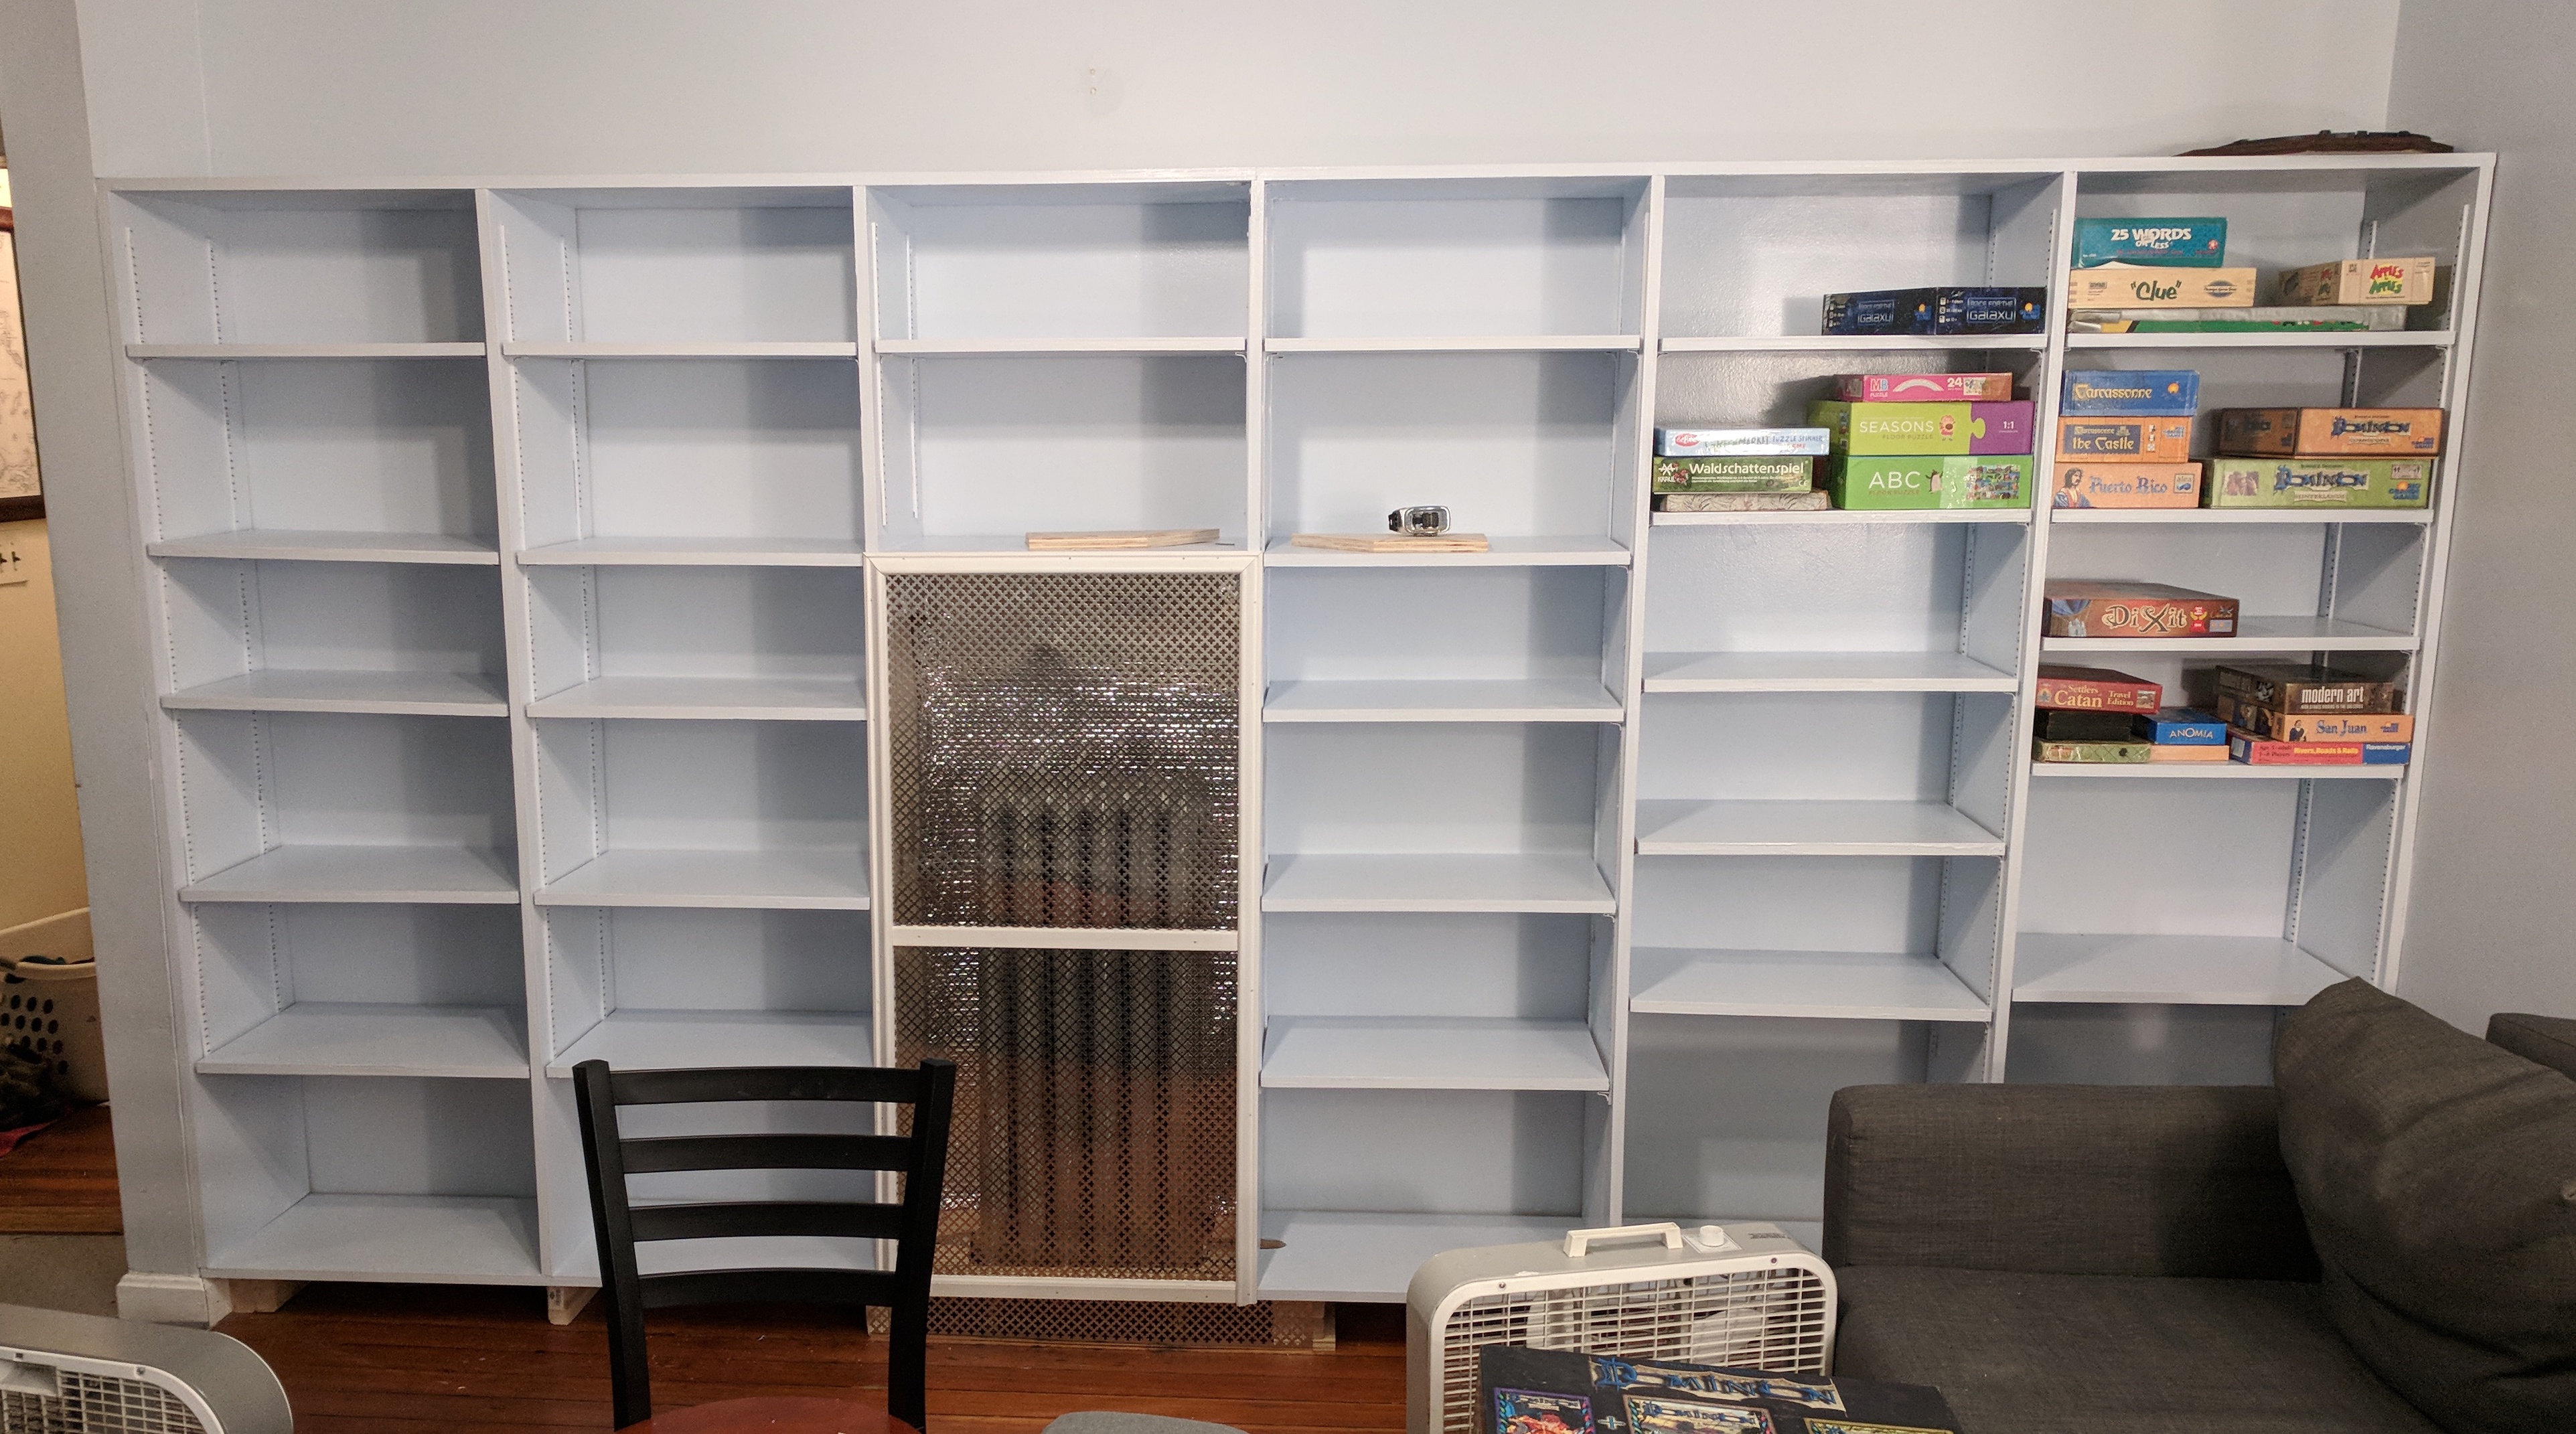
The radiator was the main constraint on how to set this up: we didn't want something where one of the verticals would need to pass through it! We measured and saw we could do six evenly divided sections, and the bottom half of one section would be for the radiator:
The opening is 13" from the edge of the room, so we decided to line the shelves up with that. I multiplied out how much wood we'd need, and got Home Depot to cut six sheets of 23/32" pine plywood into 13" strips the long way. This took quite a while, so I did it several weeks in advance.
We set aside a weekend for the project, since we didn't have a good sense of how long it would take. On Thursday we emptied the existing shelves most of the way, and then Friday night we took them down entirely.
Lily helped me measure the available width, and Anna helped sweep up dust that had accumulated under the old shelves:
The floor is not level, sloping in towards the middle. This was very apparent with the old shelves, which were in two sections and tilted towards each other. There is also an overall slope of about 1/16" per foot from the right (outside) wall down to the left, about an inch wall to wall. I decided to make the shelves run a straight line, but to follow this overall slope. It's gentle enough that books won't fall over, and this means the shelves fit in better with the space. The main downside was that I couldn't use a level, since I don't have something that can be set to a constant offset from the horizontal.
The first step was to build an even base. The space was wider than any wood I had, but I could use two good 2x4s to figure out how much I'd need to shim in different places. I butted one against each wall, and they overlapped for about four feet in the middle. They were initially clearly not parallel, but then I could progressively prop things under their center until they were. Now I had my straight line wall to wall, and could measure elevations at any point I needed.

I cut scrap 2x4s to support the base, leaving 1.5" of toe space in the front. I put them under where each vertical would be, and then used the measurements from before to shim them up to a consistent line.
I needed to make the base in two parts, since my pieces were only 8ft long. I left one at 8ft (cutting out a space for the radiator with a jigsaw) and then cut one to cover the rest of the distance. They needed to meet over a support, so I shifted a support over a few inches to be under the join. In retrospect I should have put the join immediately under a vertical, by cutting the longer base piece a bit shorter, but I think it's fine. I screwed the based down into the supports I'd made.
At this point the base was ready: a shelf running all the way across that was flat and ready to build on.
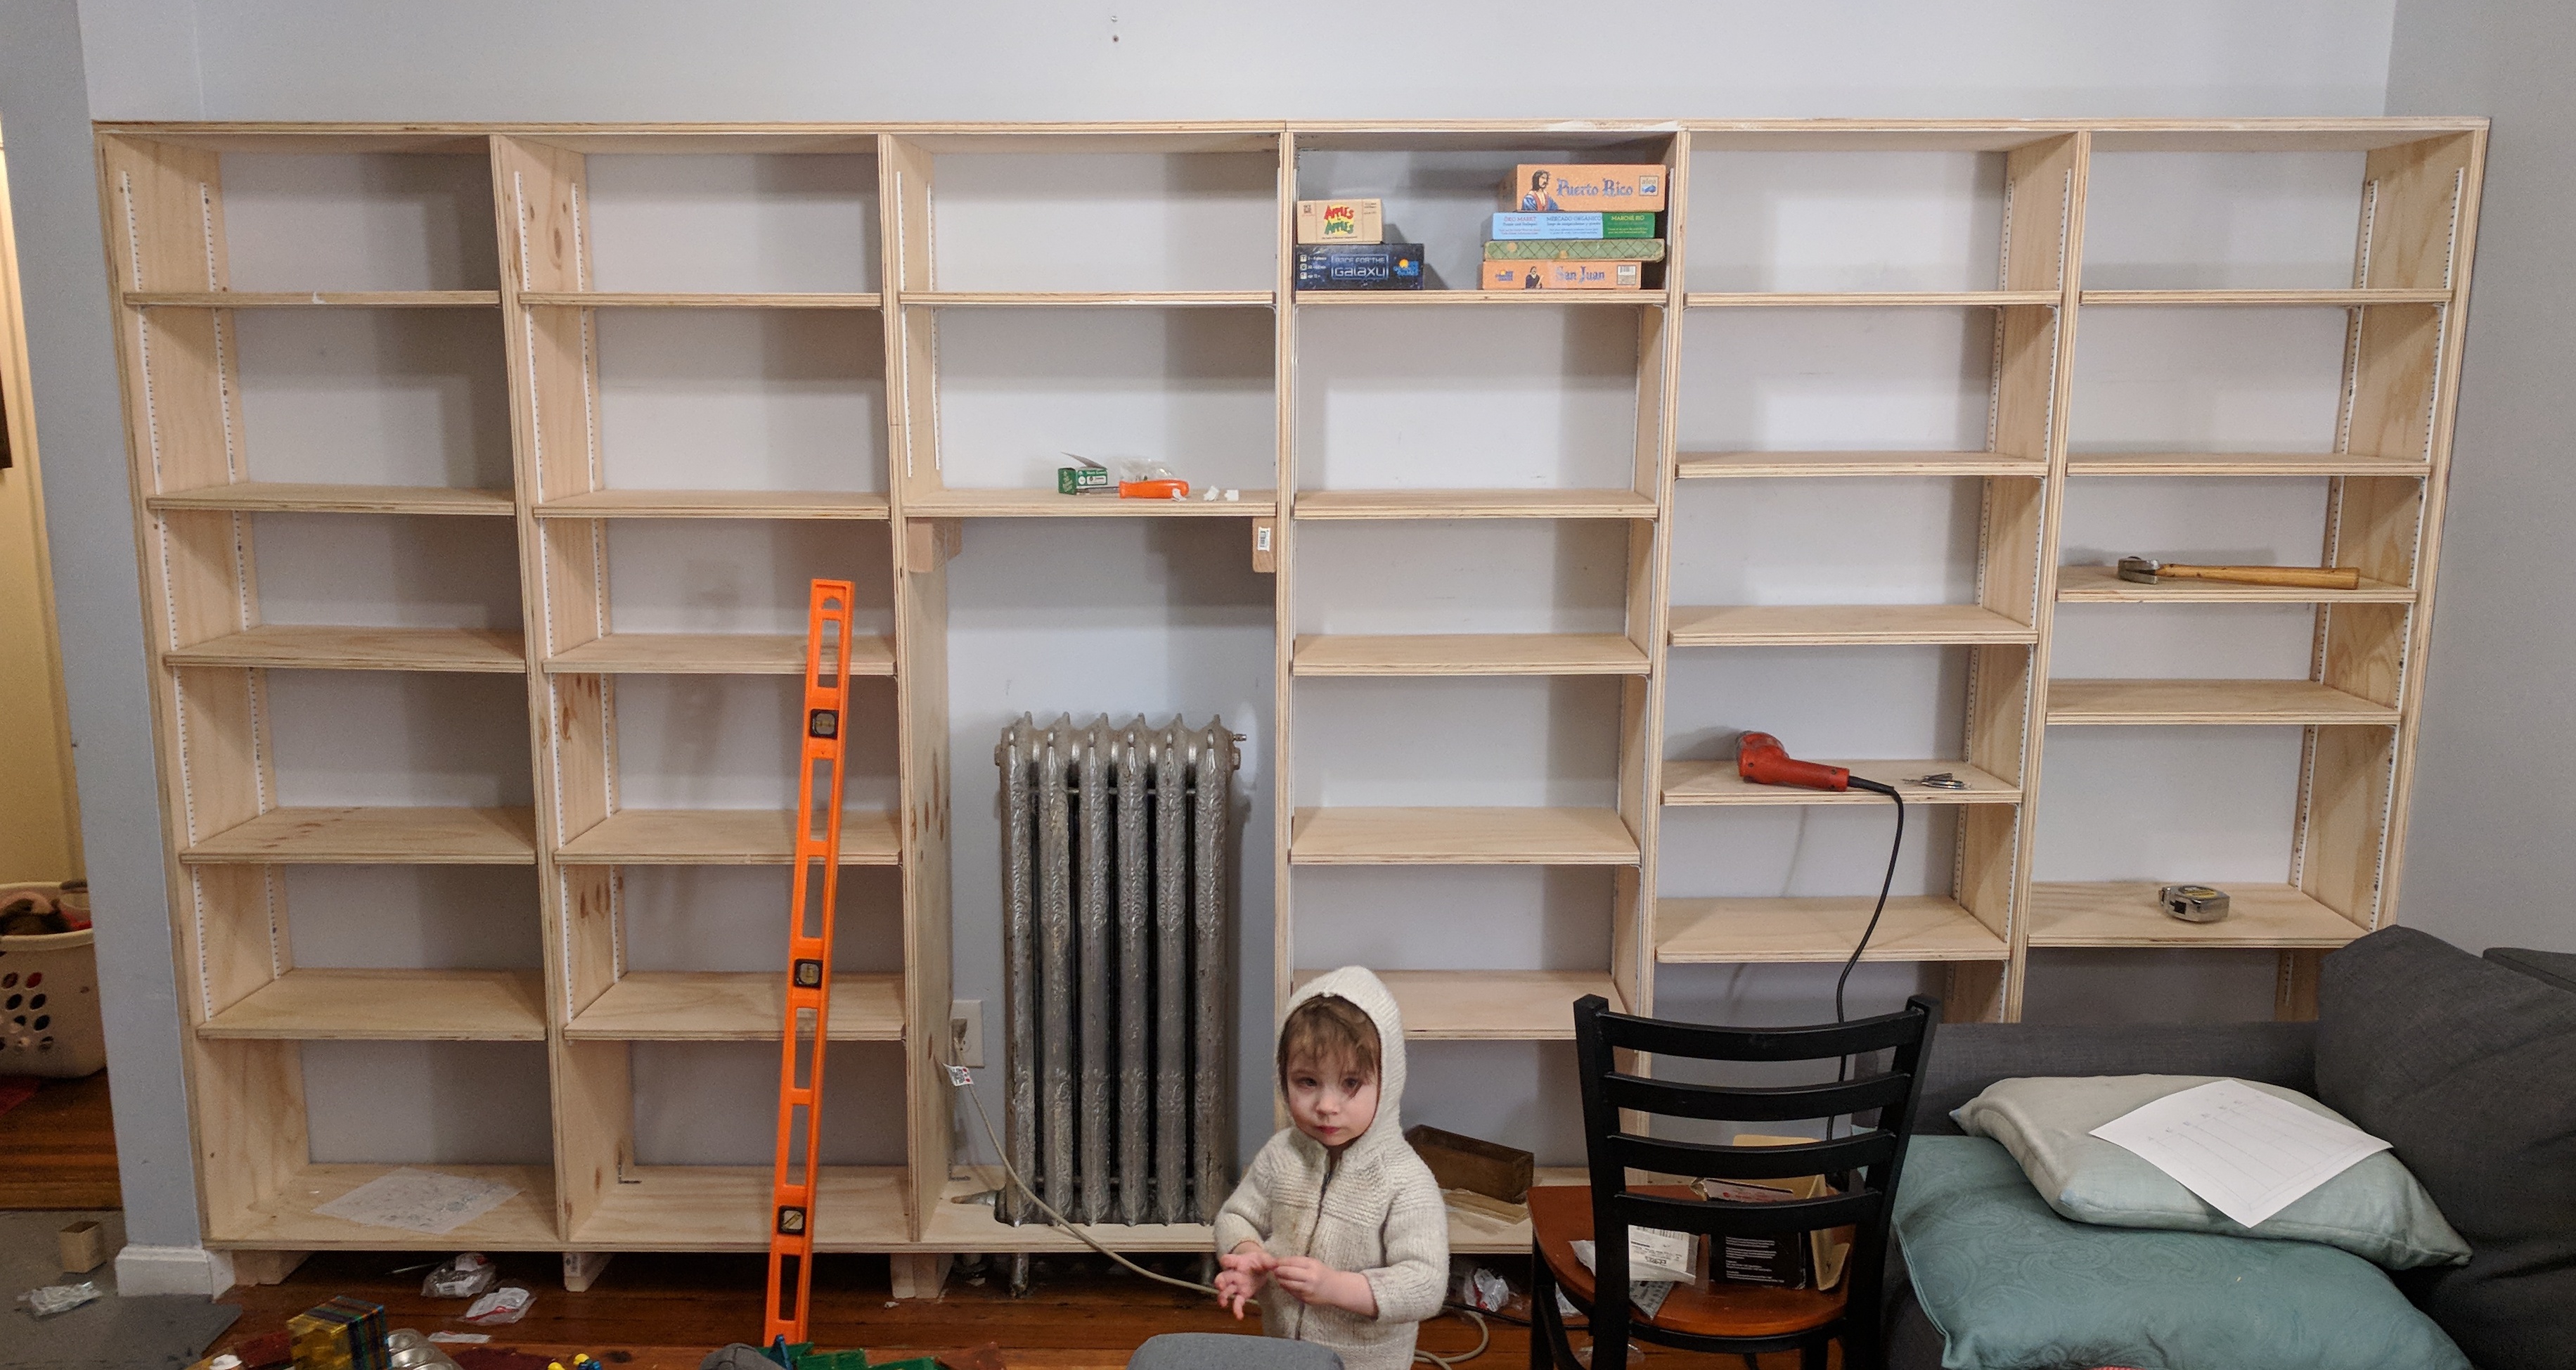
The next morning (Saturday) I cut seven verticals, all to the same length. I attached the two ends directly to the walls, screwing through to studs. I cut two sections for the top, put angle brackets on the end slightly inset, and with Julia's help put in the middle verticle. For the other four verticals I used a single angle bracket at the bottom, and at the top screwed down into the vertical. At this point I had the complete frame:

For the area above the radiator I wanted to leave enough space to get airflow, and I didn't need that shelf to be adjustable, so I set it on more scrap 2x4s. I also needed to cut a section out of the vertical to its right so I'd have access to the bleed valve.
Then I attached metal tracks for the rest of the shelves, setting them in about 1.5" from the edges. In retrospect I should have butted them against the top so they would all be exactly the same height but instead I set them 2" down.
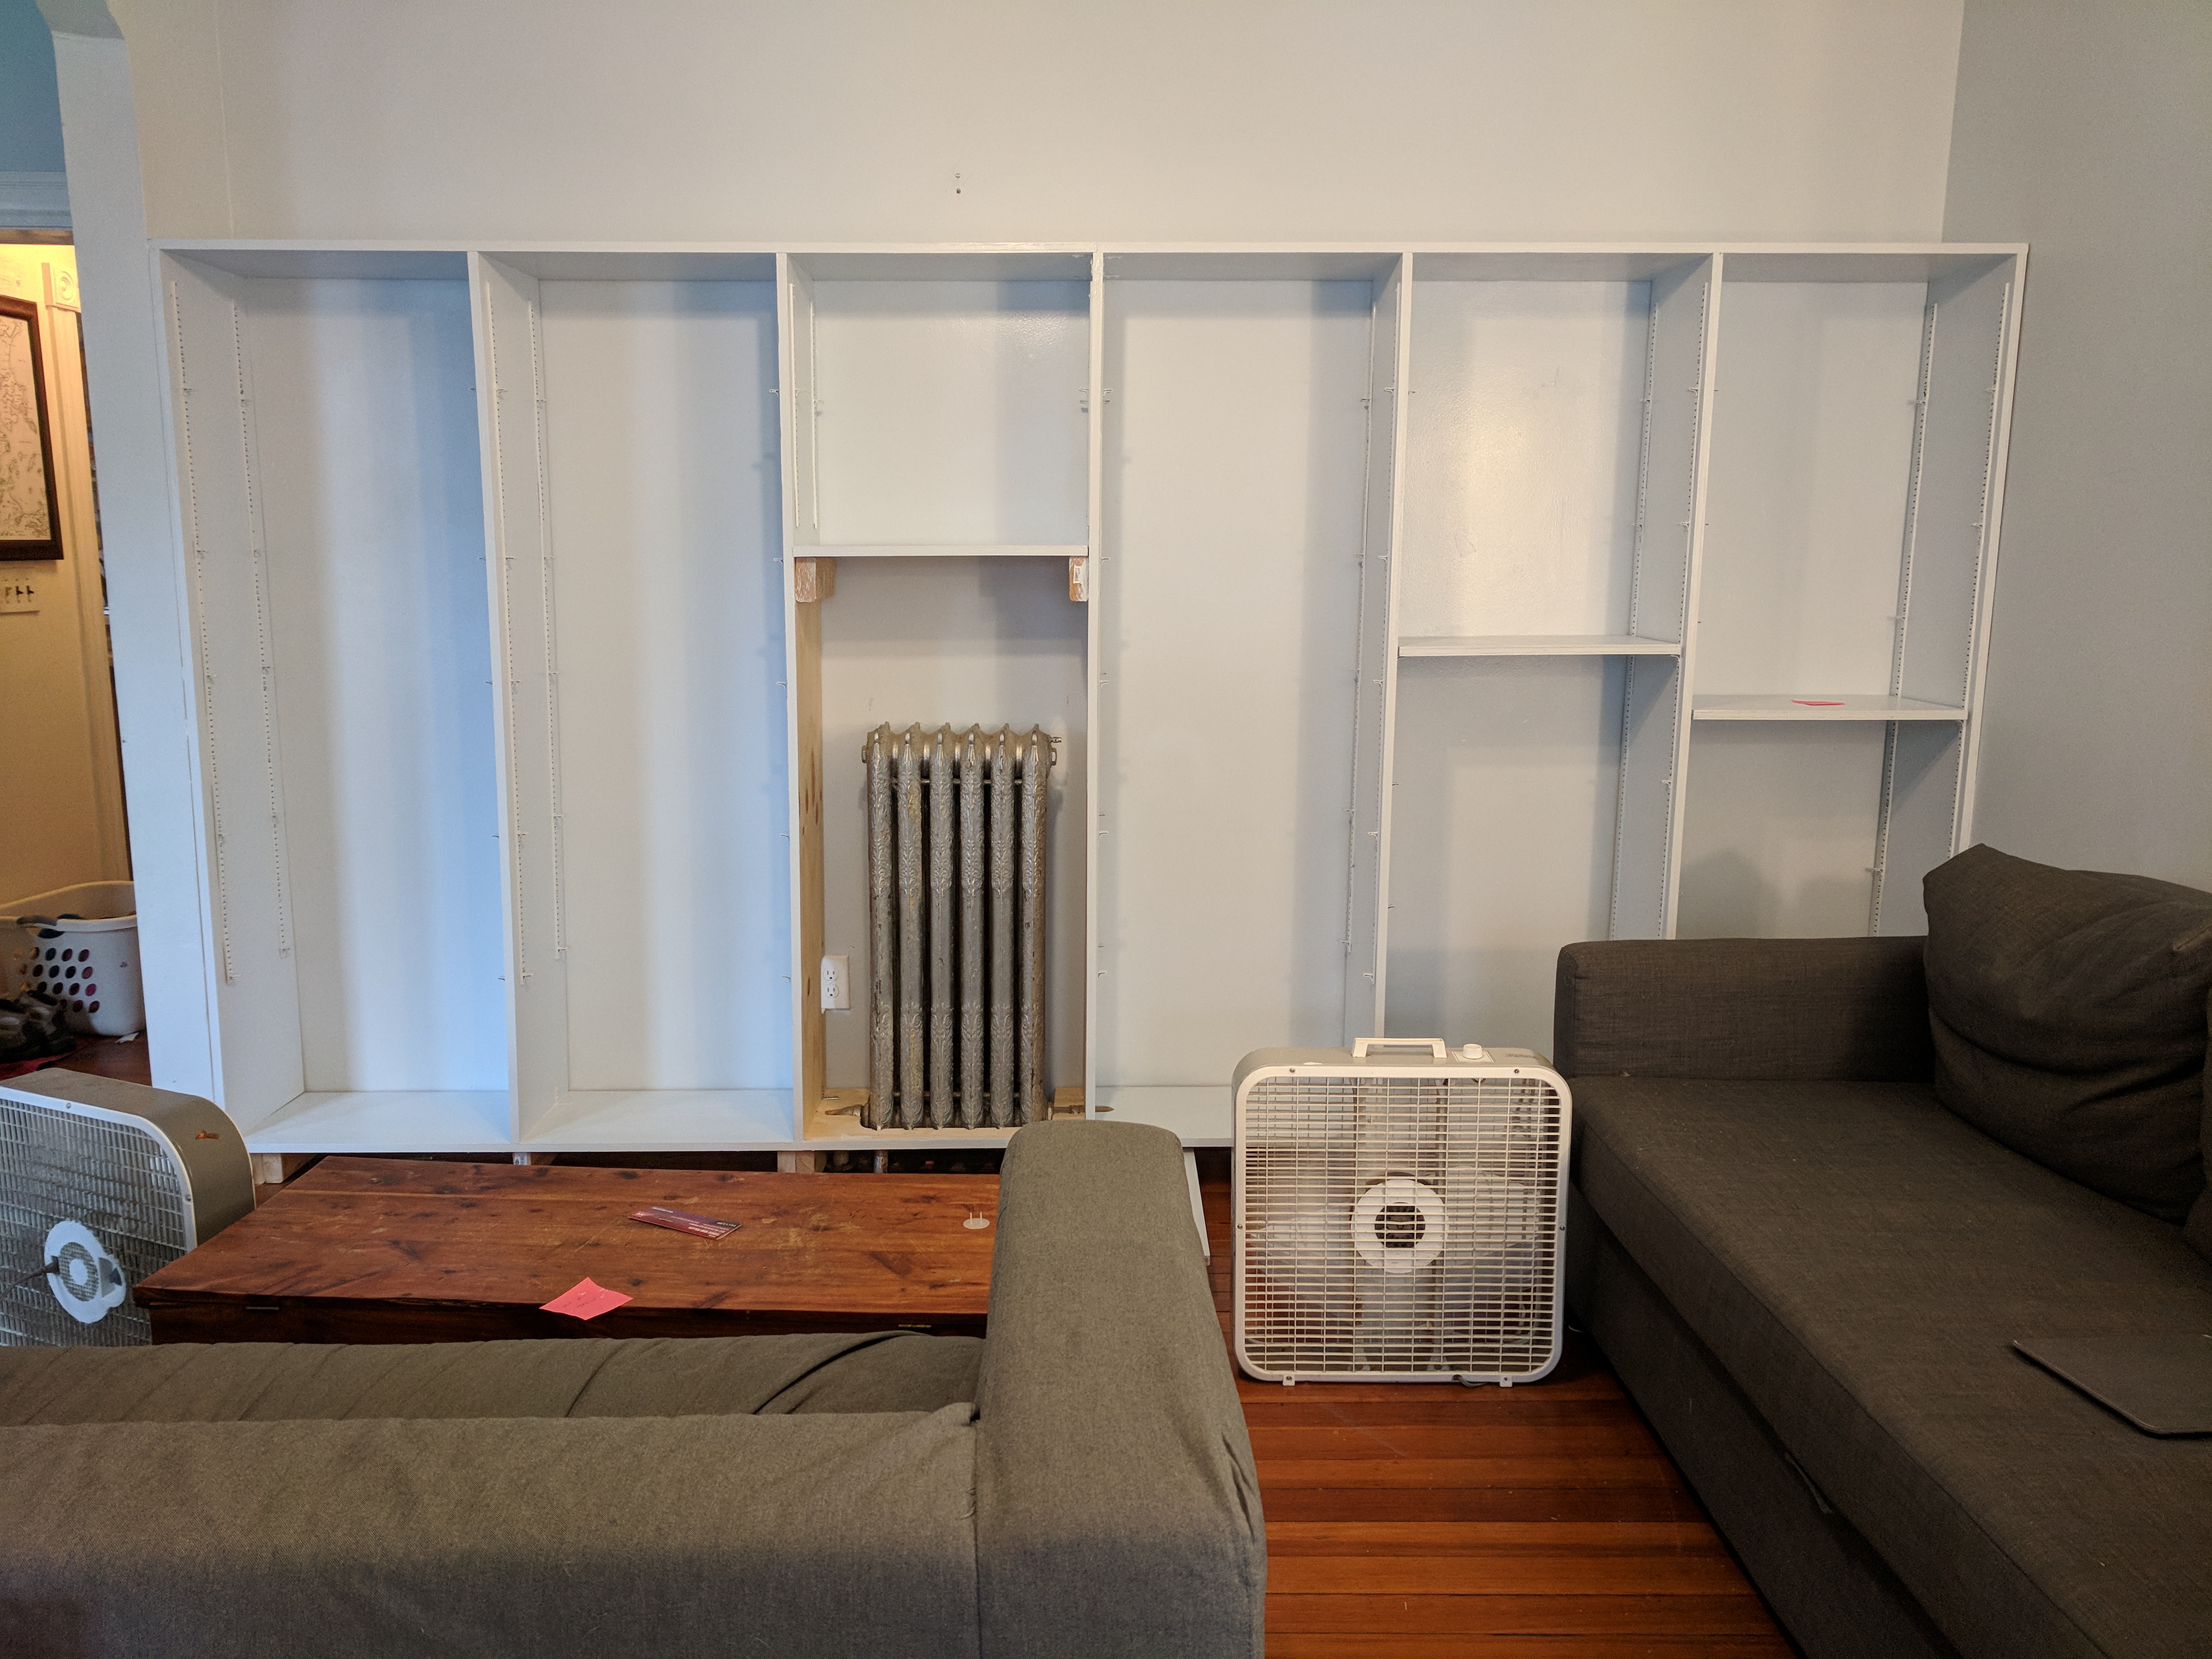
Despite my attempts to be consistent in spacing, I ended up with small variations in widths, a few eighths of an inch. I needed to cut different shelf lengths for each vertical section, and then we would need to keep them straight in painting. I needed to make 26 movable shelves: five each for each of the five main sections, and one more to go over the radiator. When they were all ready we put in the shelf pegs and did a dry fit:
Then we took all the shelves out again, and Julia painted them. We wanted to paint the shelves first to minimize the time before we could have the books and things back on the shelves. (There's more danger of things sticking to the surface they're sitting on than a surface they're leaning against.)
The next morning was Sunday, and I took the kids to my dad's house while Julia painted the bits we couldn't carry down to the basement to paint. Keeping the kids away from wet paint didn't seem like fun!
I brought the kids home for their naps in the afternoon, and worked on the radiator section. I ran a curved section of insulating bubble wrap from the bottom of the radiator to the underside of the shelf above, with the goal of directing airflow out and over:
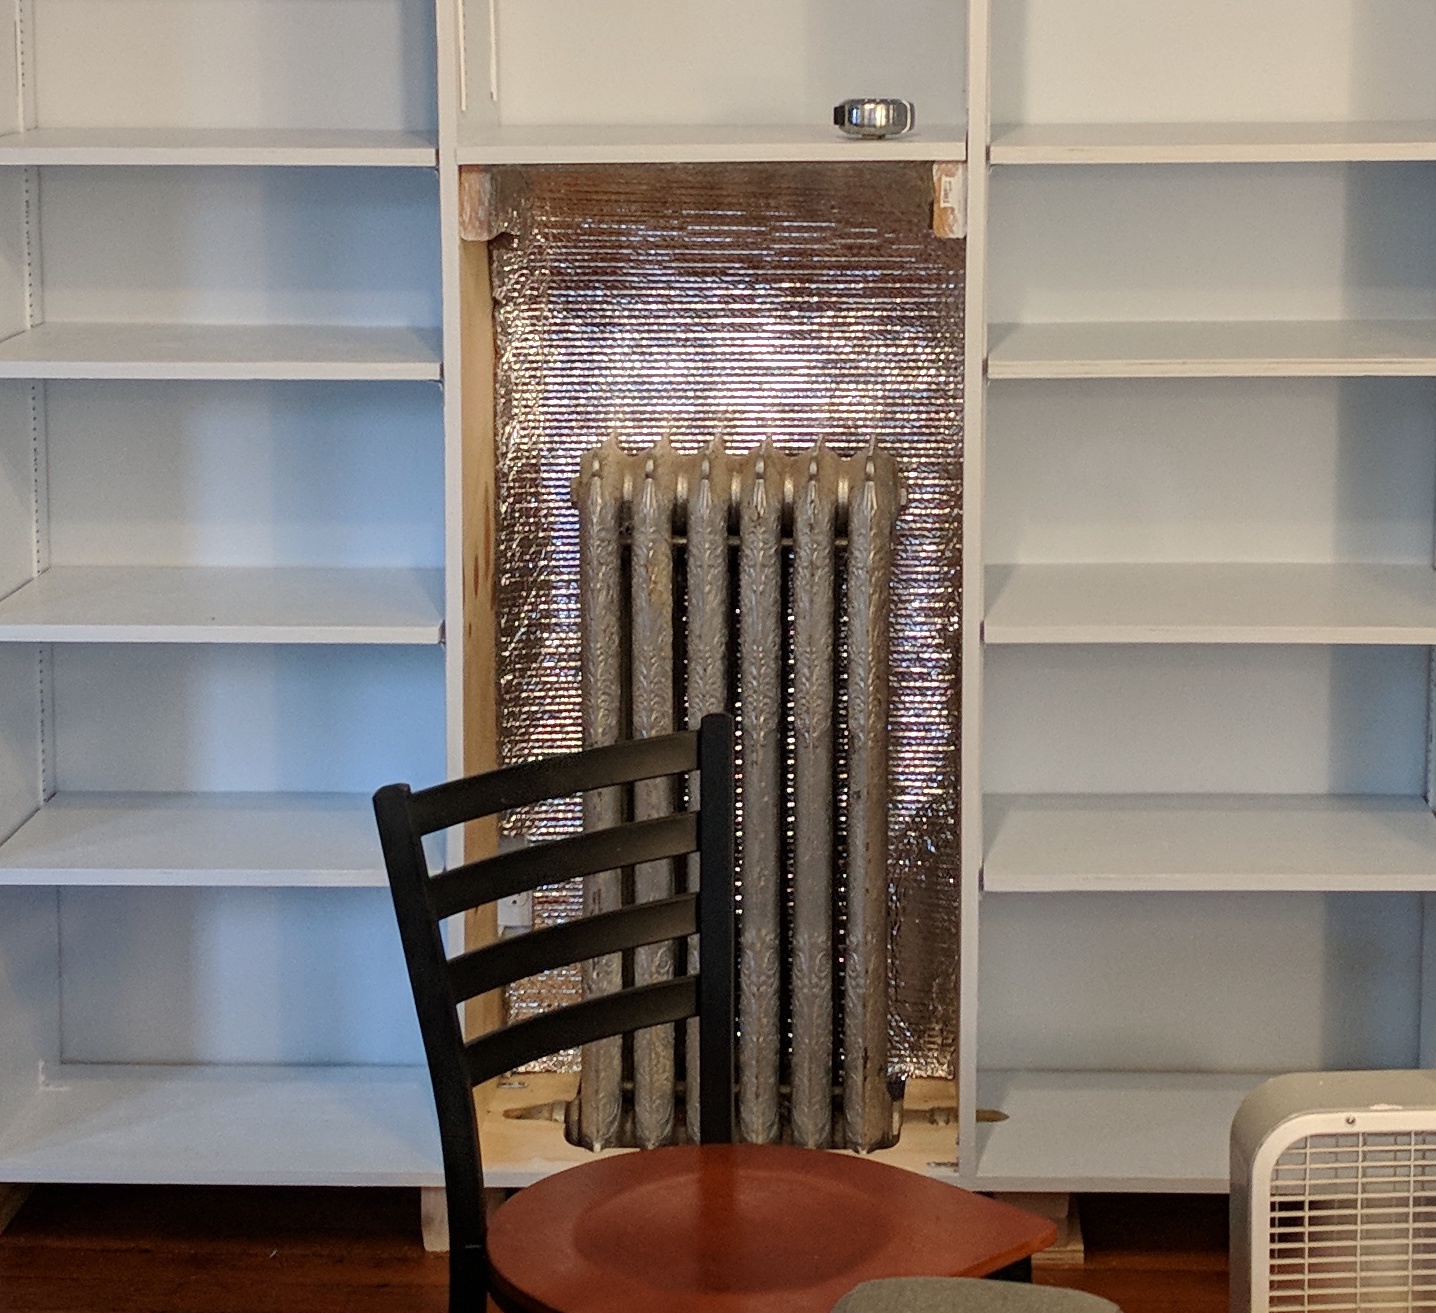
Then I put perforated metal over both the main radiator section and the small section below the base, and covered the edge of the metal with trim. I cut baseboard for underneath, but it still needs to be painted before I put it in. So here's the final version for now:
Cost was something like:
- $204: plywood, including cuts
- $50: perforated metal
- $29: paint
- $22: primer
- $20: paint supplies (some we'll reuse)
- $20: truck rental (shared with another project)
- $16: trim
- $15: screws
- $9: angle brackets
- $385: total
Overall time was a bit more than a weekend, with a weekend's worth of distruption. I think the time component was more significant than the dollar cost.
[1] The shelves offered 24 (6 x 4) 12" squares. I figured that
full-wall shelves could give us about twice that. The effective
utilization is a bit higher, though, because we can now have some
shorter shelves for things that don't need the full 12" of height.
shorter things.
Comment via: google plus, facebook, substack