Bathroom Construction: Framing |
February 18th, 2019 |
| bathroom, house |
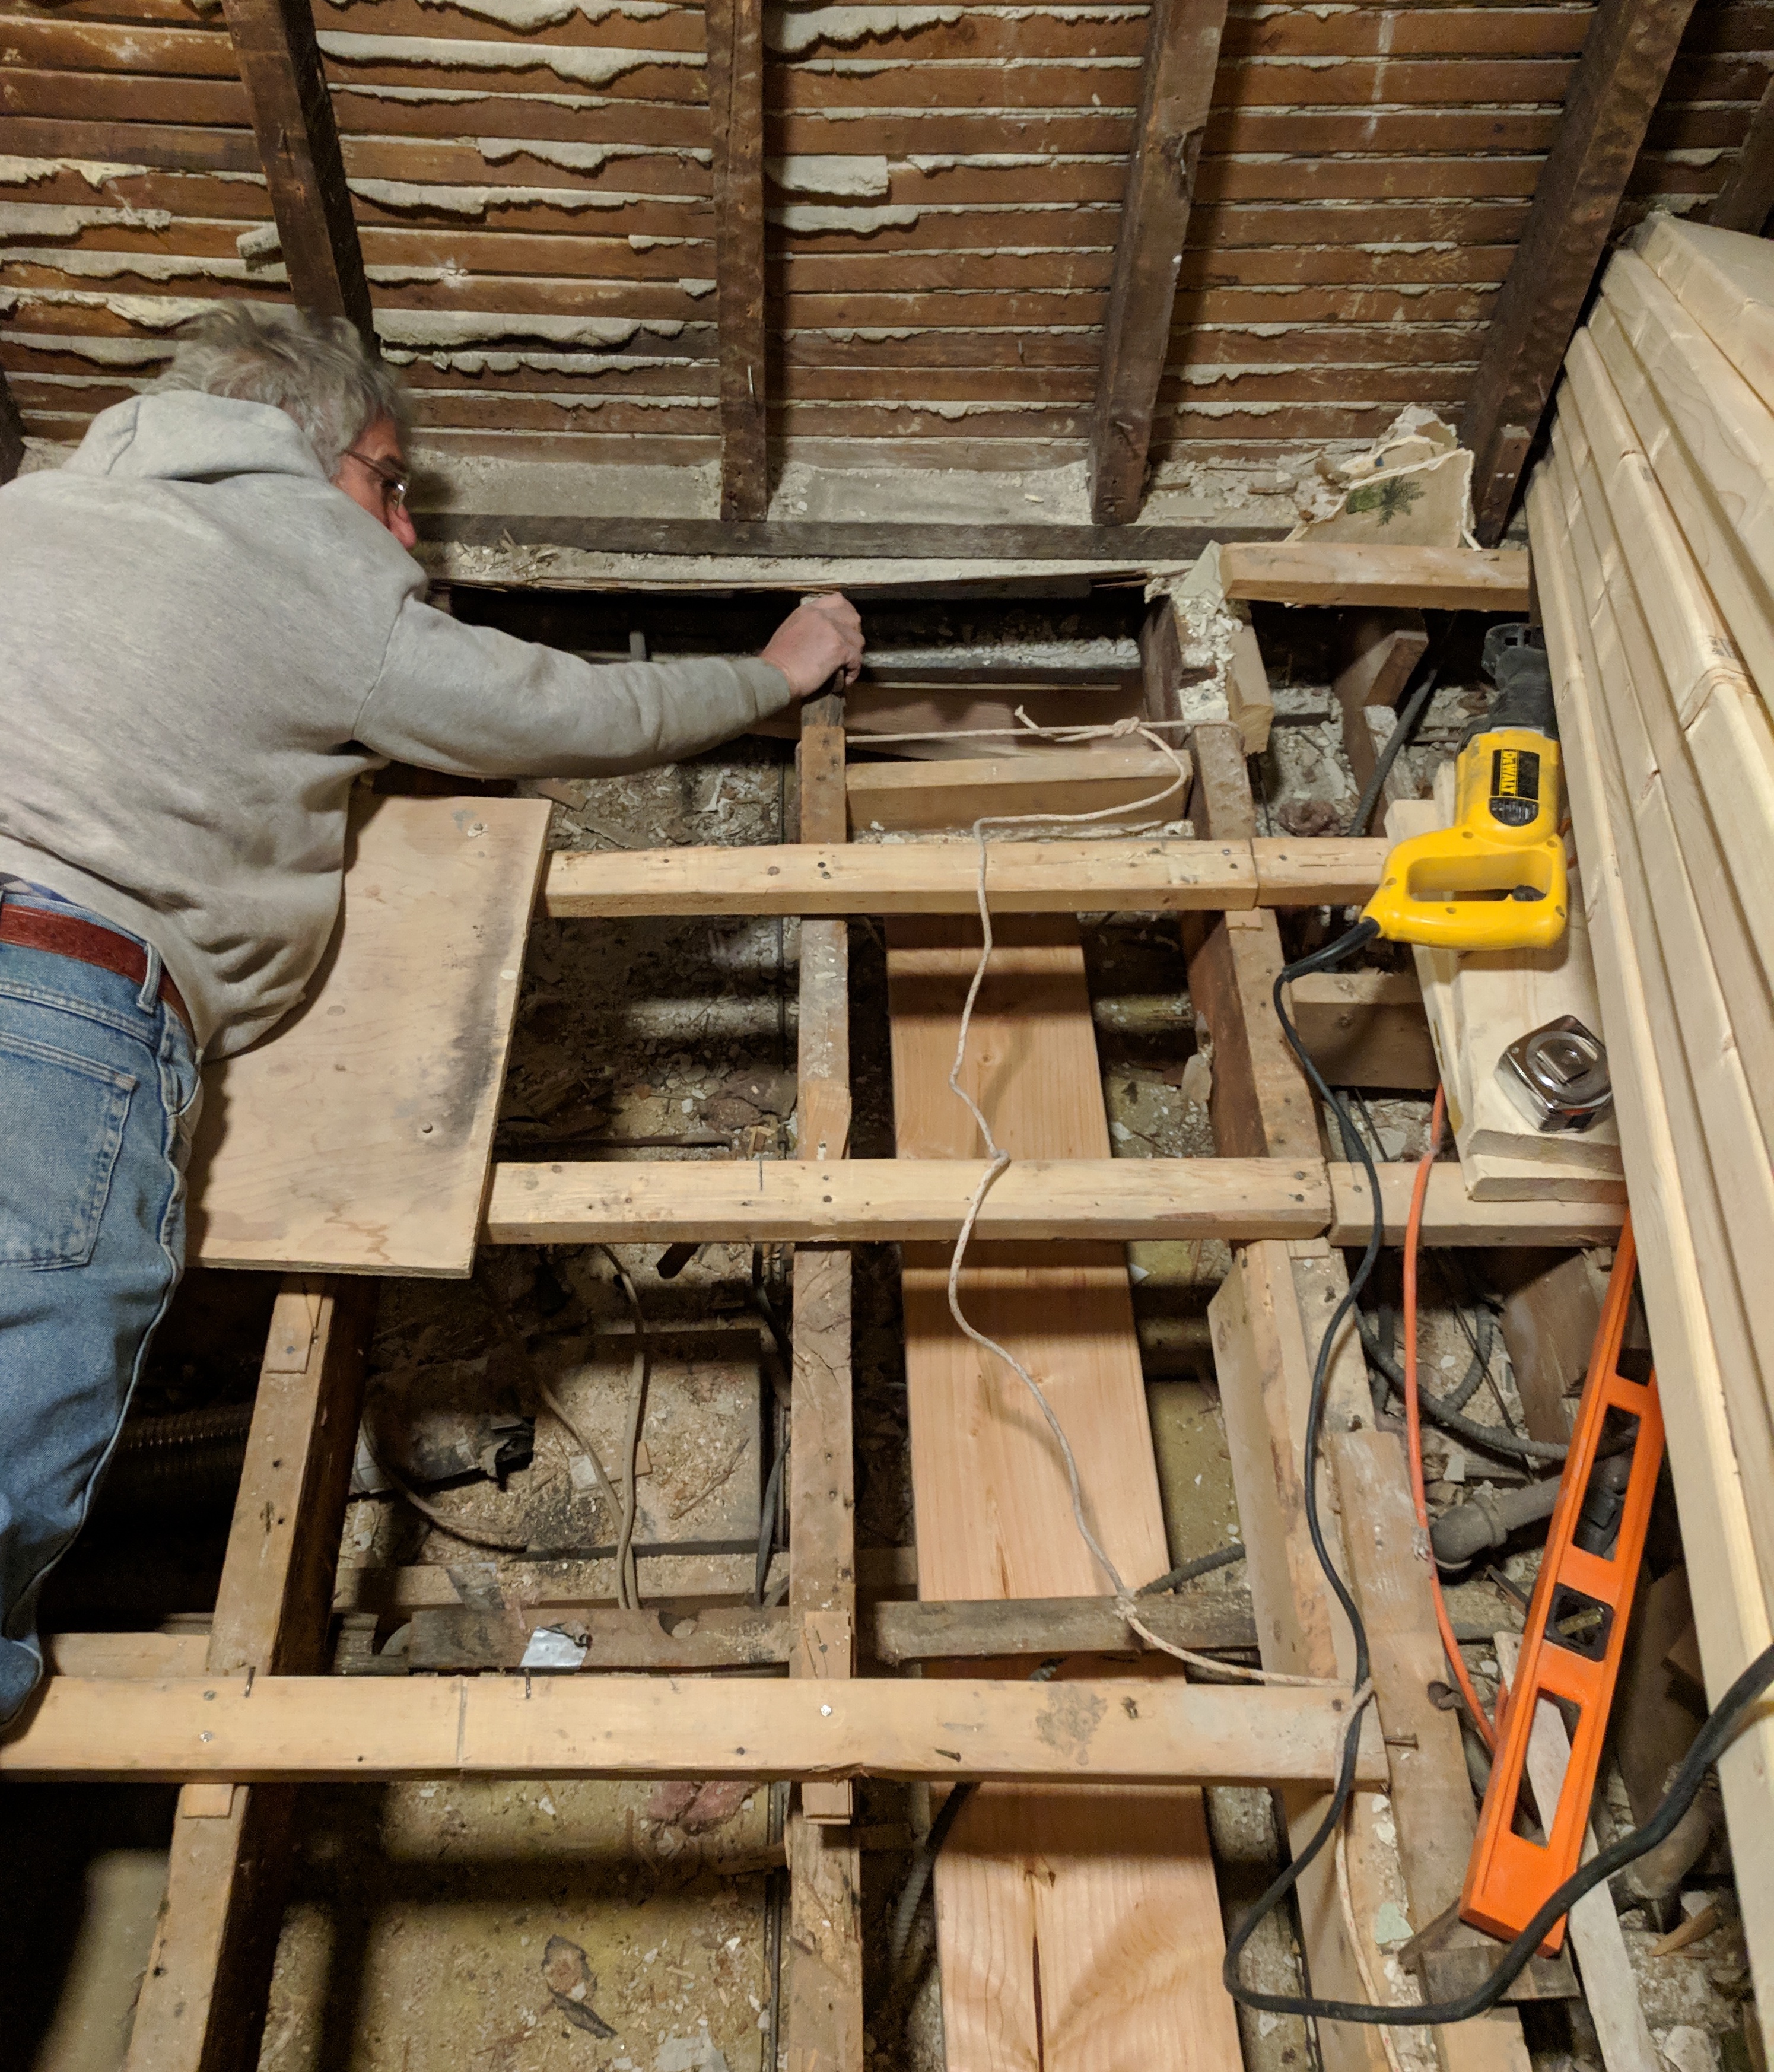
I brought in a structural engineer, the same one that did the work for our dormers, and he said we needed a header and two columns down to the basement:
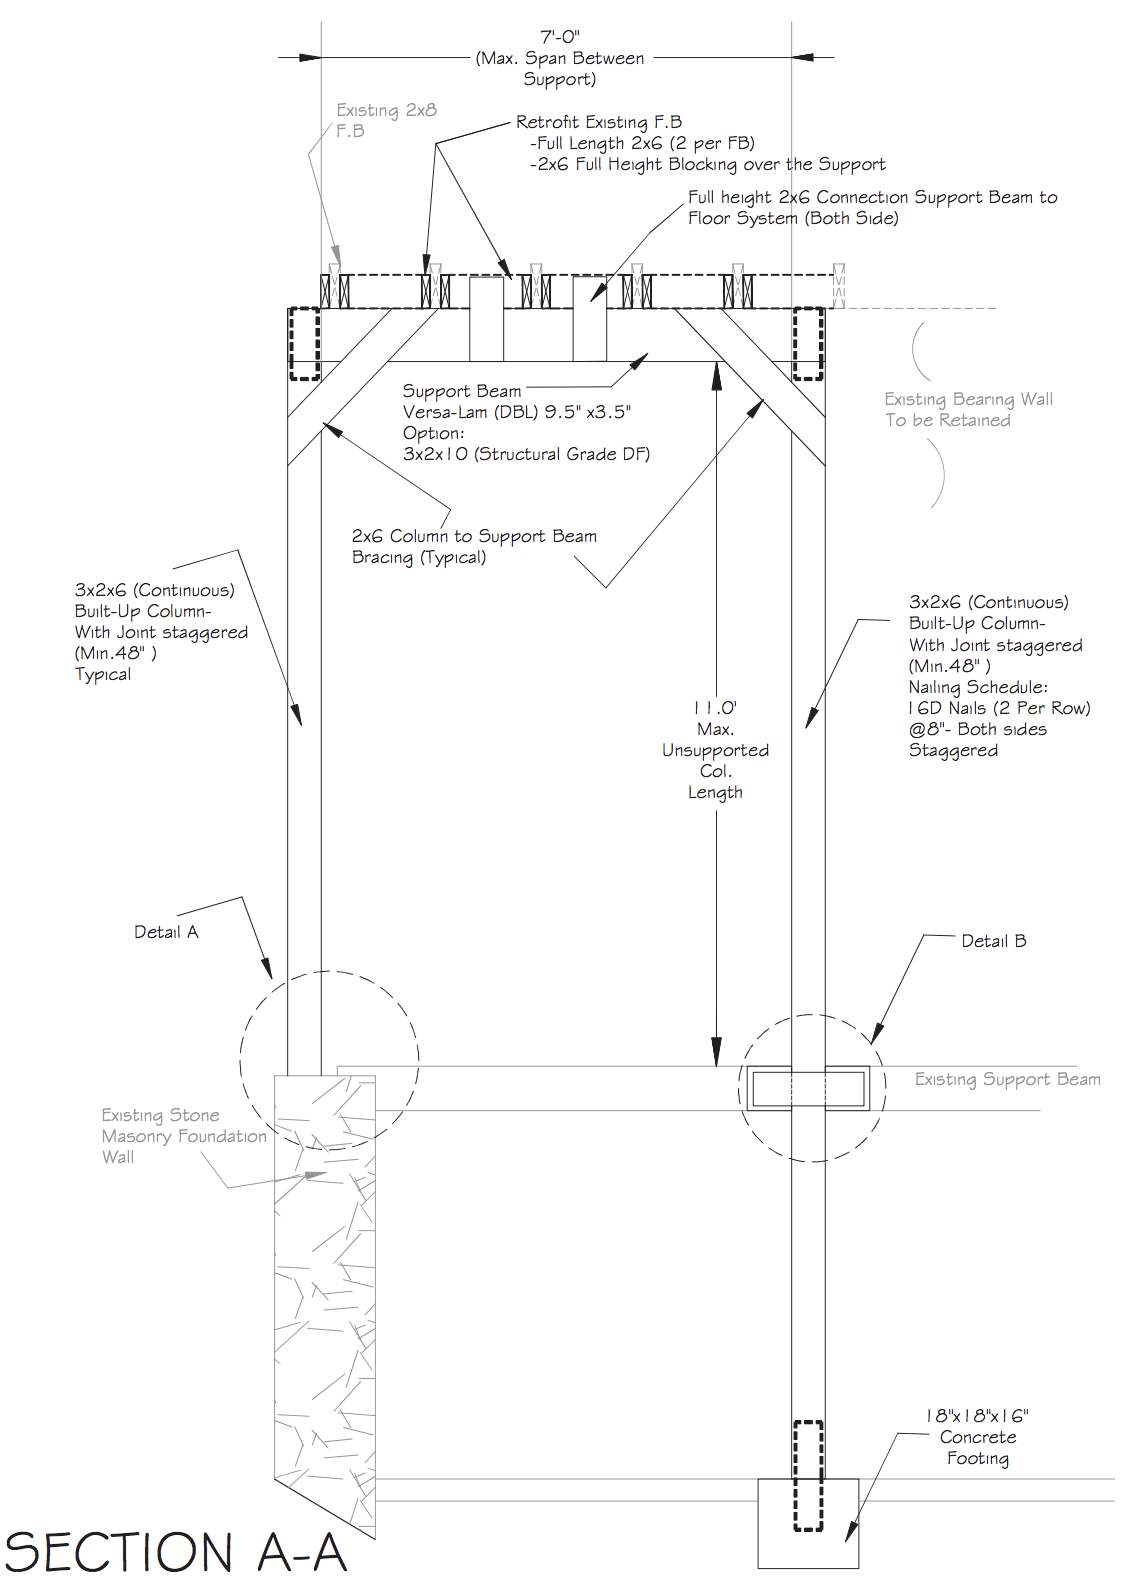
The header needed to go where the load bearing wall used to be, to support the four joists that had been coerced into running the full width of the house. It would sit on two columns, a wall-side one landing on the central beam, and a chimney-side one with a new footing.
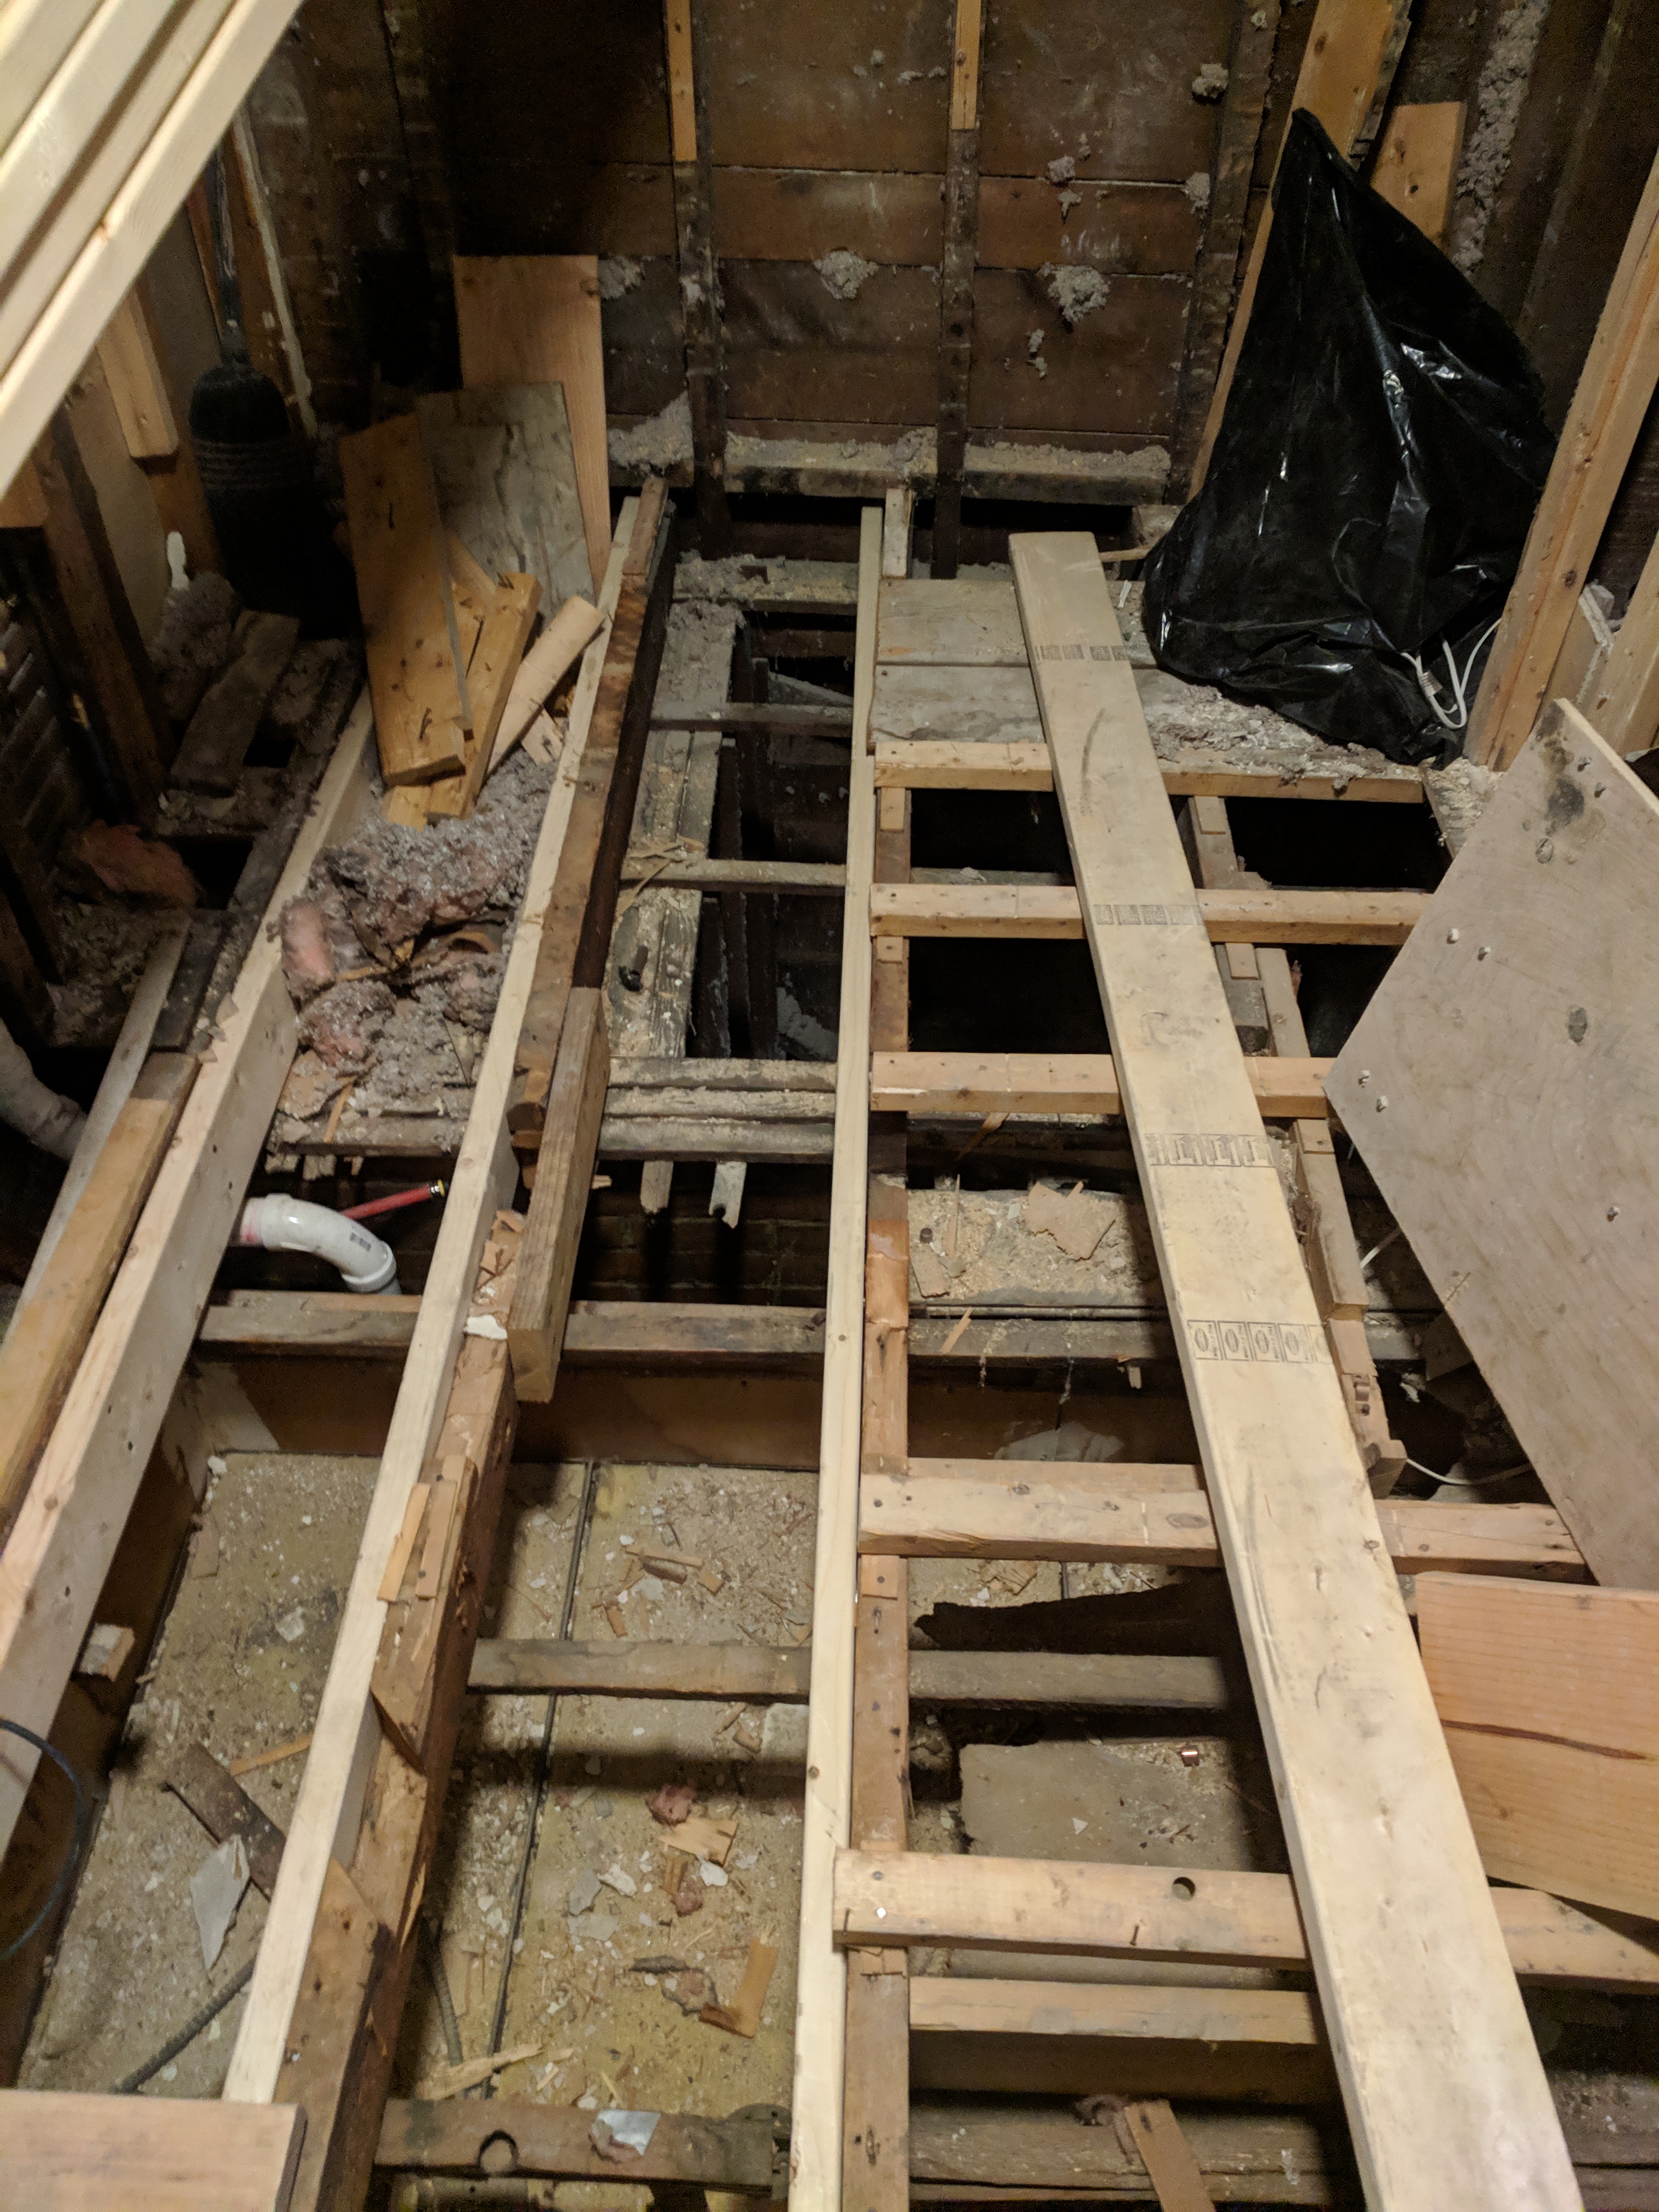
Figuring out exactly where these columns would run was pretty hard: the area that they run through has a ton of plumbing, electrical, and existing framing. I started with the chimney-side one, which meant digging a footing.
(If you had told me, before I started, that renovating our second floor bathroom would require digging a hole in the basement floor, I would have been pretty surprised.)
Footing
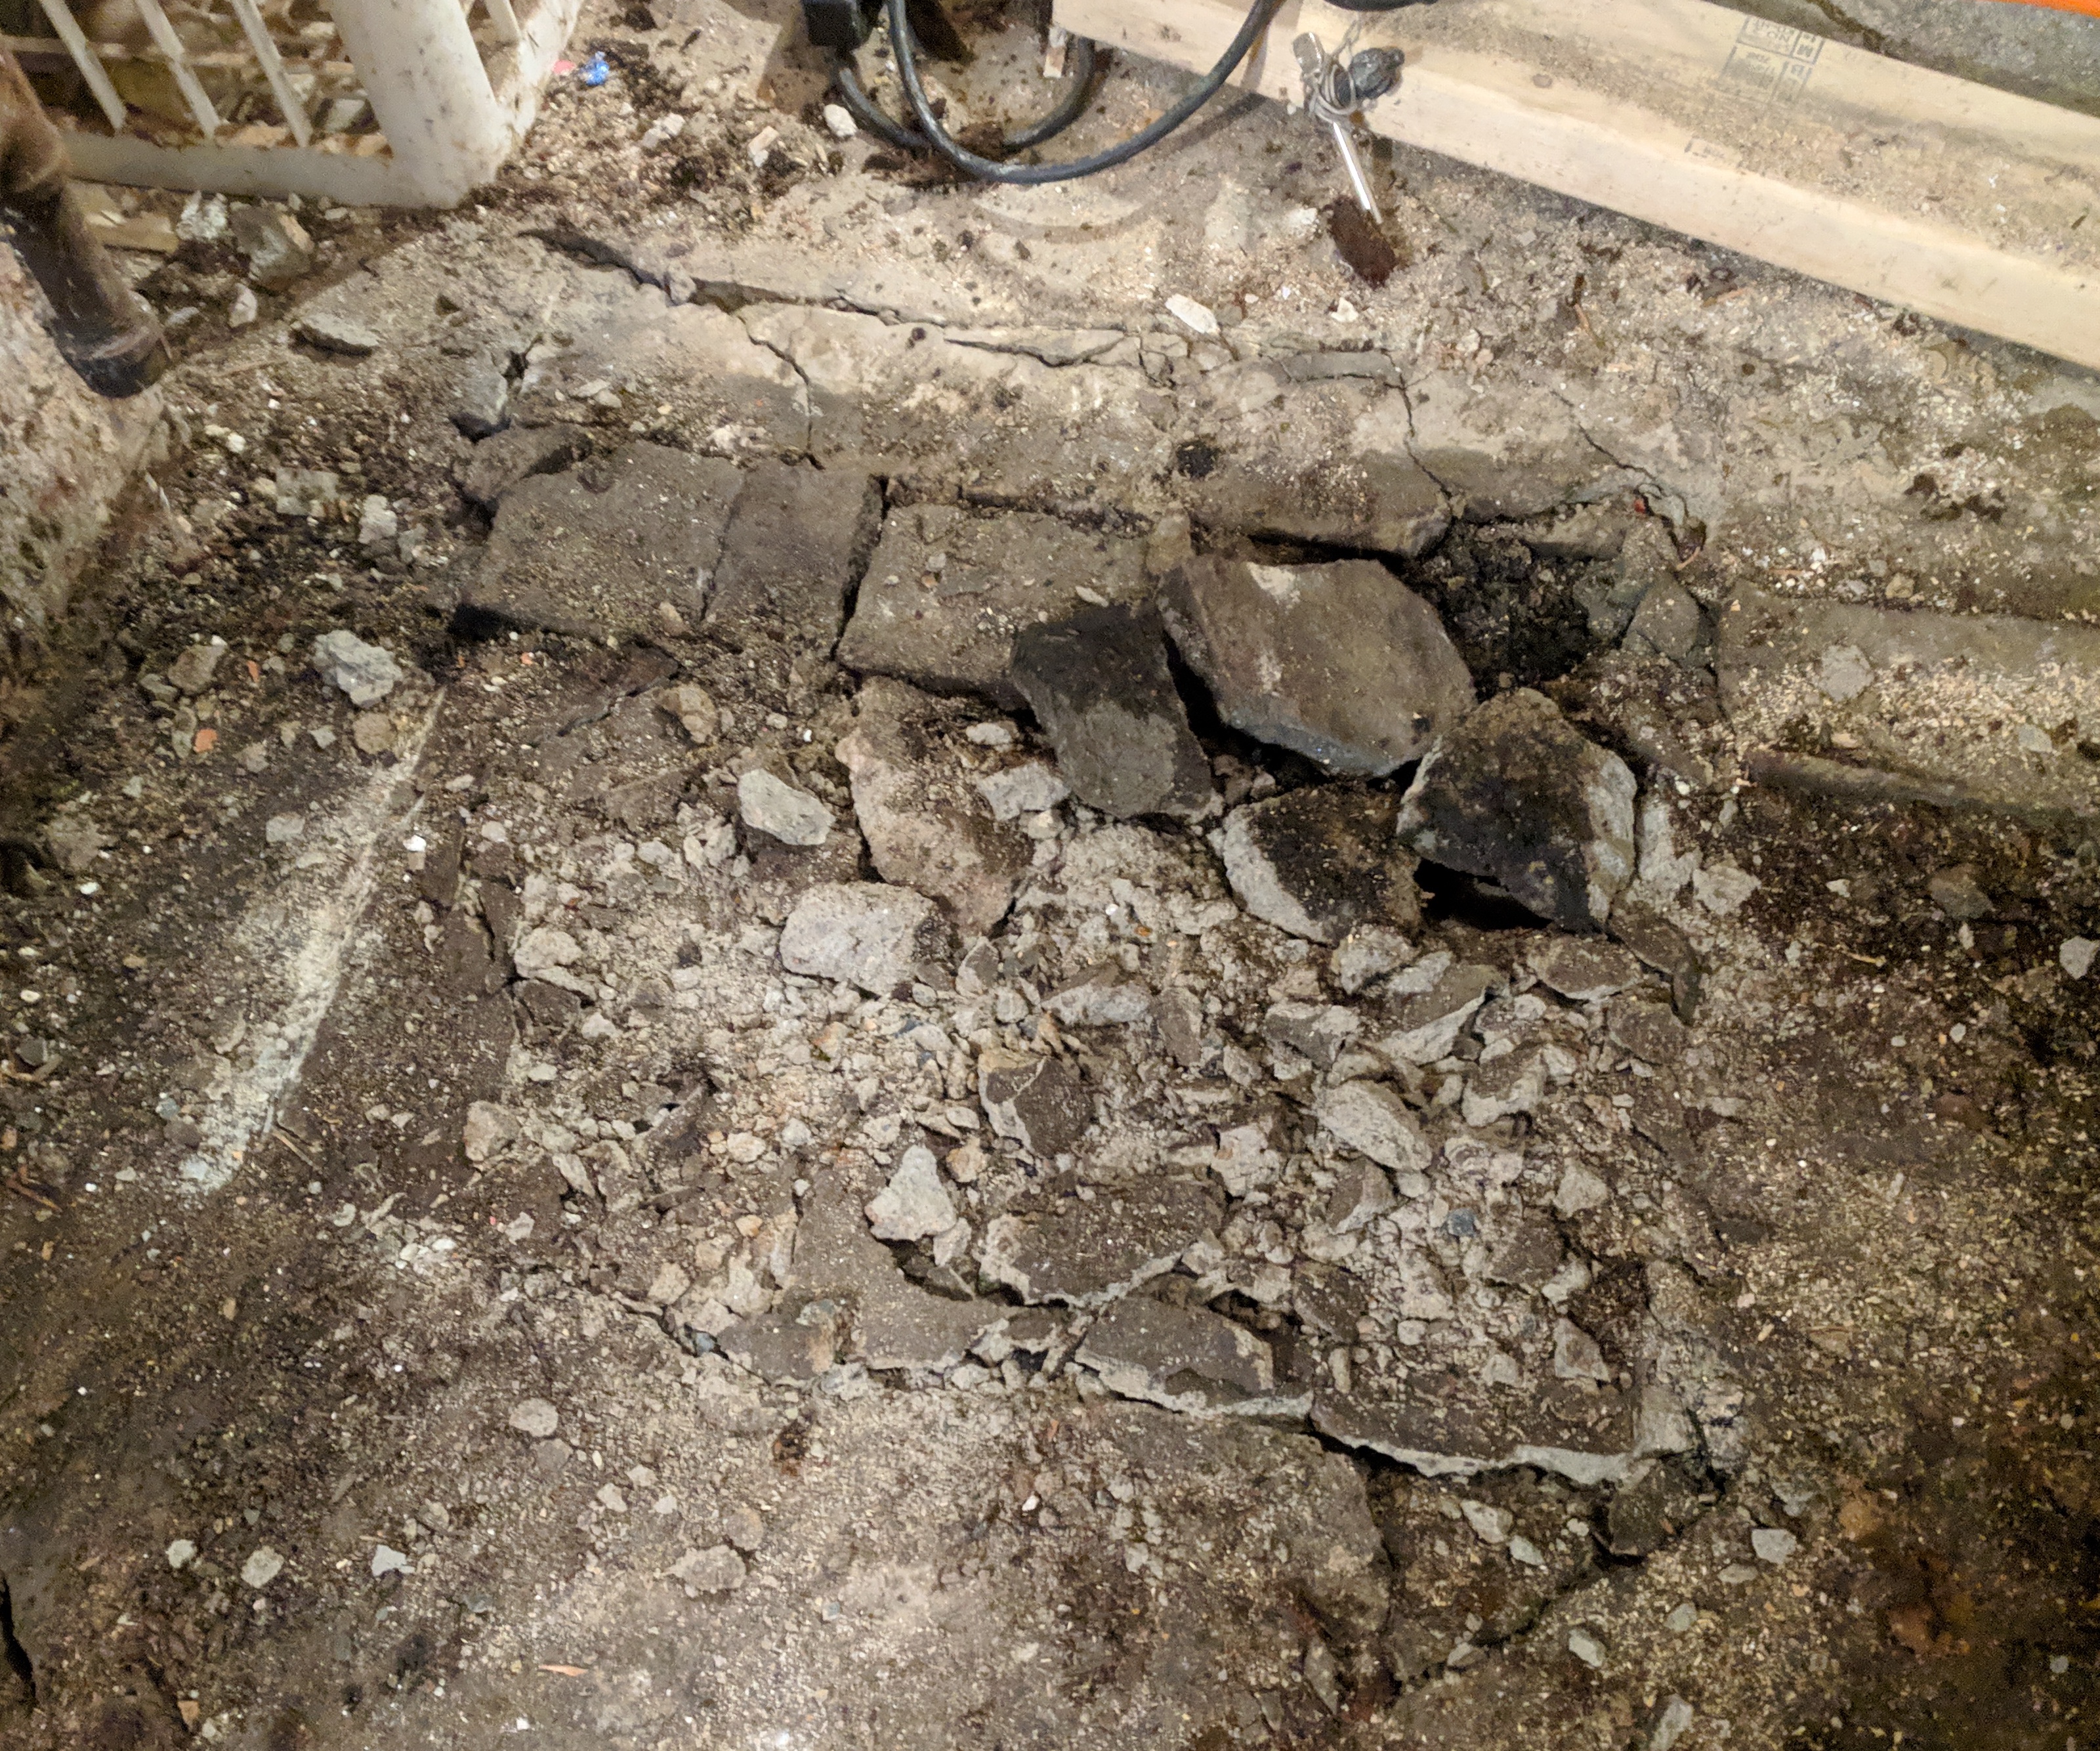
Last time I made a hole in the basement floor, when I put in a sump pump, I rented a jackhammer. The floor is thin enough, though, that this isn't really needed. First I scored around the edge with a brick chisel:
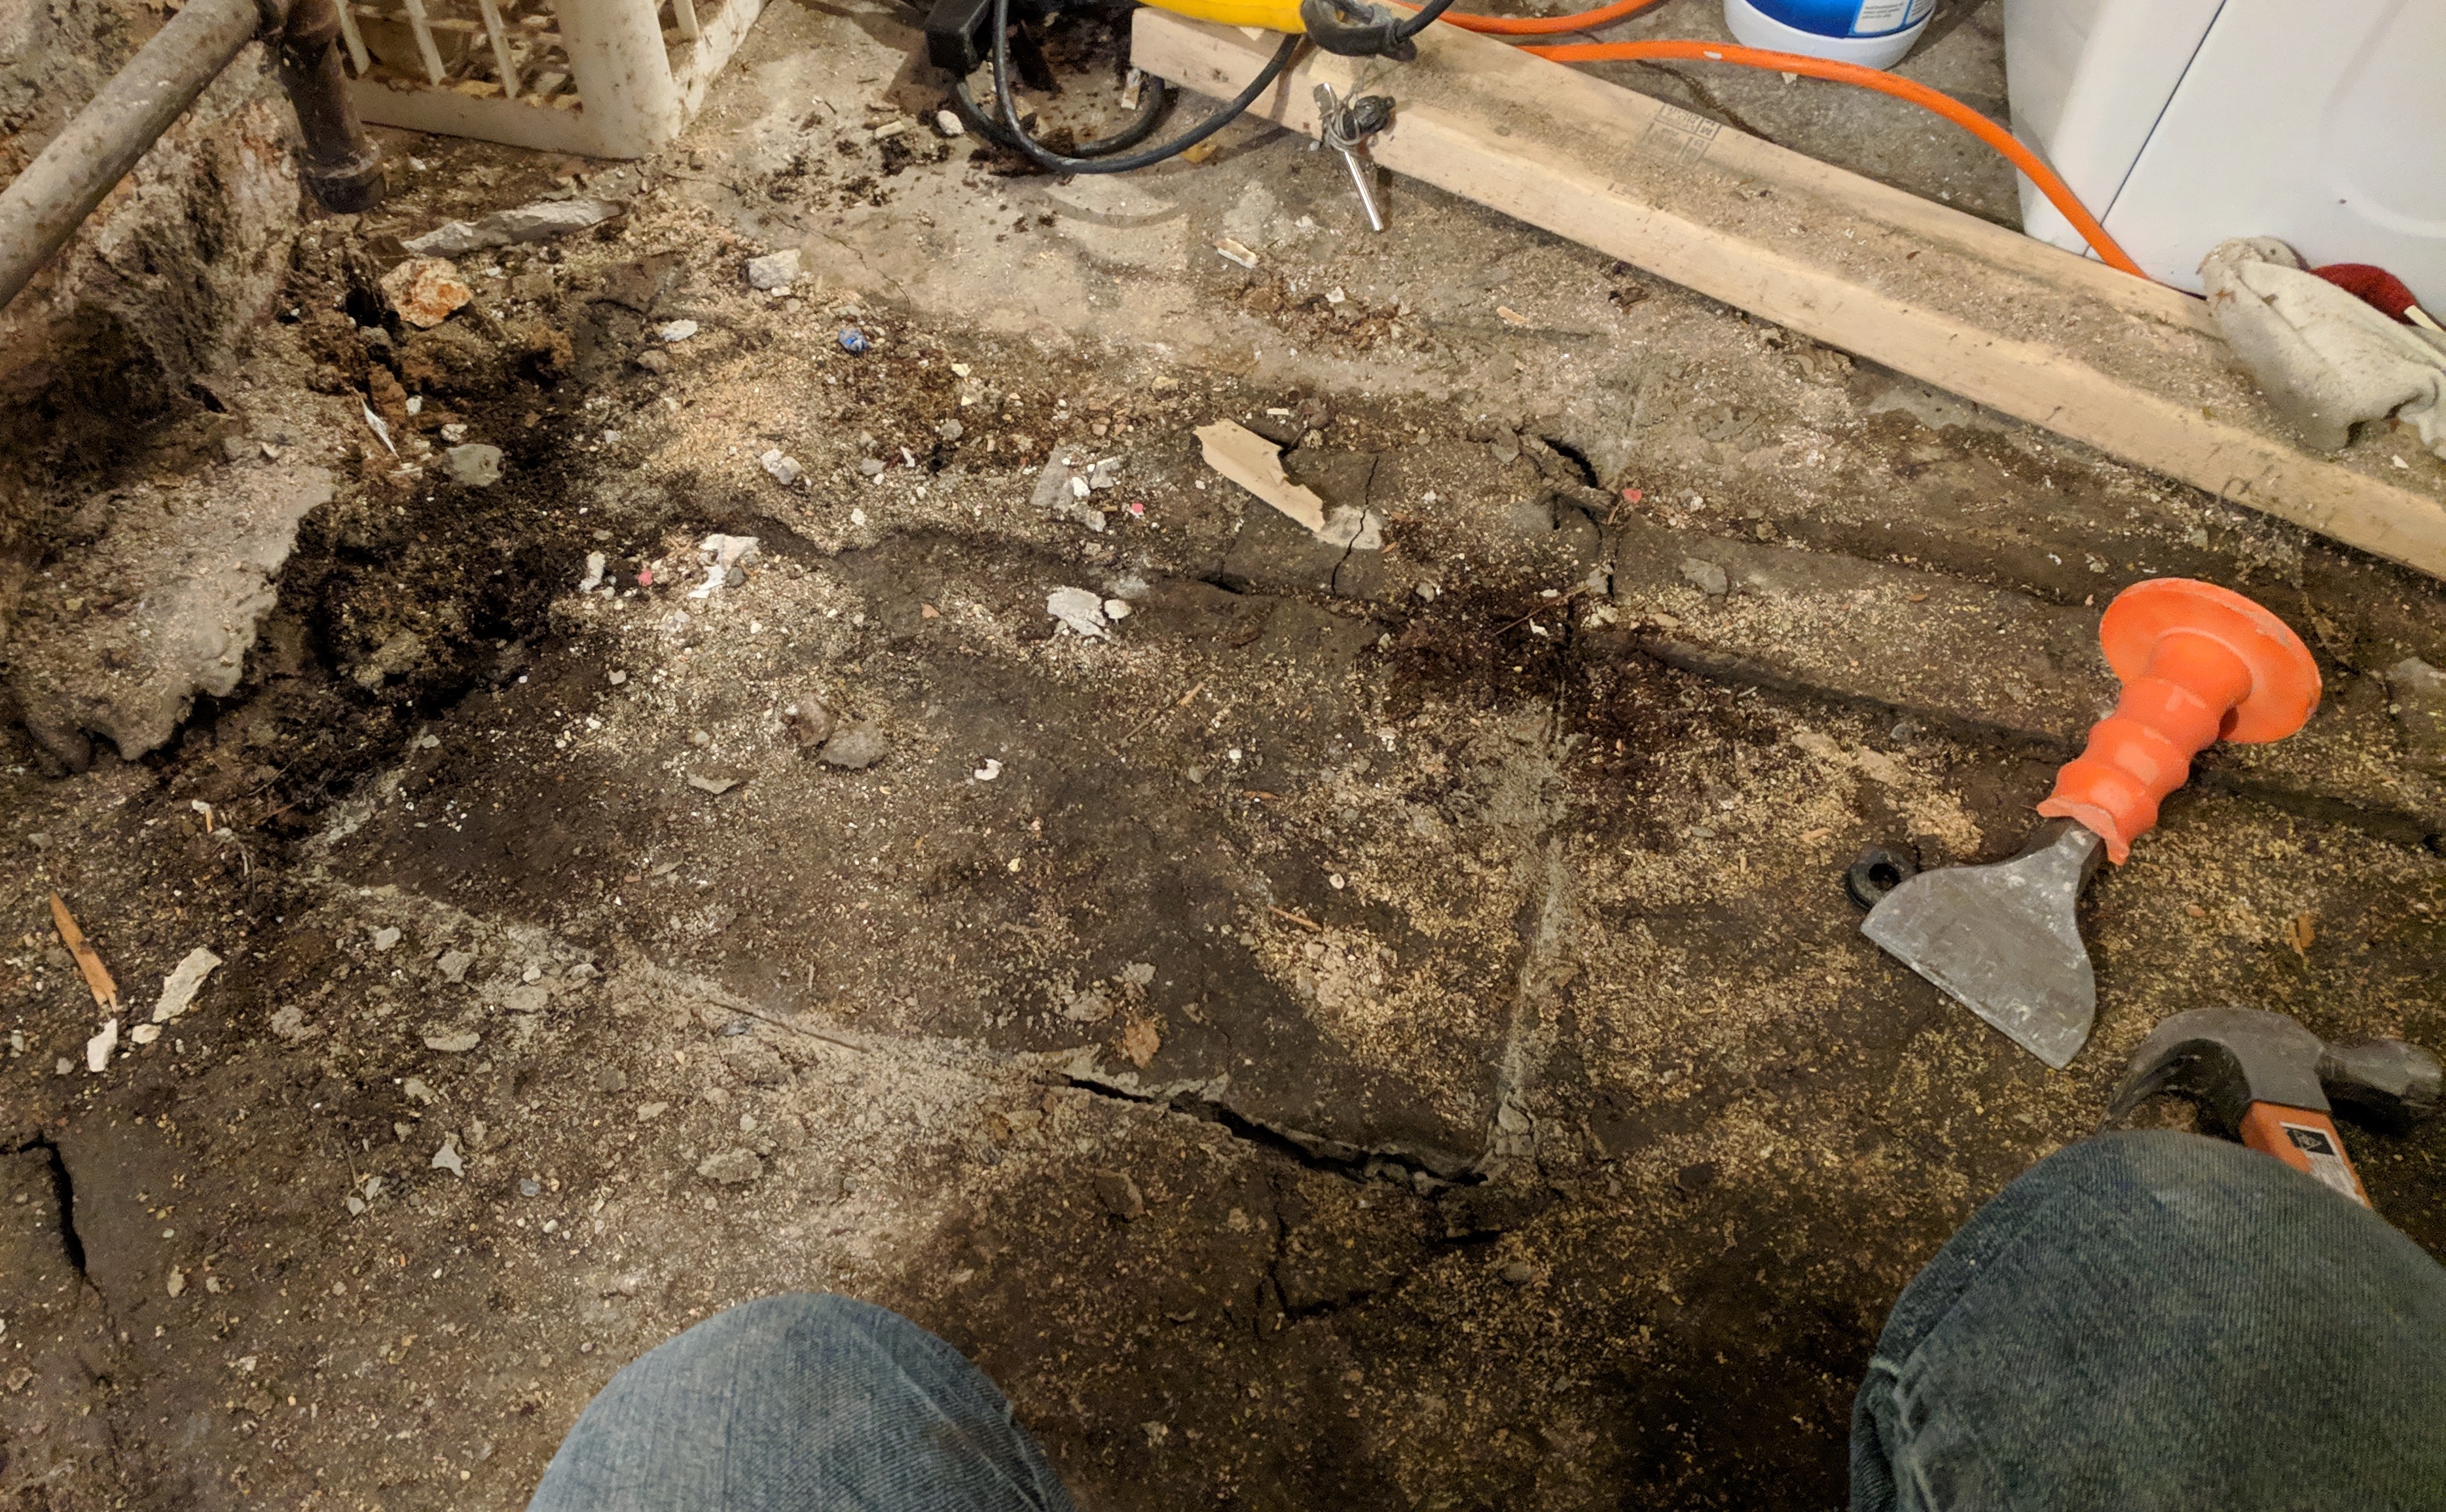
Then I gave the center some good blows with a sledge hammer:
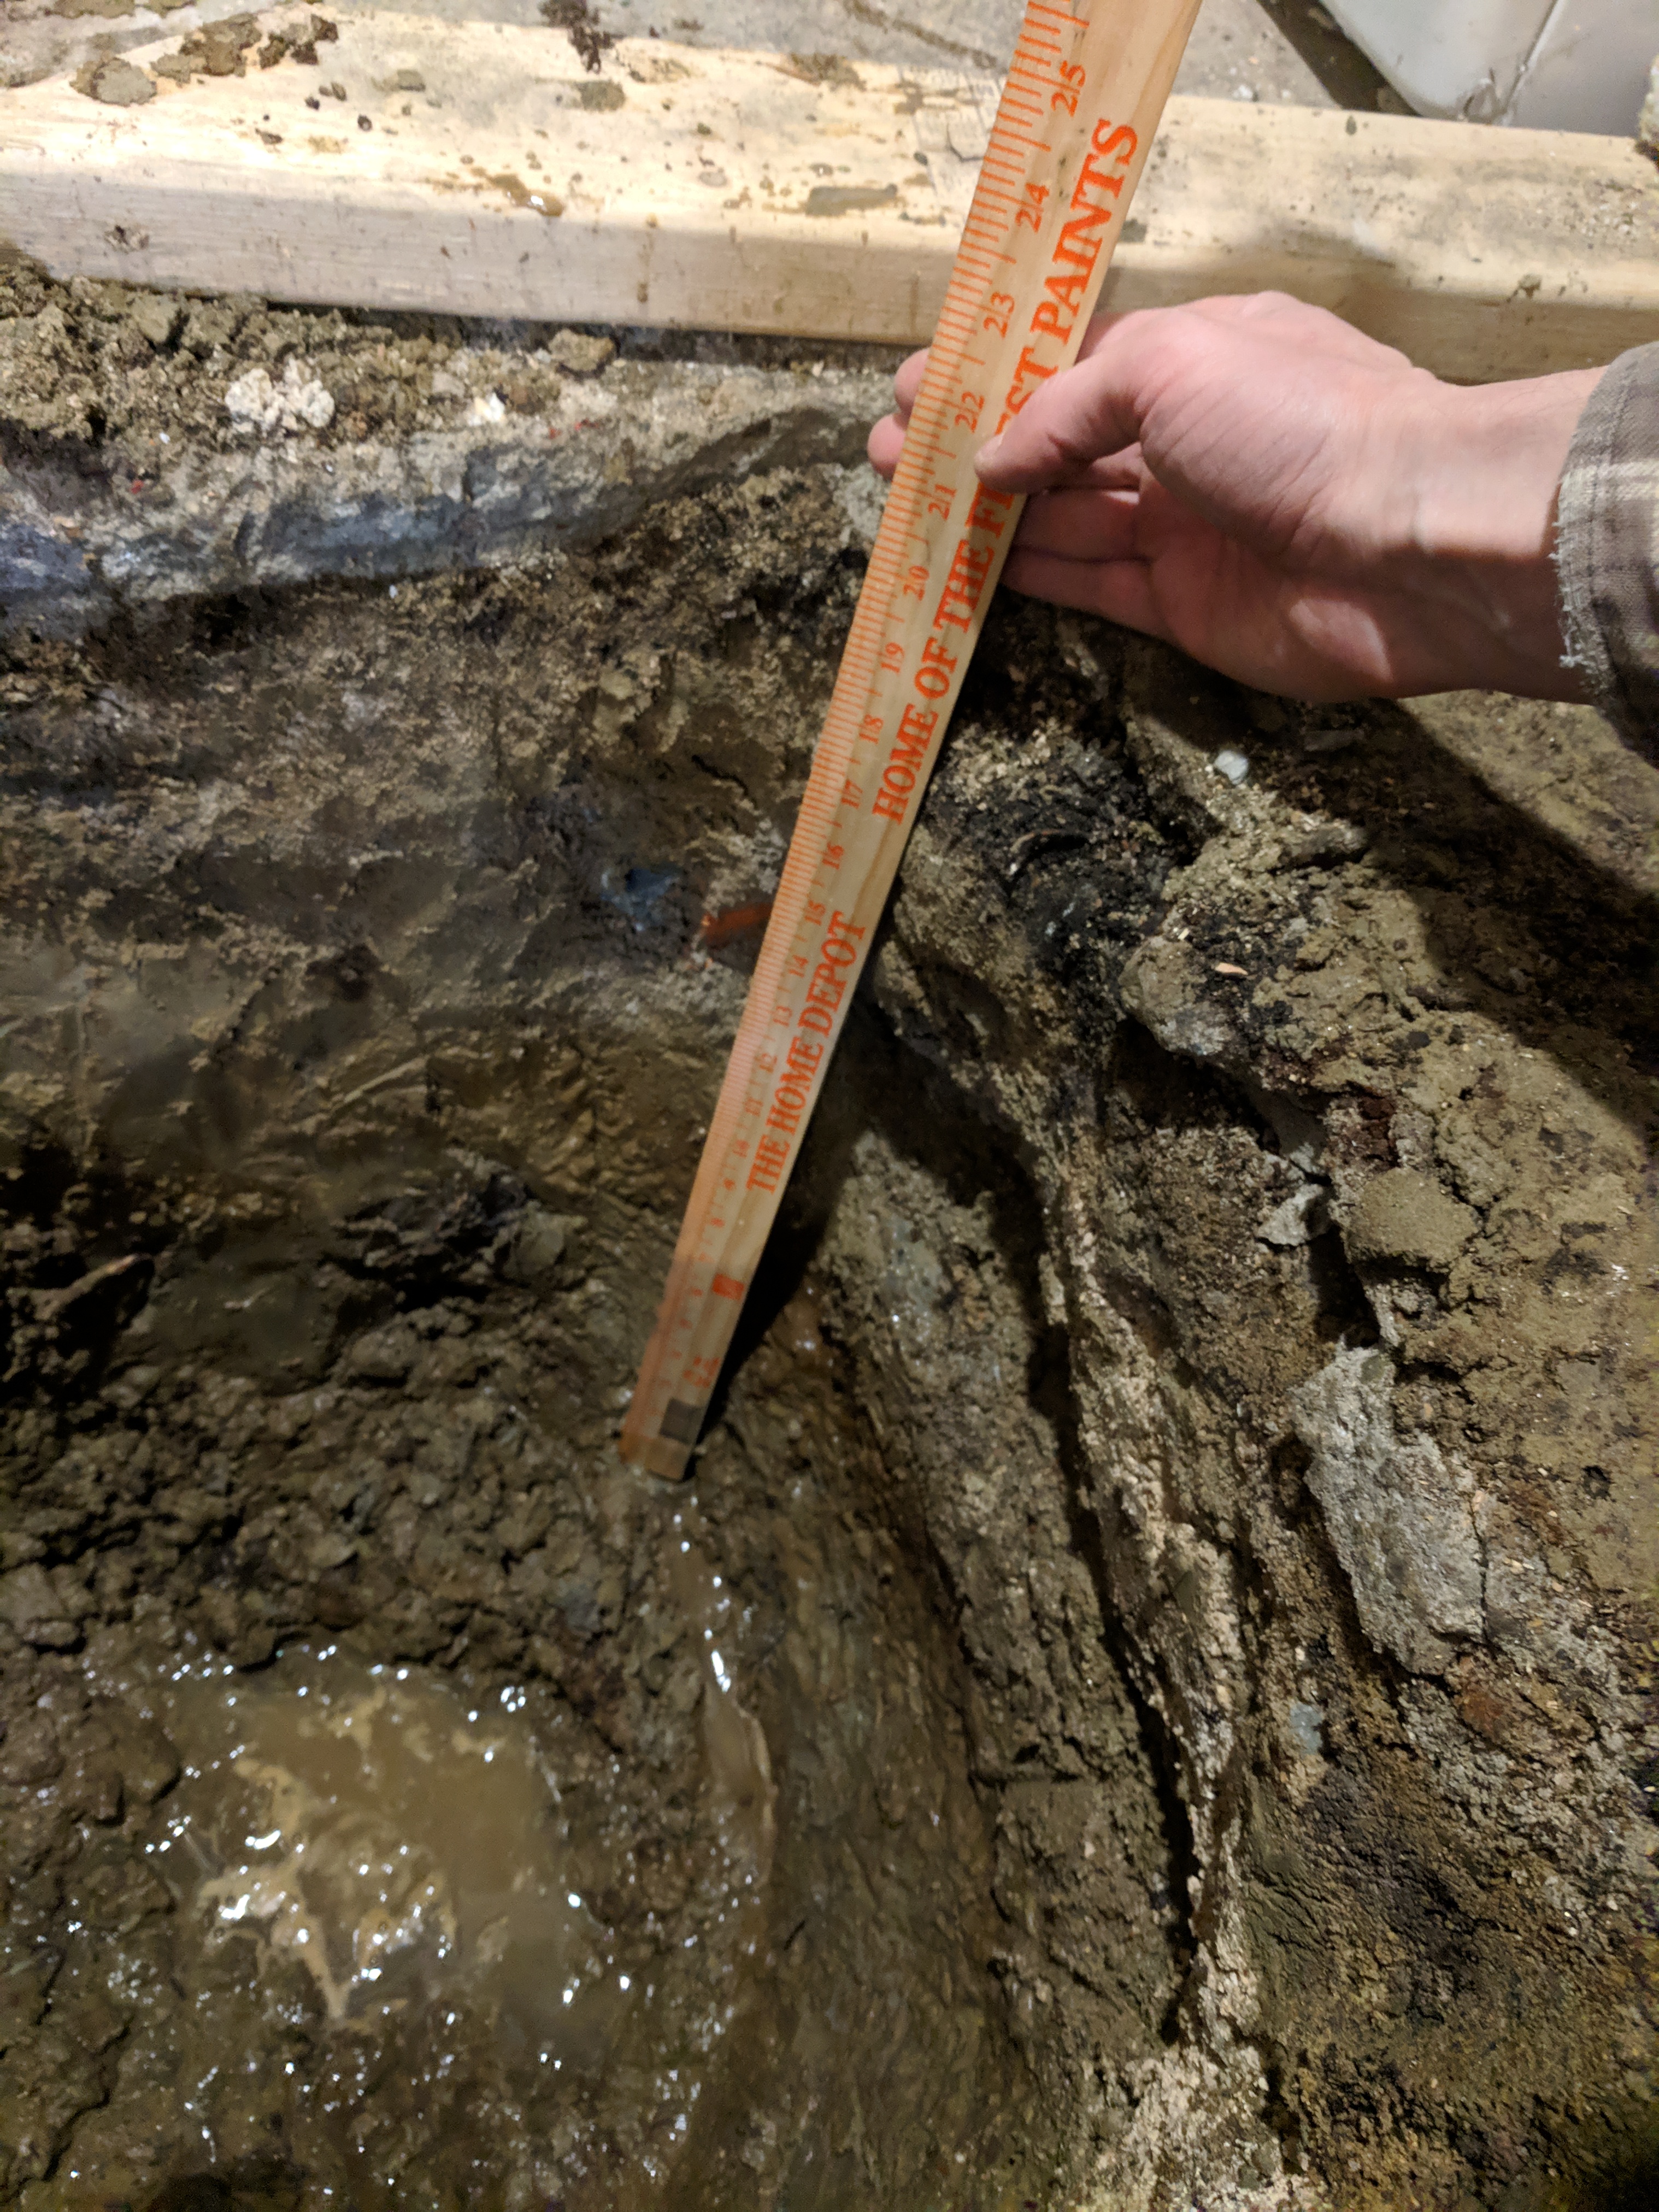
Then it was just a lot of shoveling. This is a time of year when the local water table is just below our basement floor, so the bottom of the hole got a bit of water in it. I pumped it out as I went, and it didn't fill quickly. I took a photo with a yardstick that I can show to the building inspector if they want to verify I made the footing deep enough.
I filled the bottom of the hole with gravel:
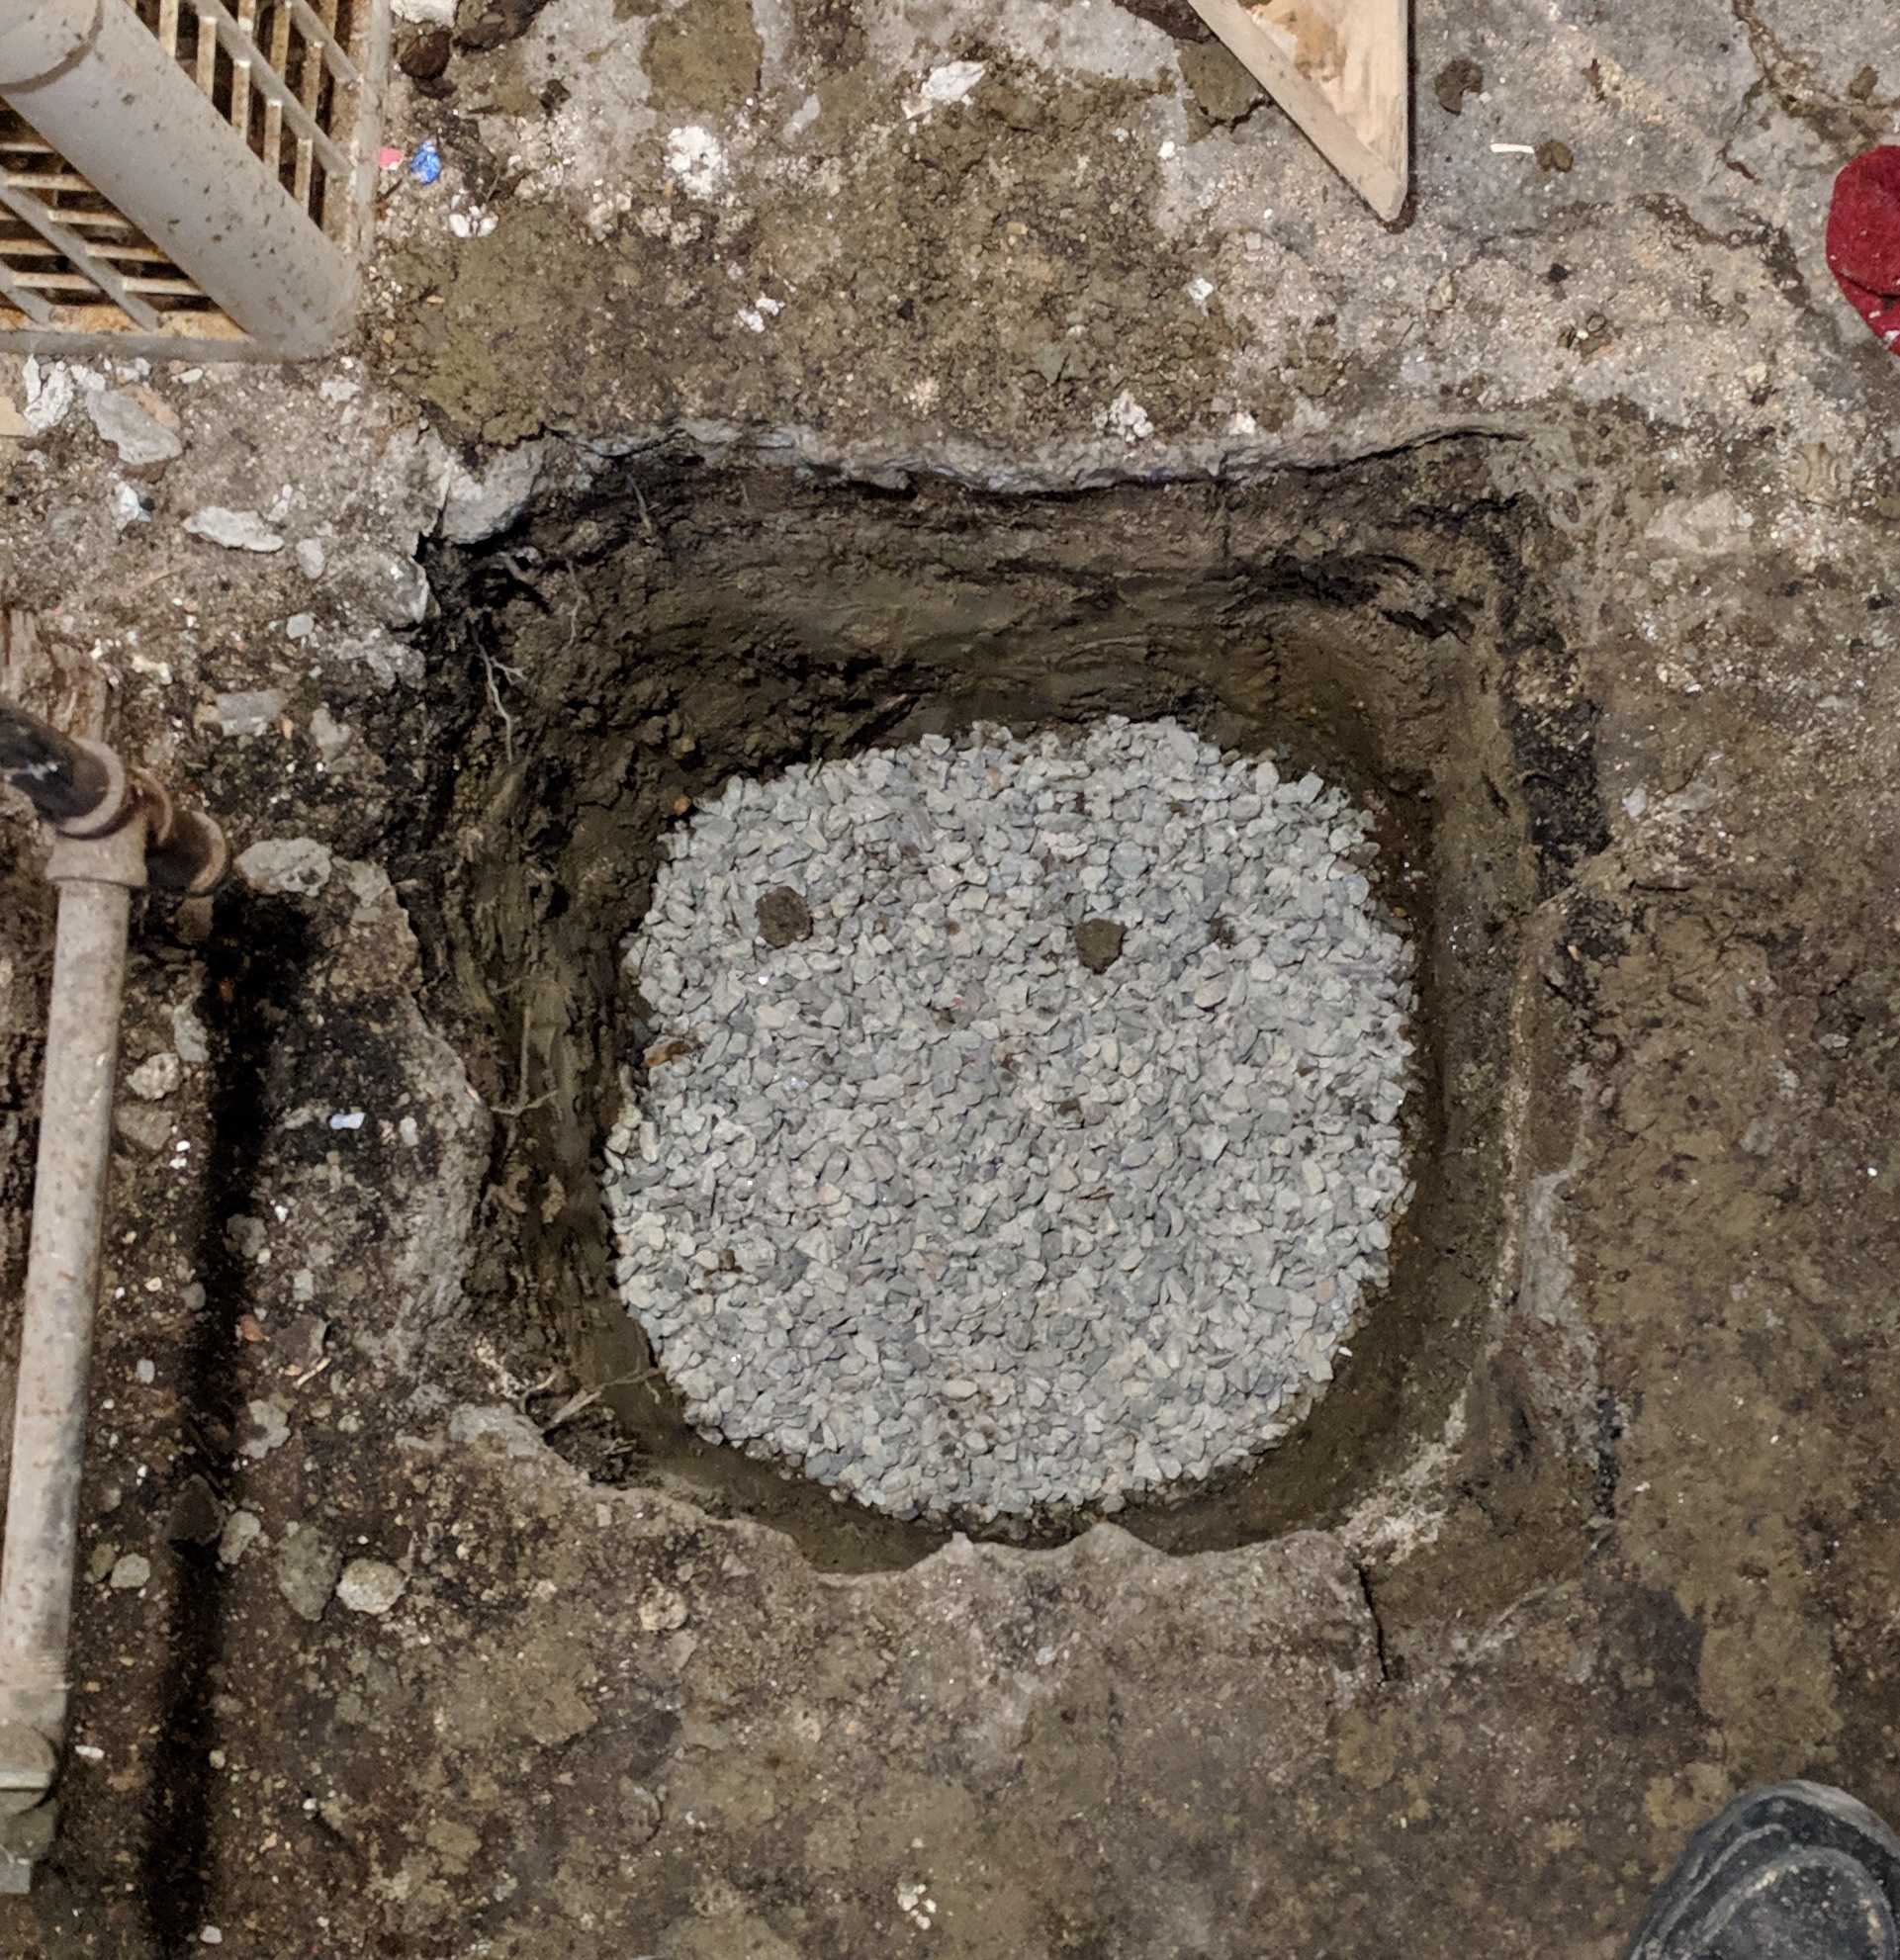
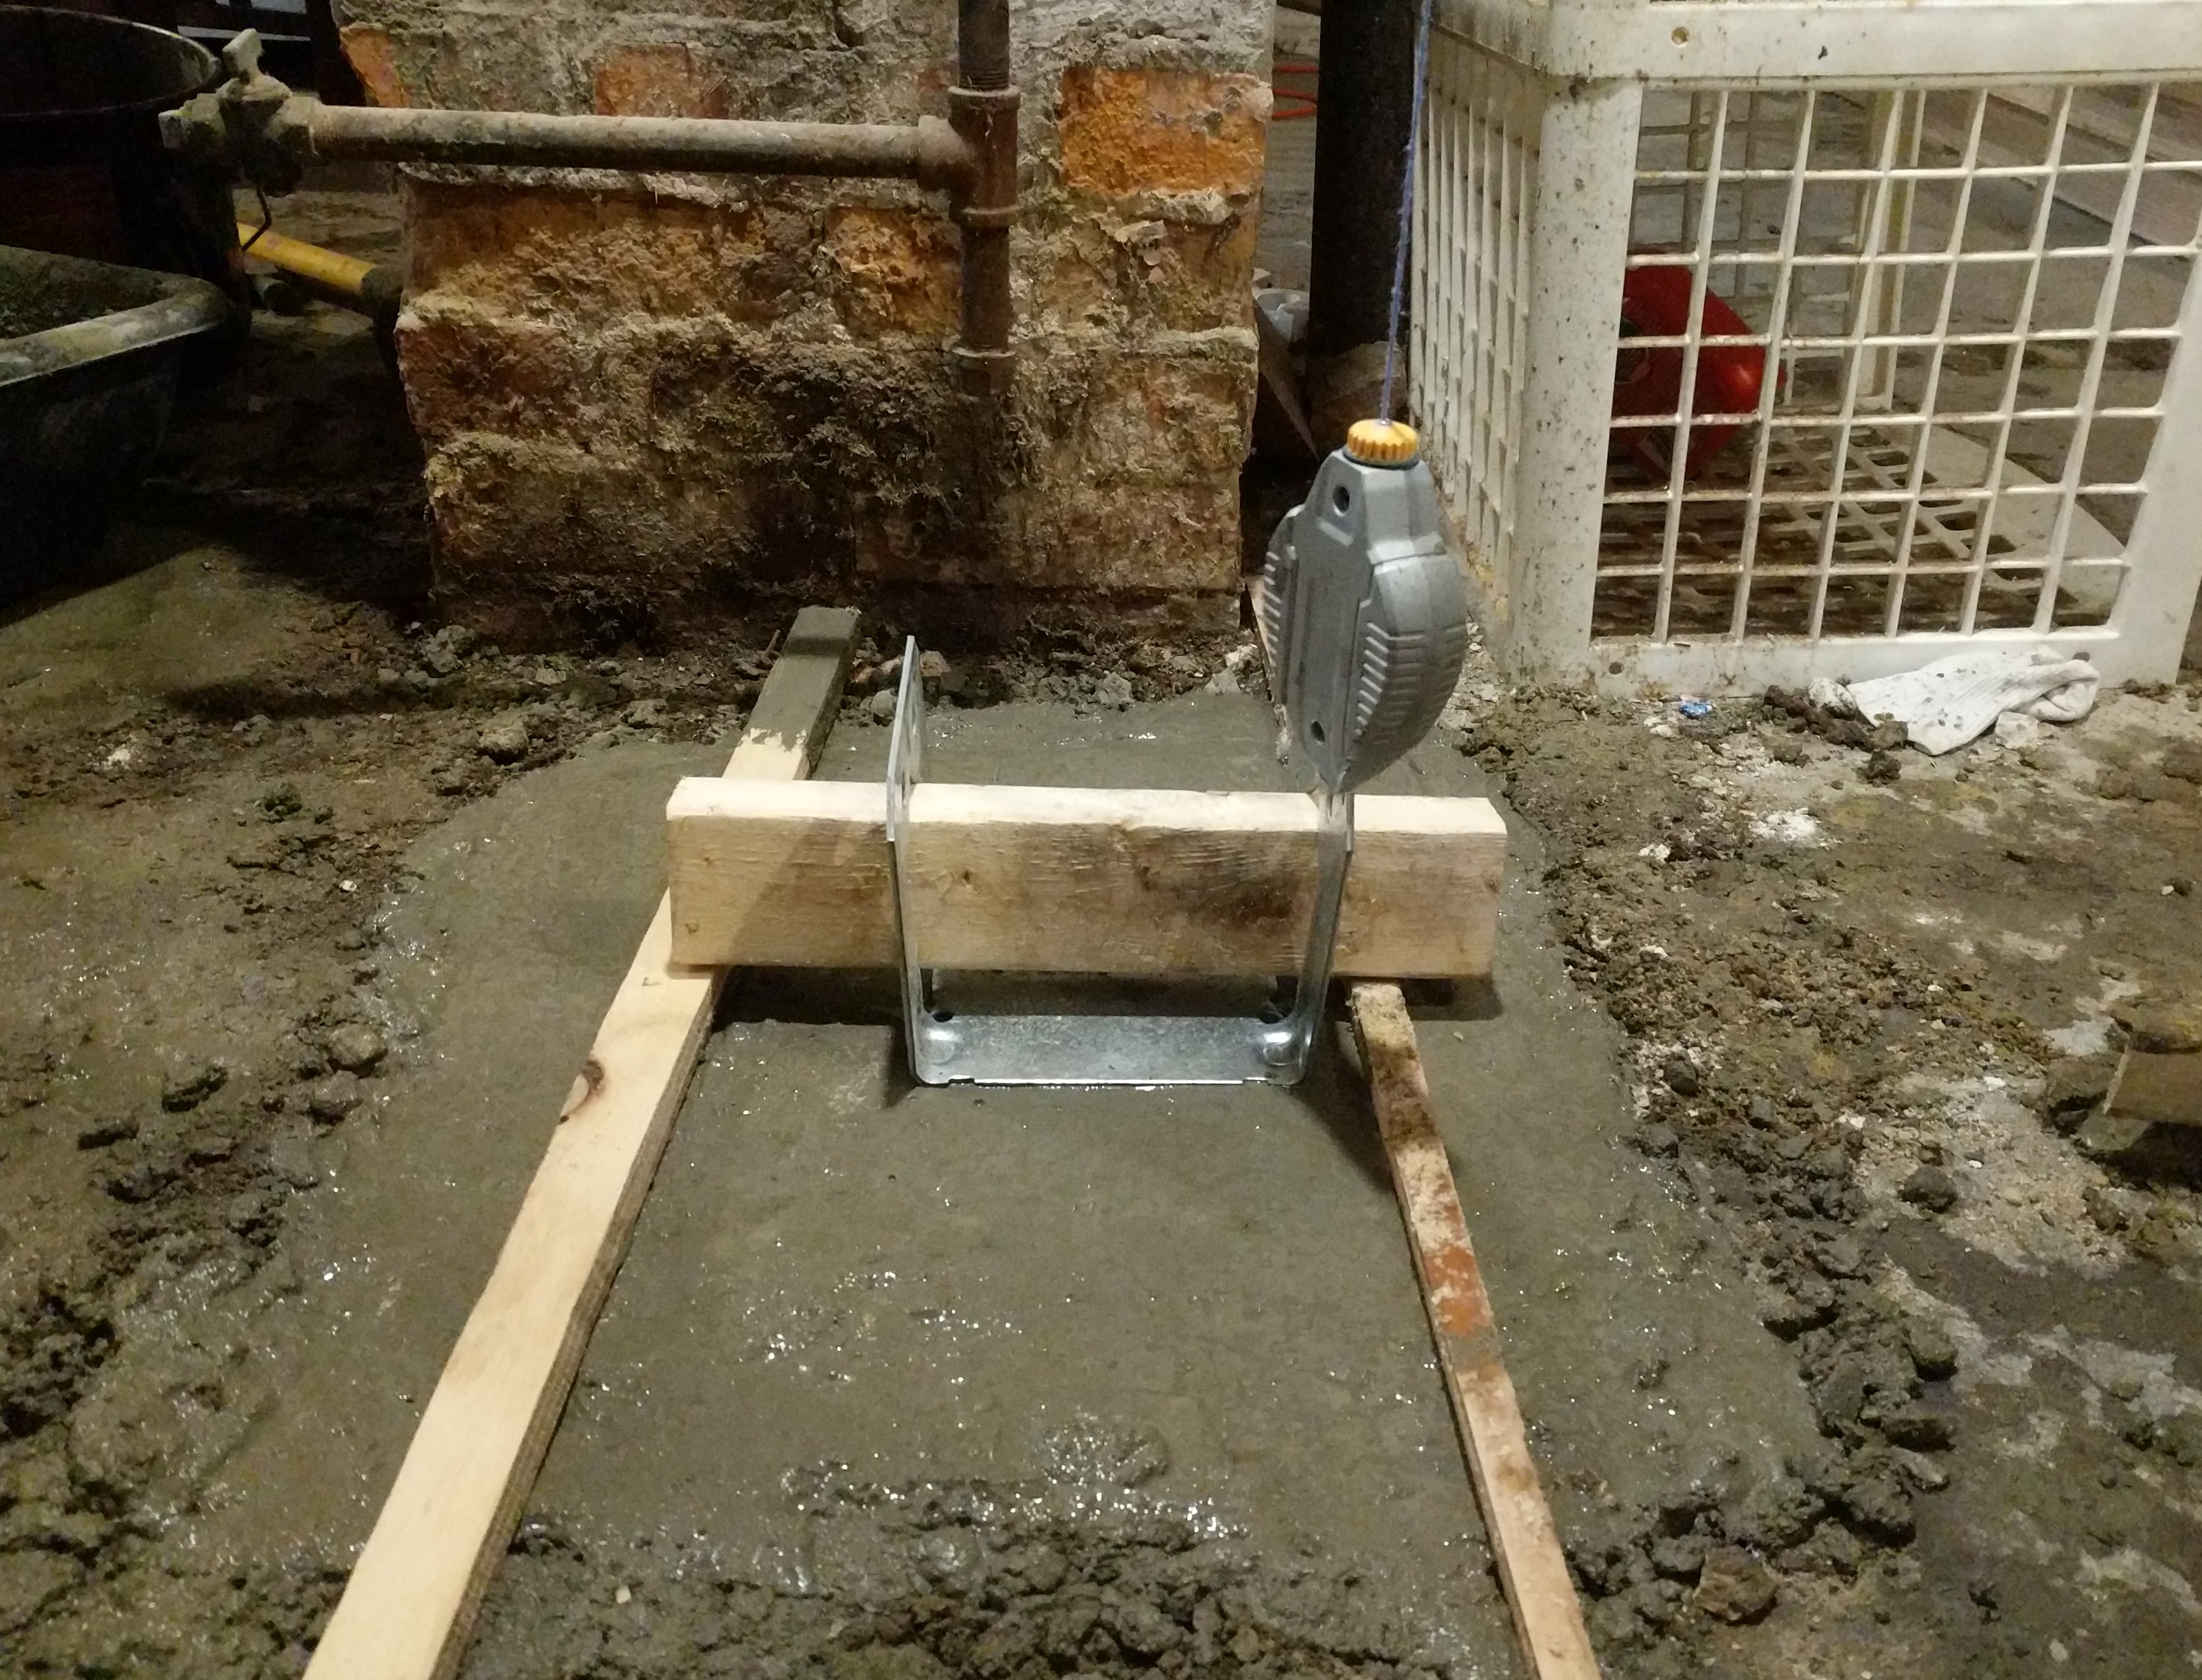
Then I mixed bags of standard concrete and poured them in. One bag at a time, over and over. Something like 400lbs of conrete, plus water. Once it was smooth I put the metal column base in, with a plumb bob to line it up with the hole above.
Chimney-side column
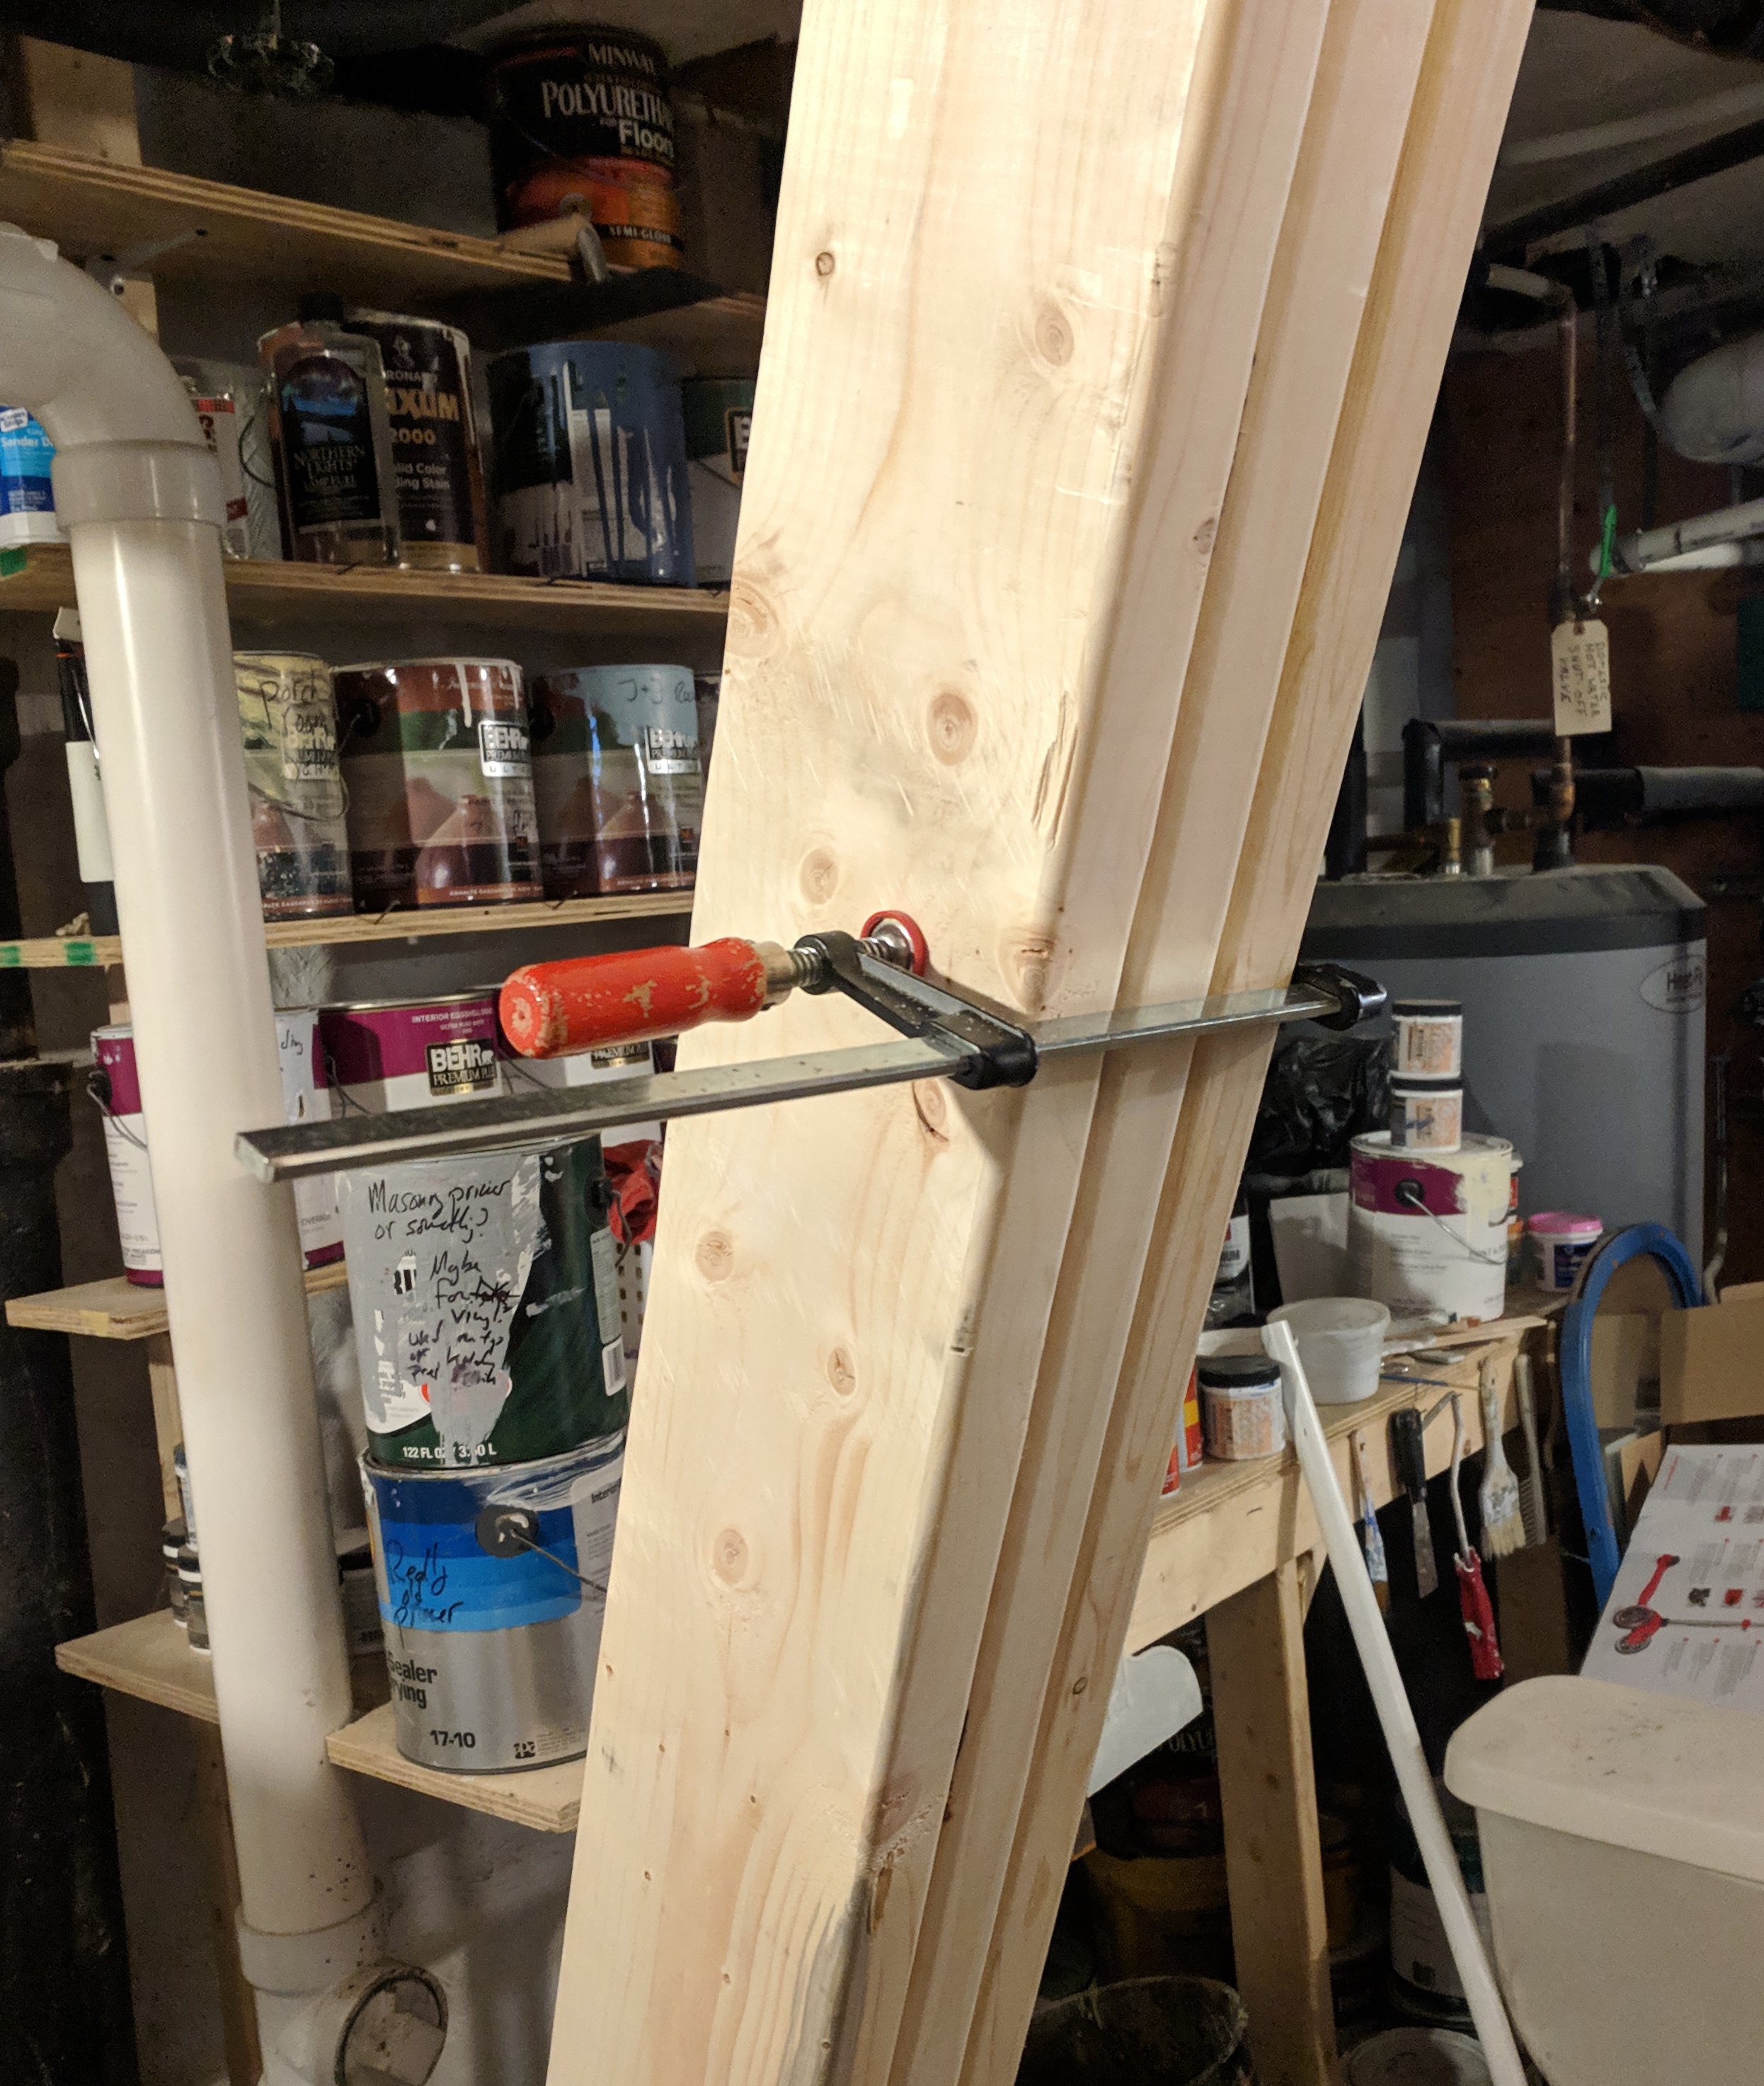
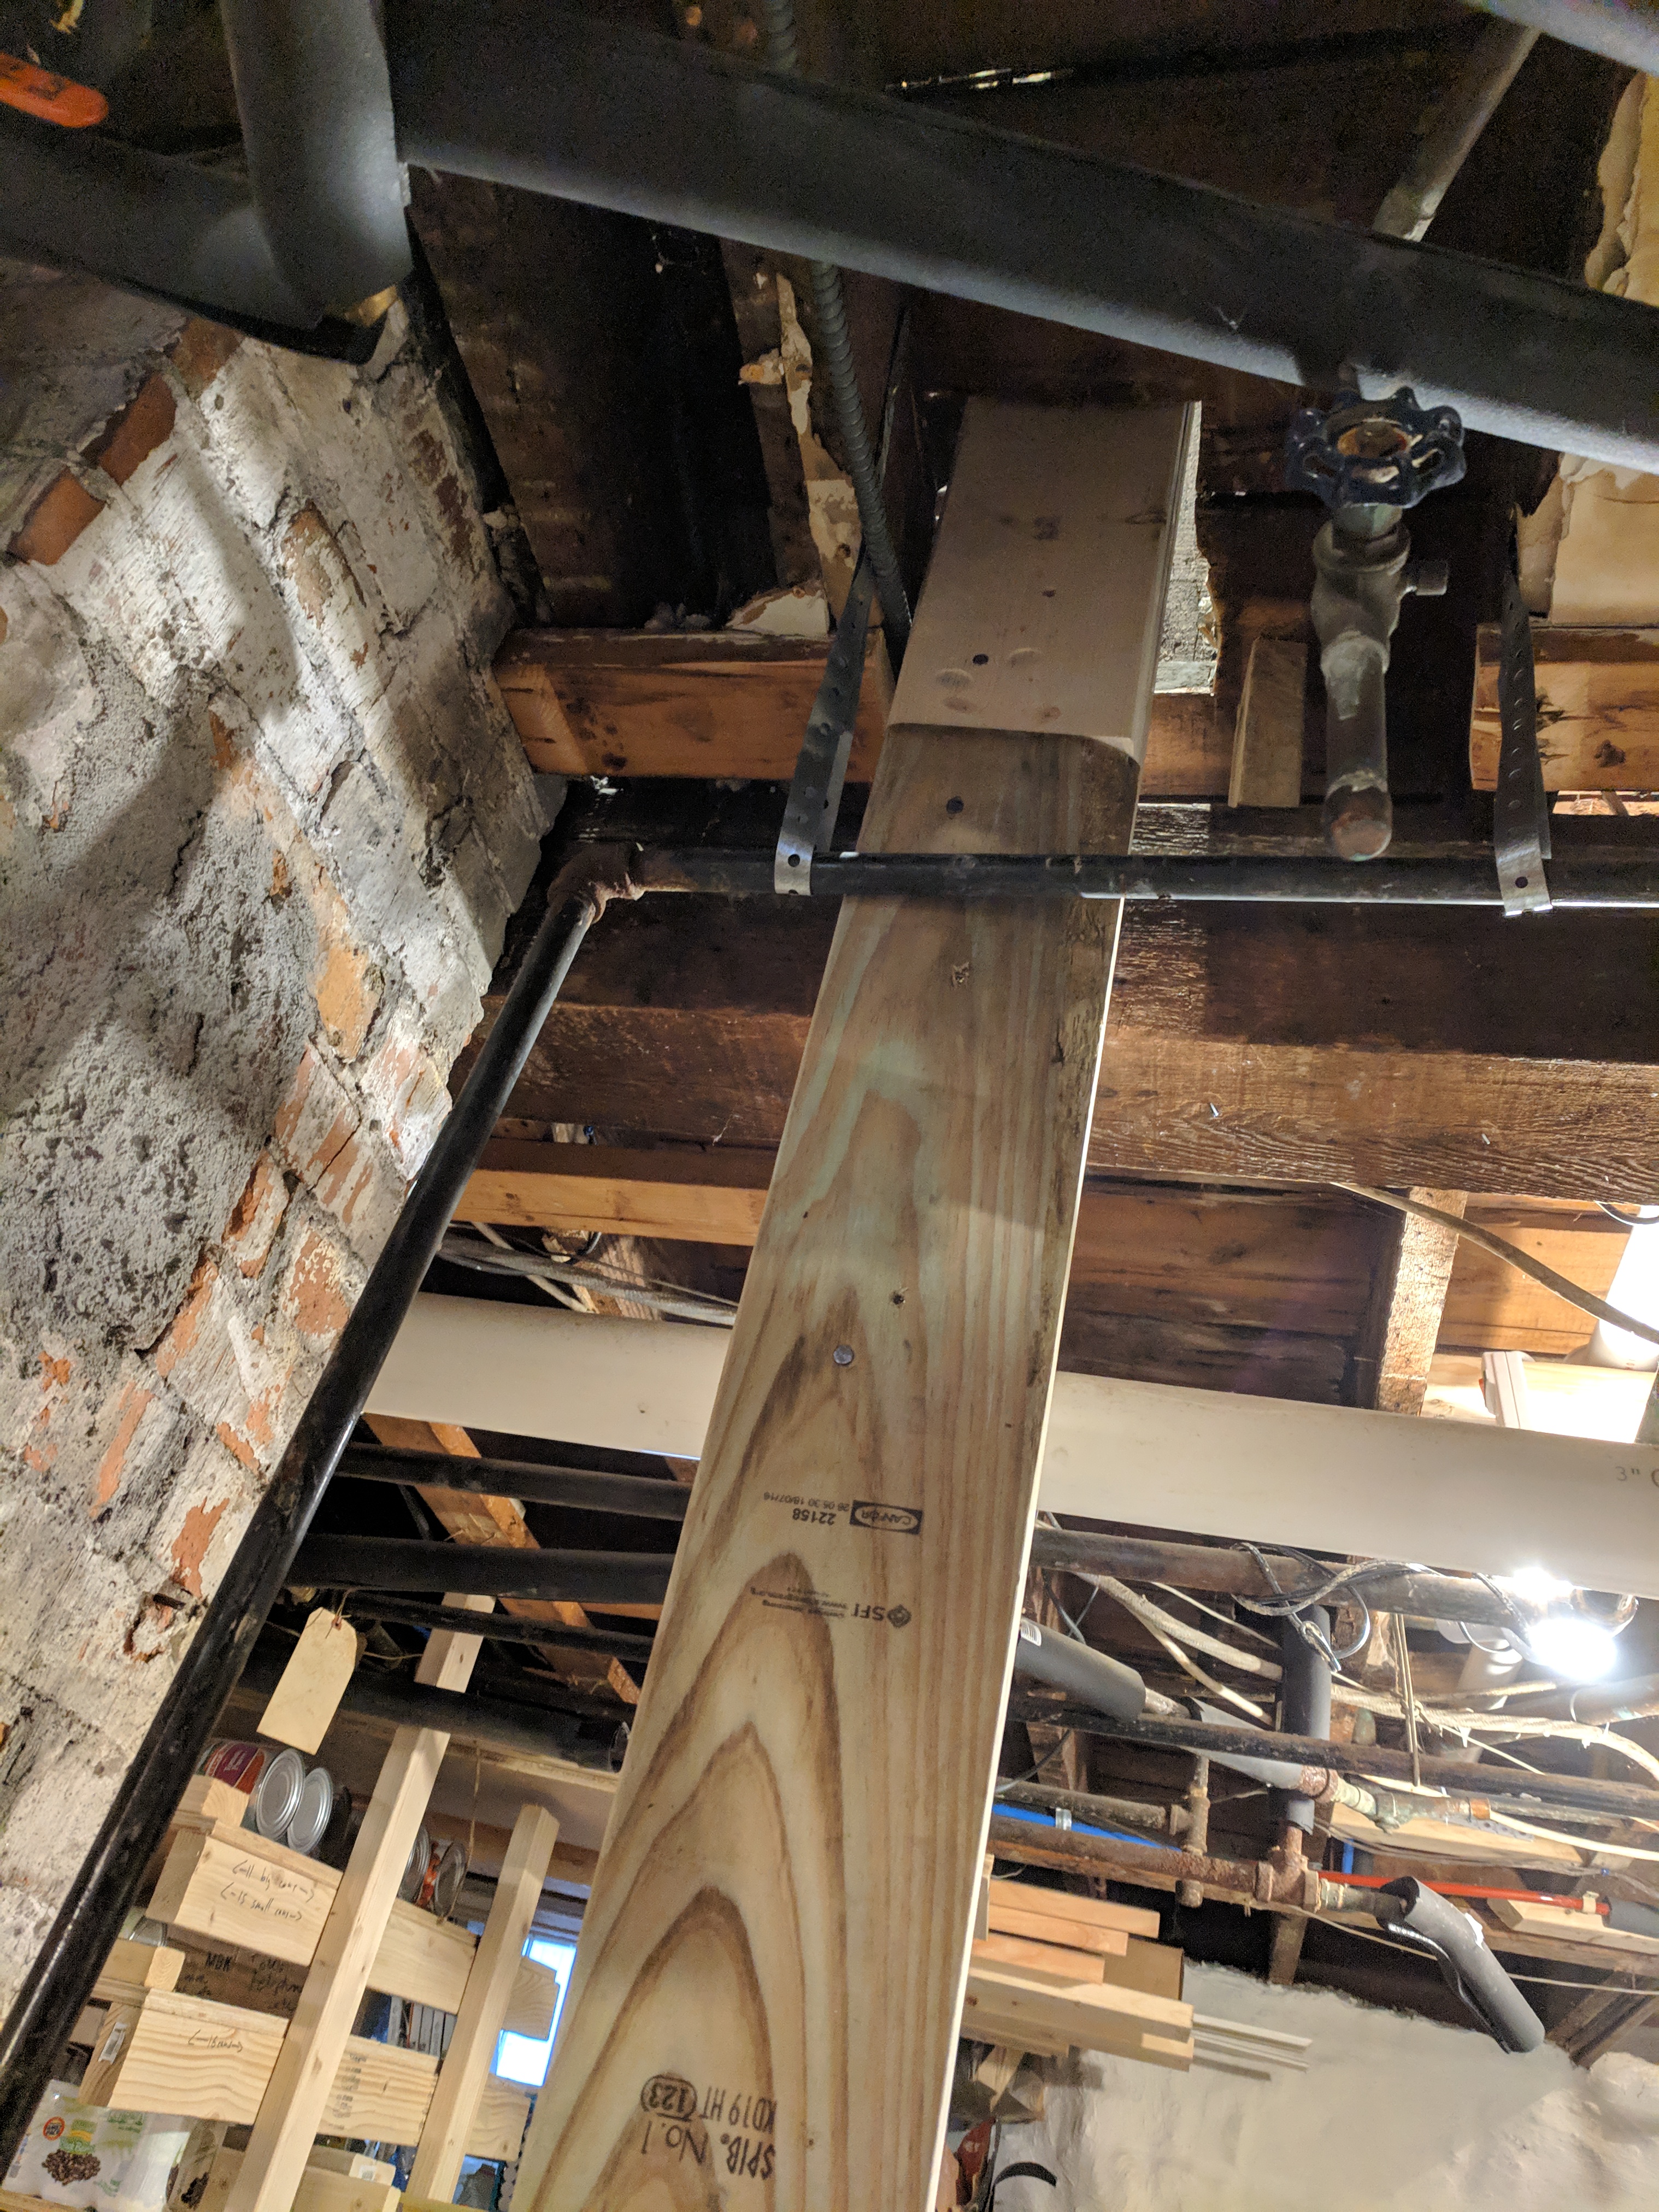
I built the chimney-side column up from the basement. I wanted an ~18 foot column, and there wasn't room to move around with something more than ~7 feet long, so I made it out of staggered 6.5-foot lengths. Each section I screwed together and then put in 16d nails from both sides. It's three 2x6s. Working by myself clamps were a very useful substitute for extra hands.
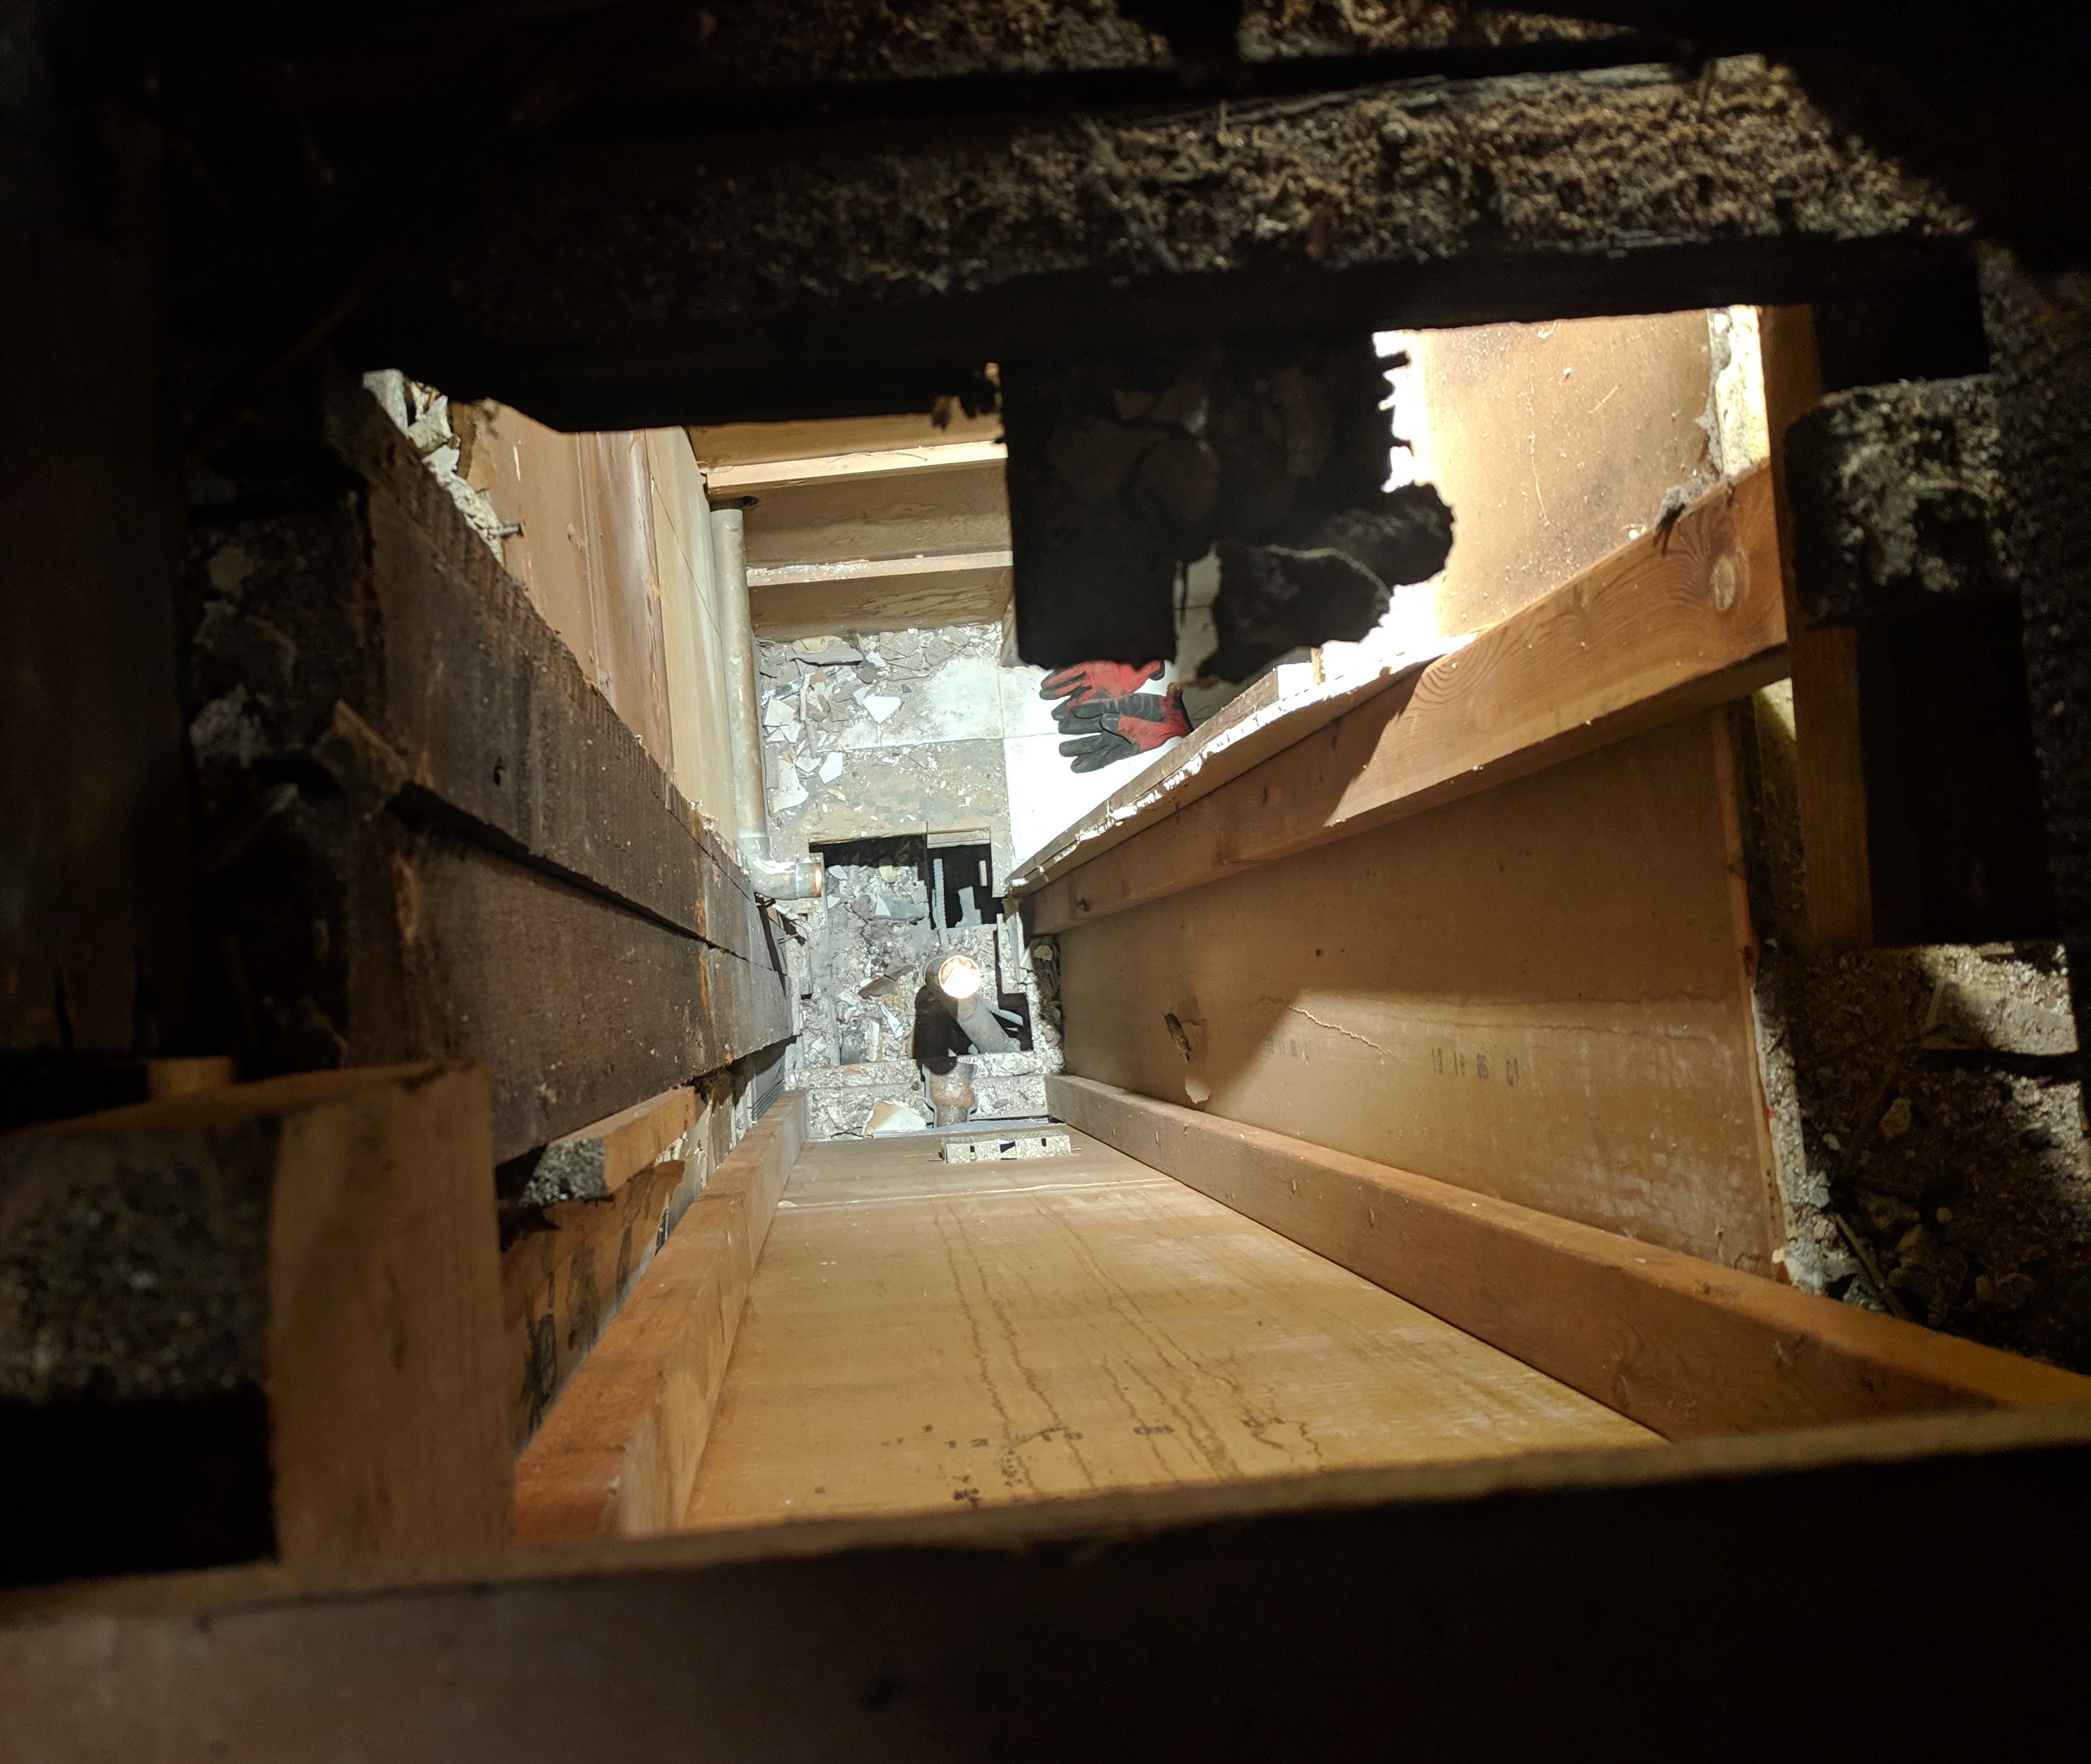
As I built it up, here's what it looks like from the top, coming up
through the mysterious convenient dead space next to the chimney.
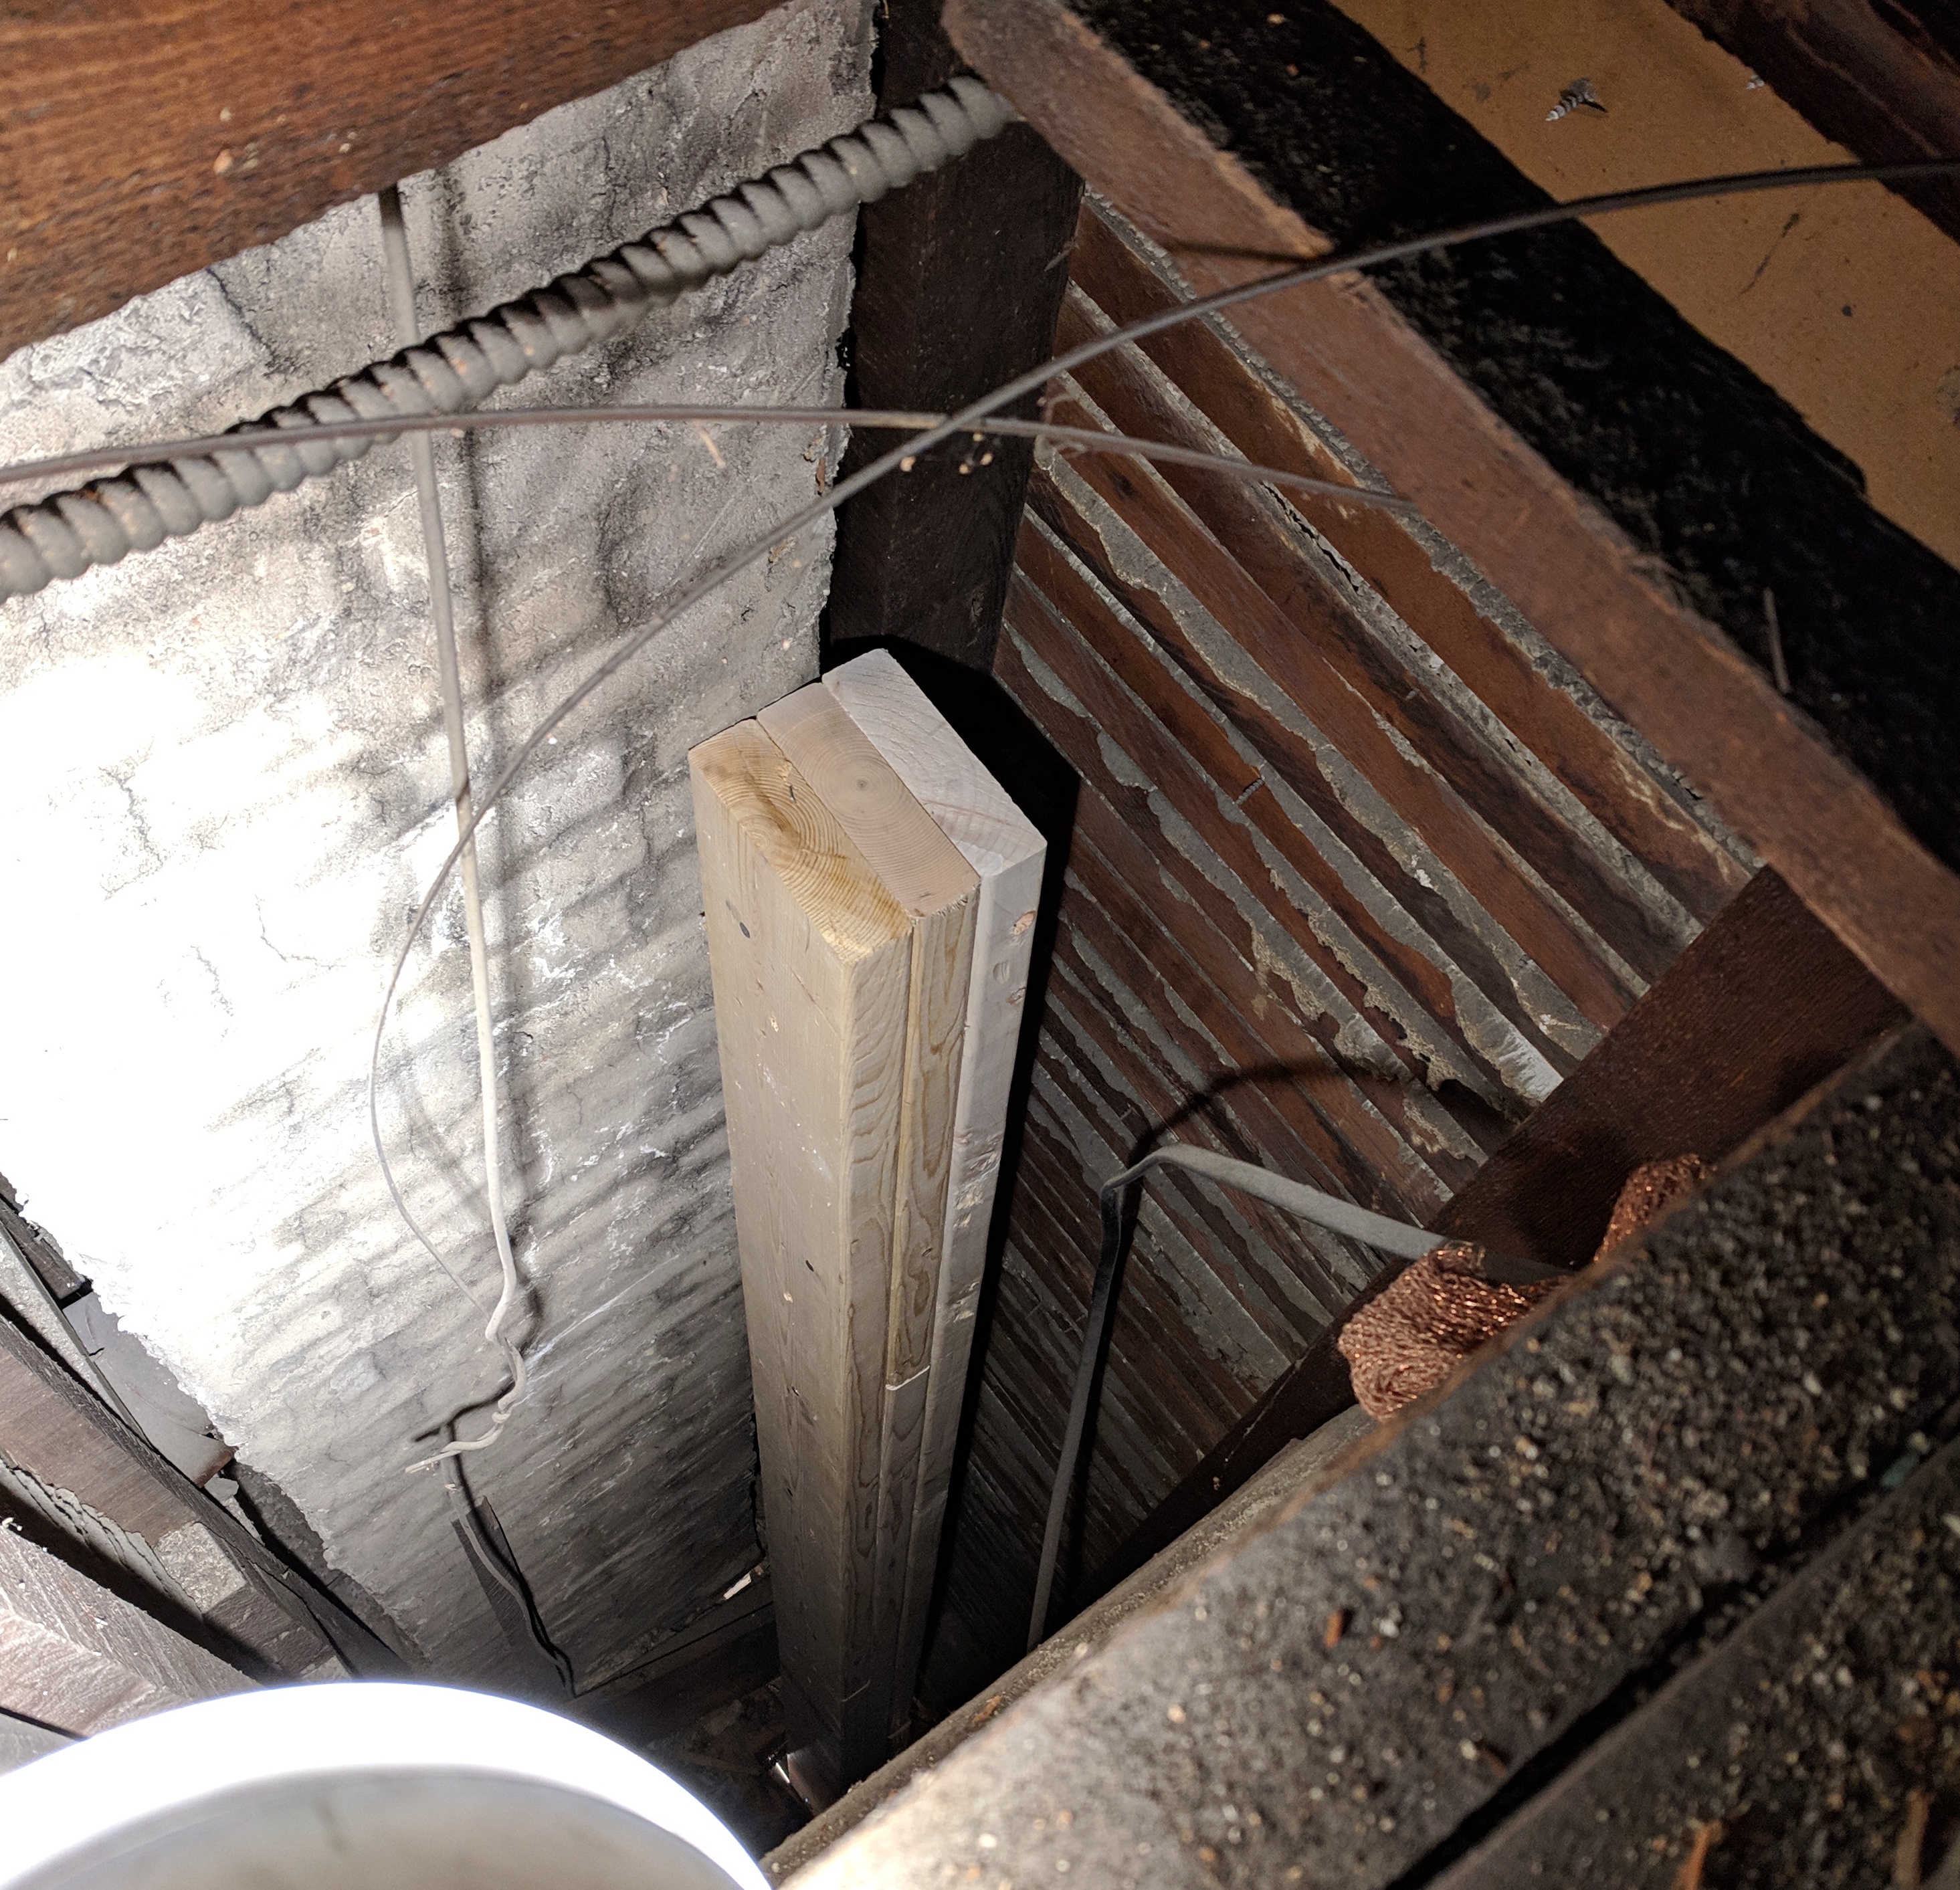
The footing was only recently poured and the metal column base needed to not get squashed, so I built up a bit of wood to protect it from the column.
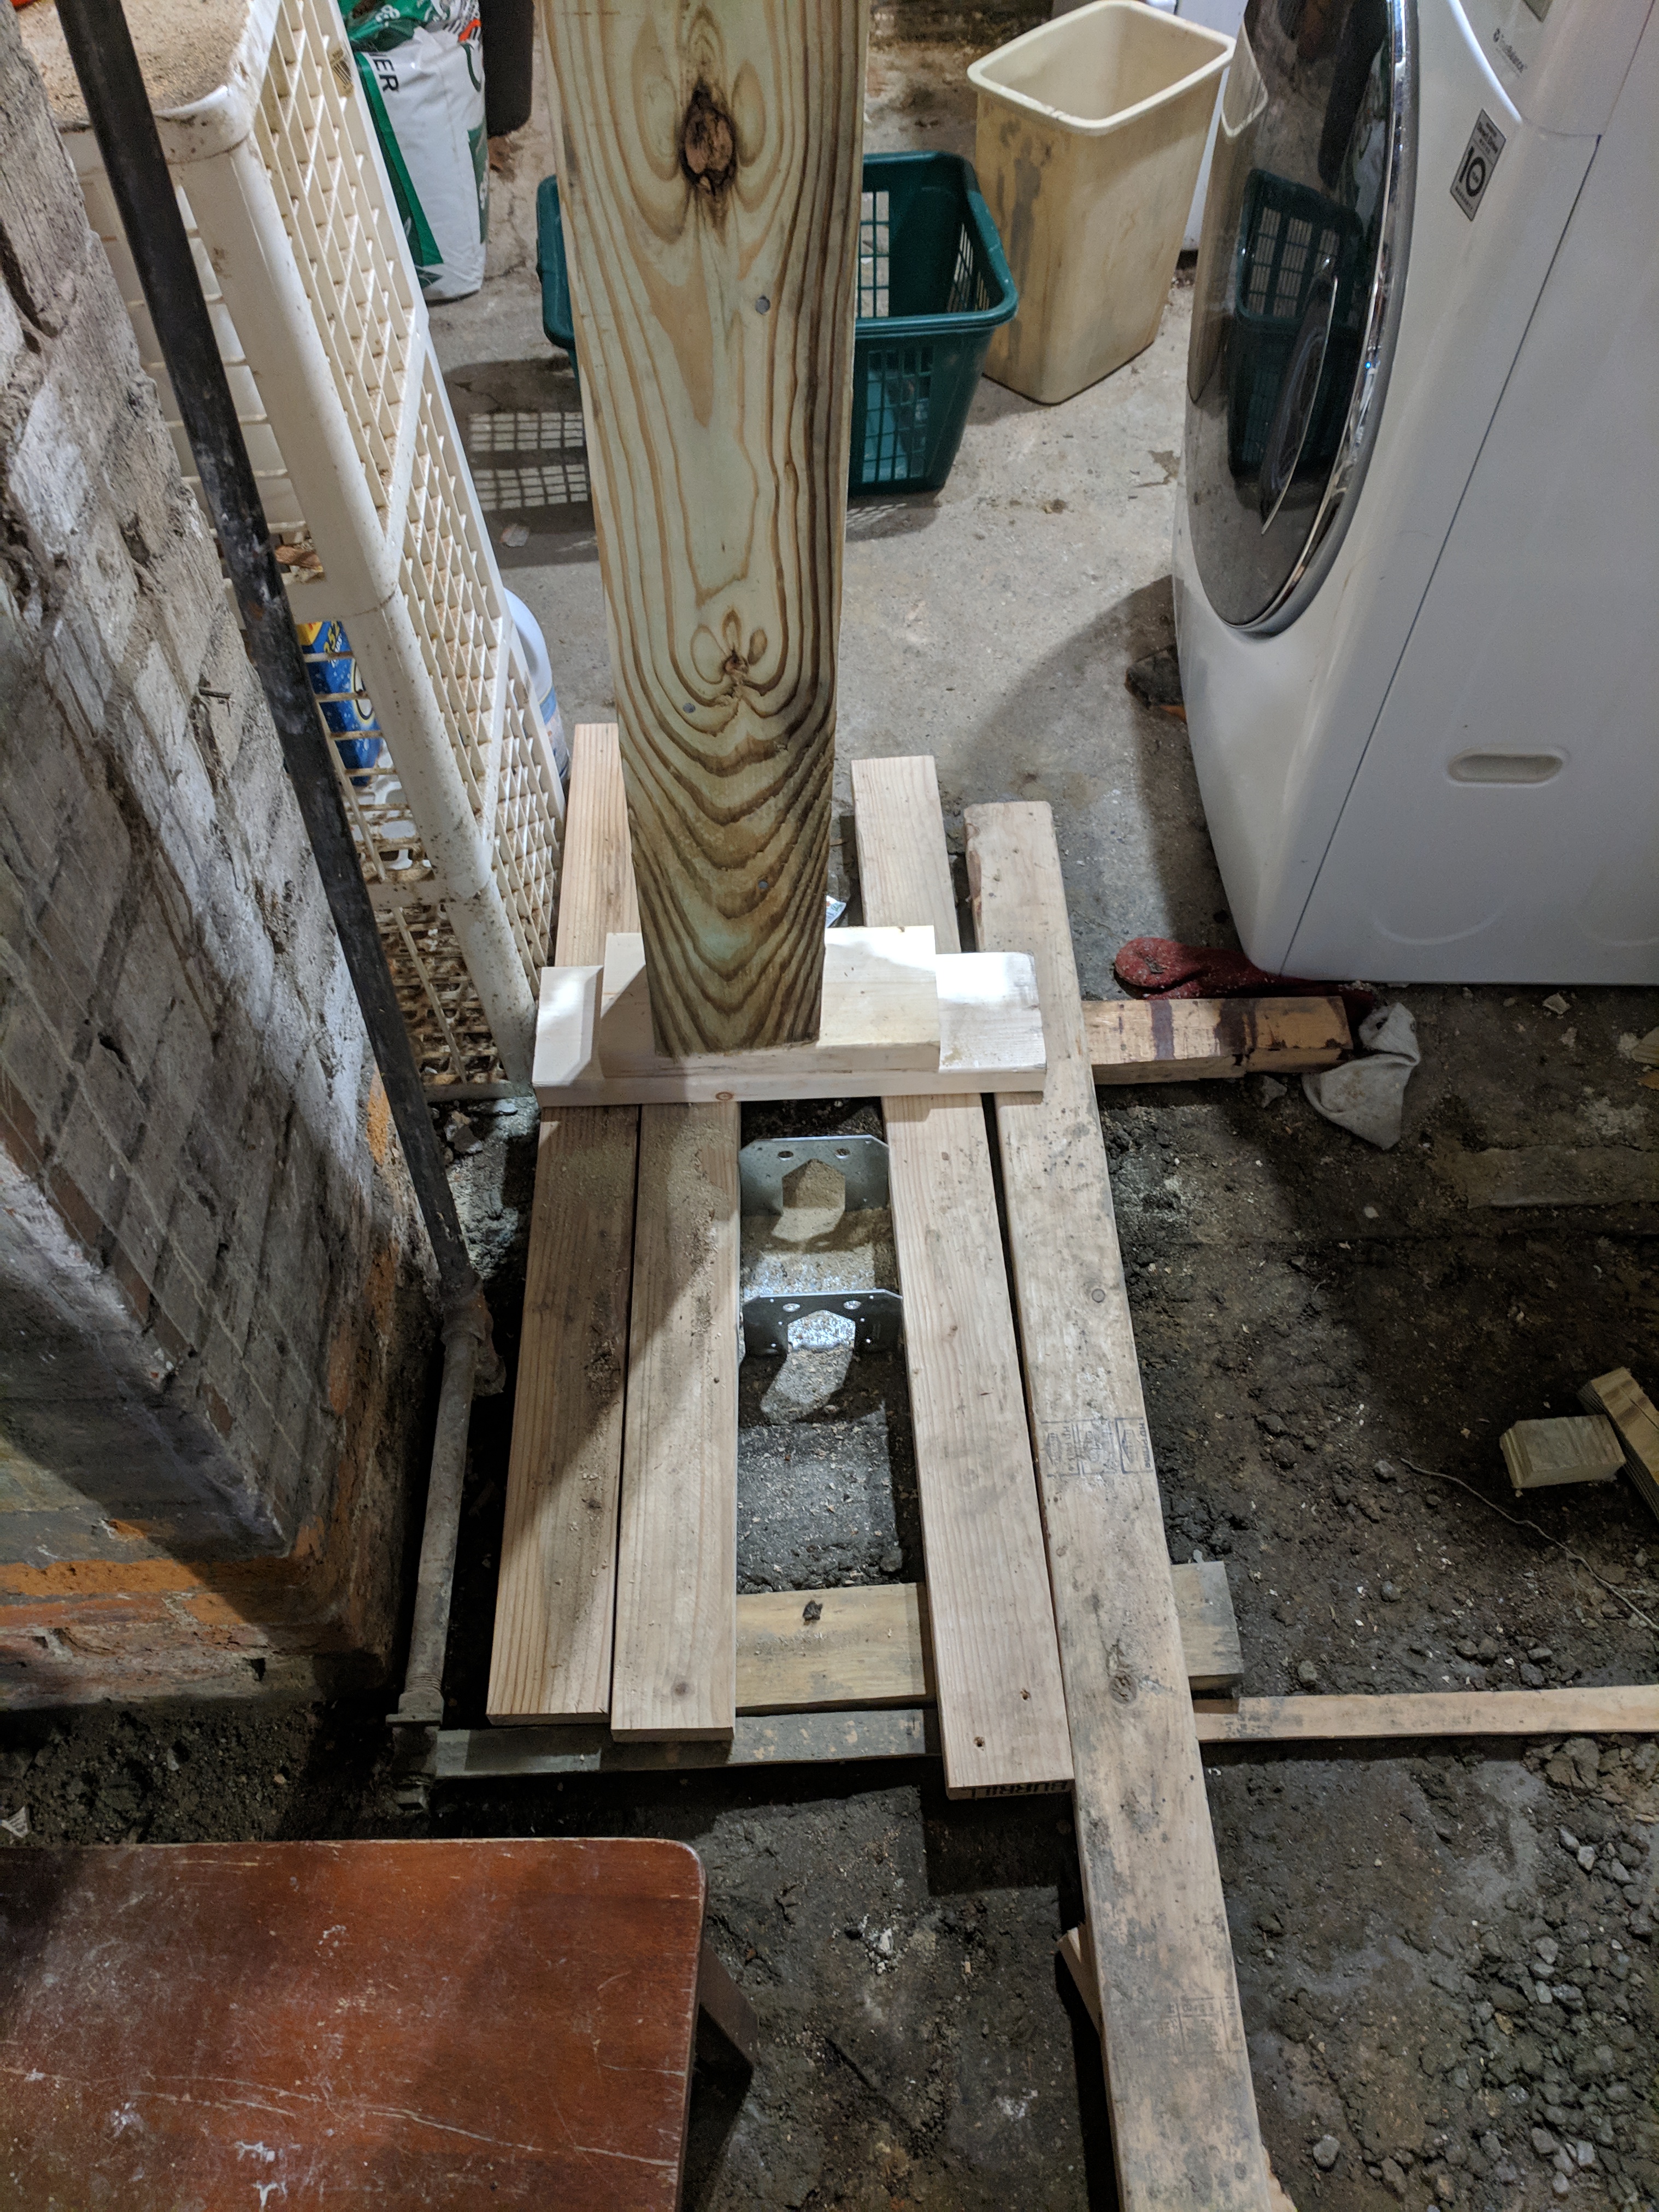
Here's what it looks like done. You can see I used pressure treated 2x6s for the bottom section of the column.
Wall-side column
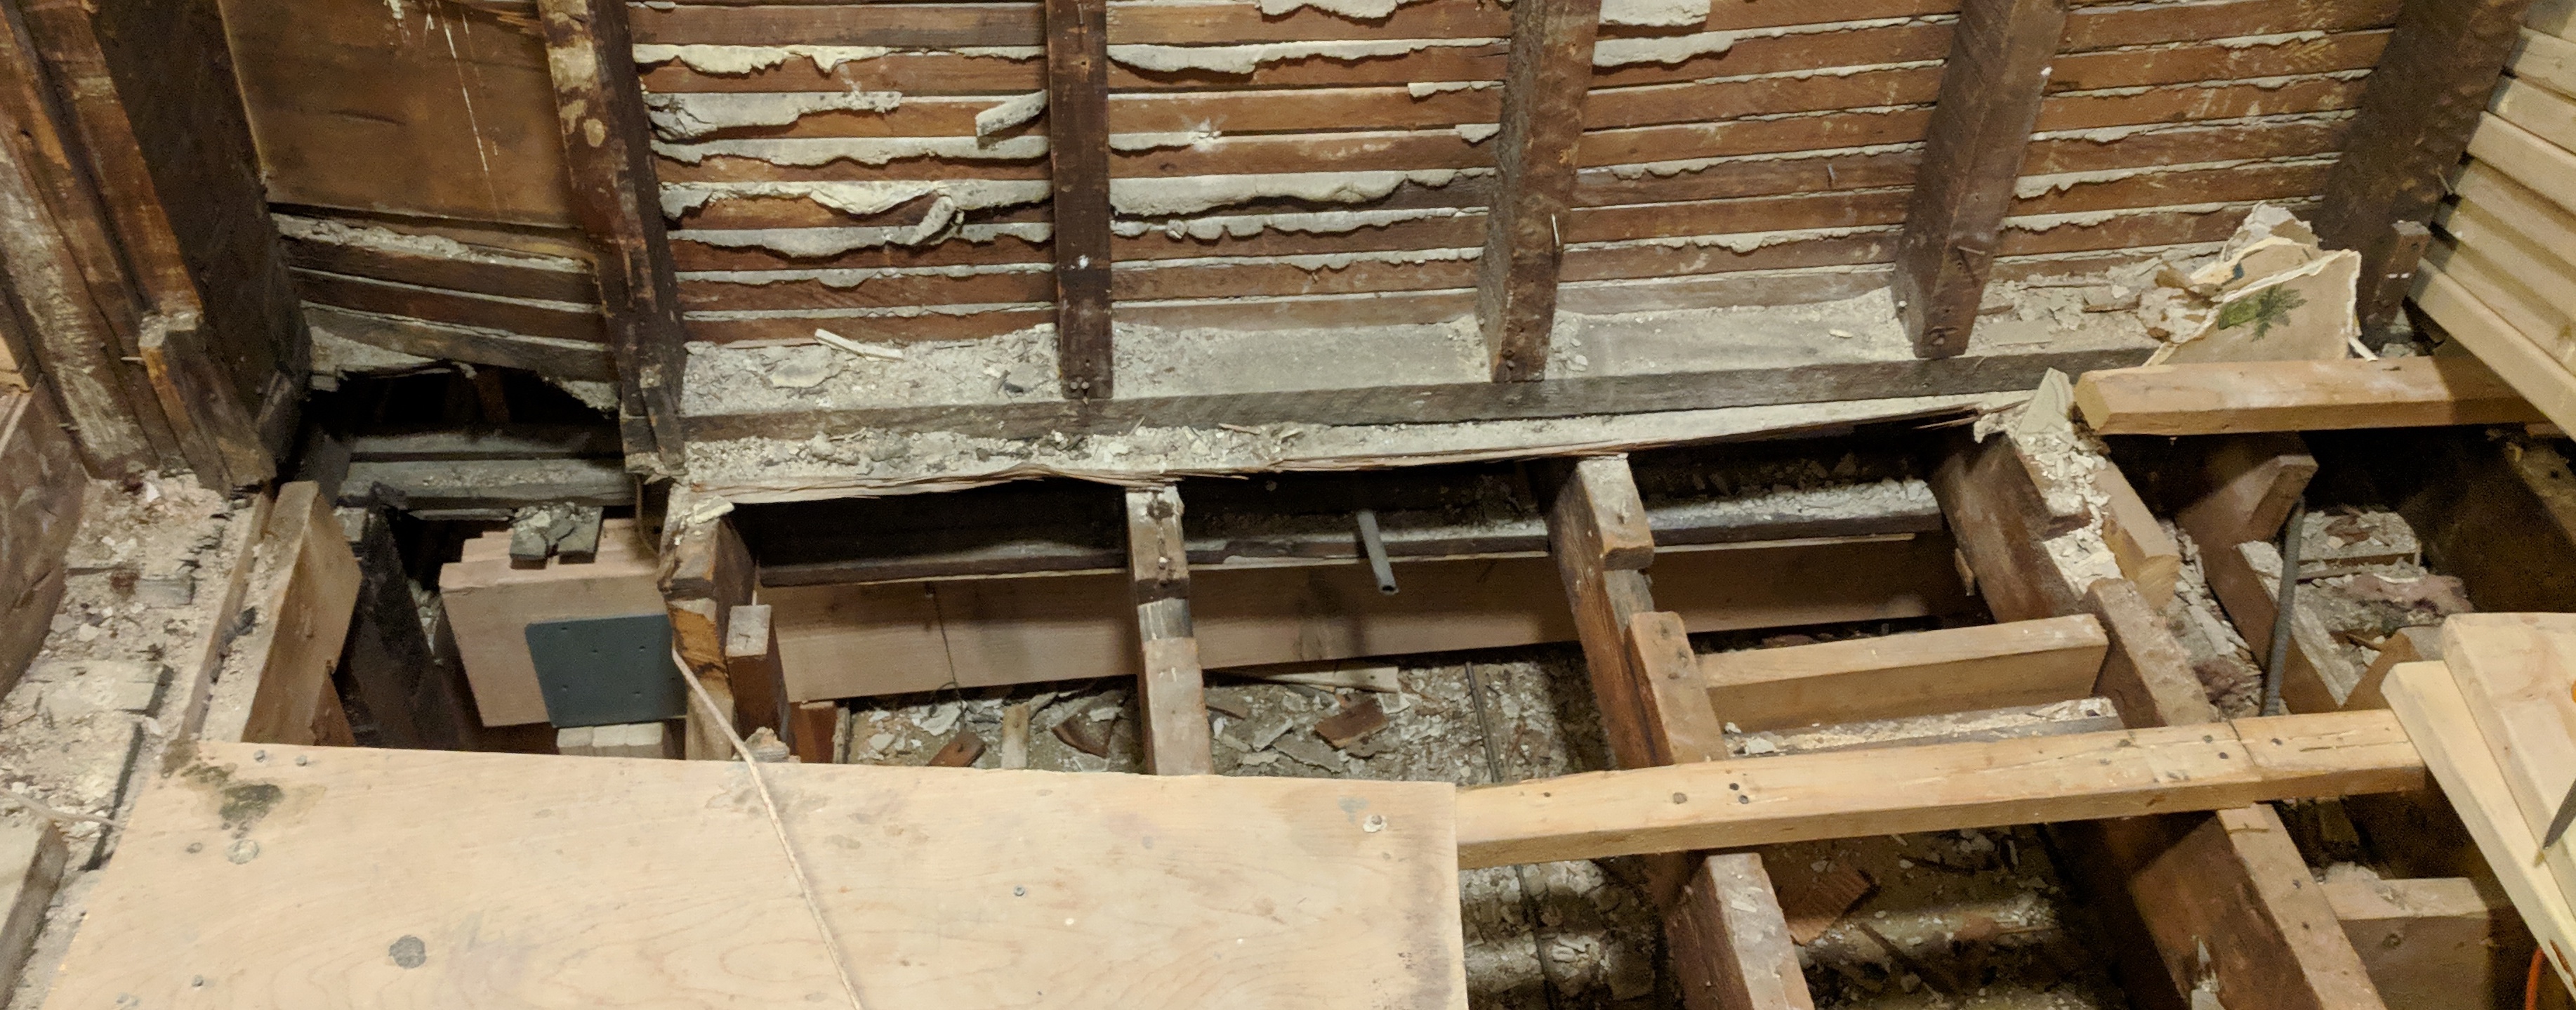
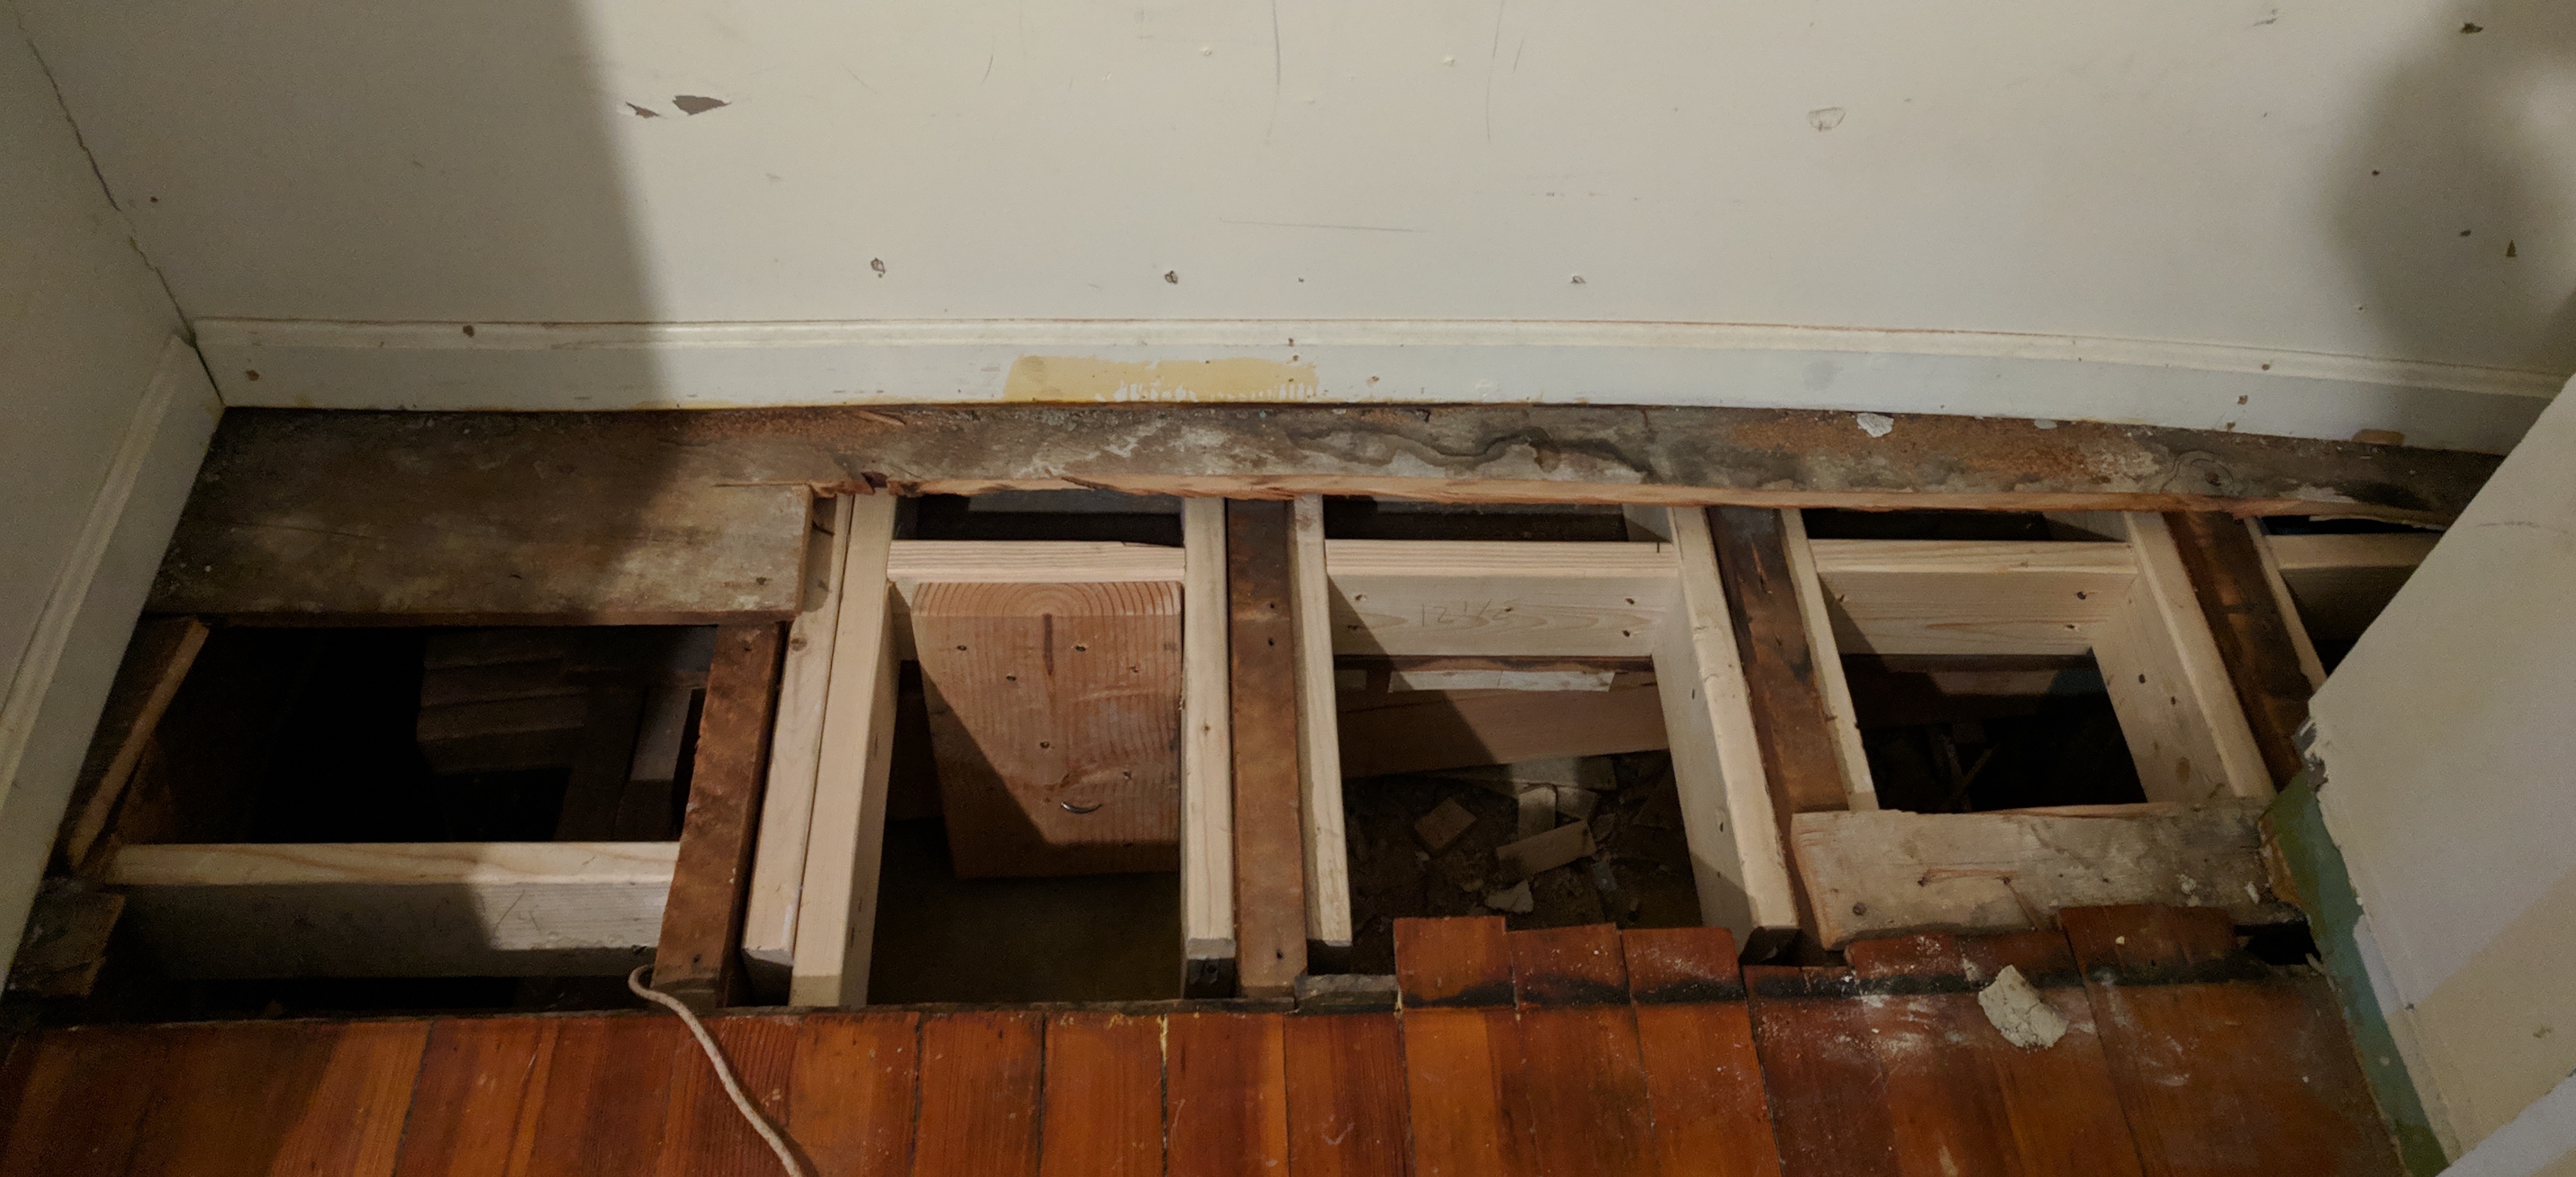
The first step was to figure out exactly where the column should run. I opened up a bit of the wall in the first floor bathroom to see.
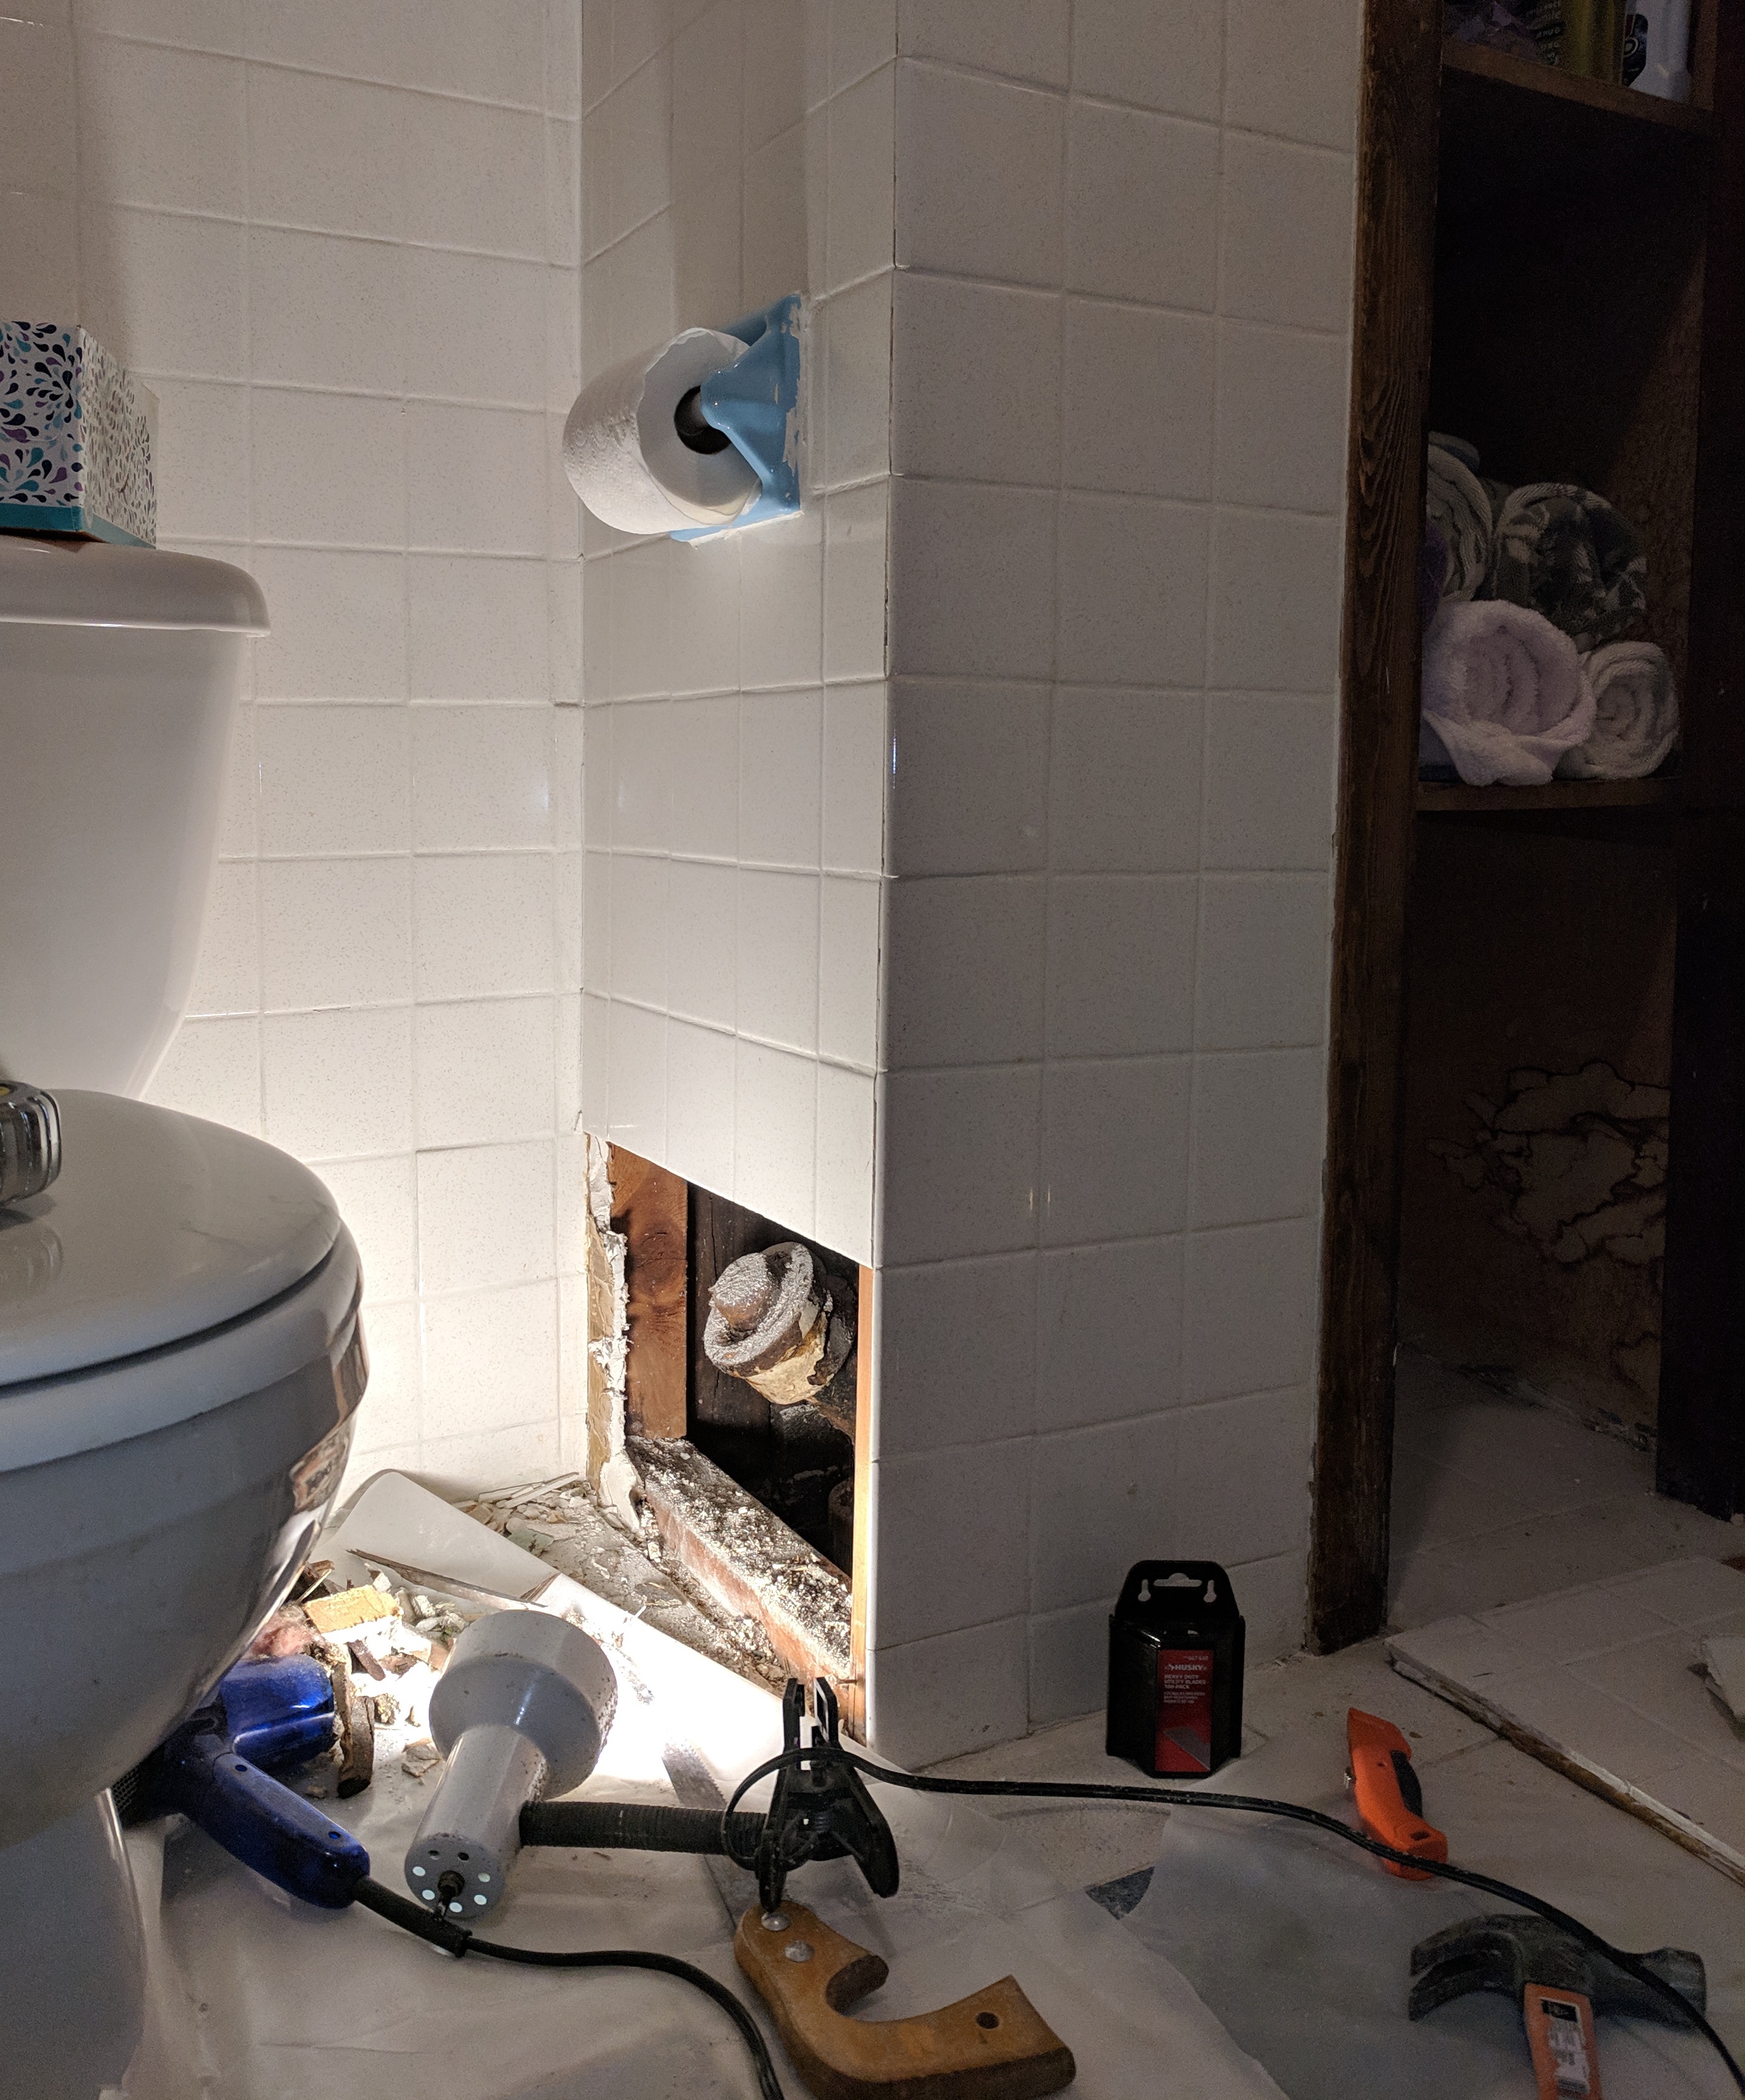
The column couldn't run through that box because the stack was there. It couldn't run left of that box because that would take more of the bathroom and also at the top it would fall on the wrong side of where one of the joists had been cut all the way through. It couldn't run right of that box, through the back of the closet, because then it would fall on the stack (which made a 90° turn just under the floor and ran along the top of the foundation). After talking to the plumber, and considering that our stack was 100-year-old cast iron and near the end of its life, we decided to remove the stack.
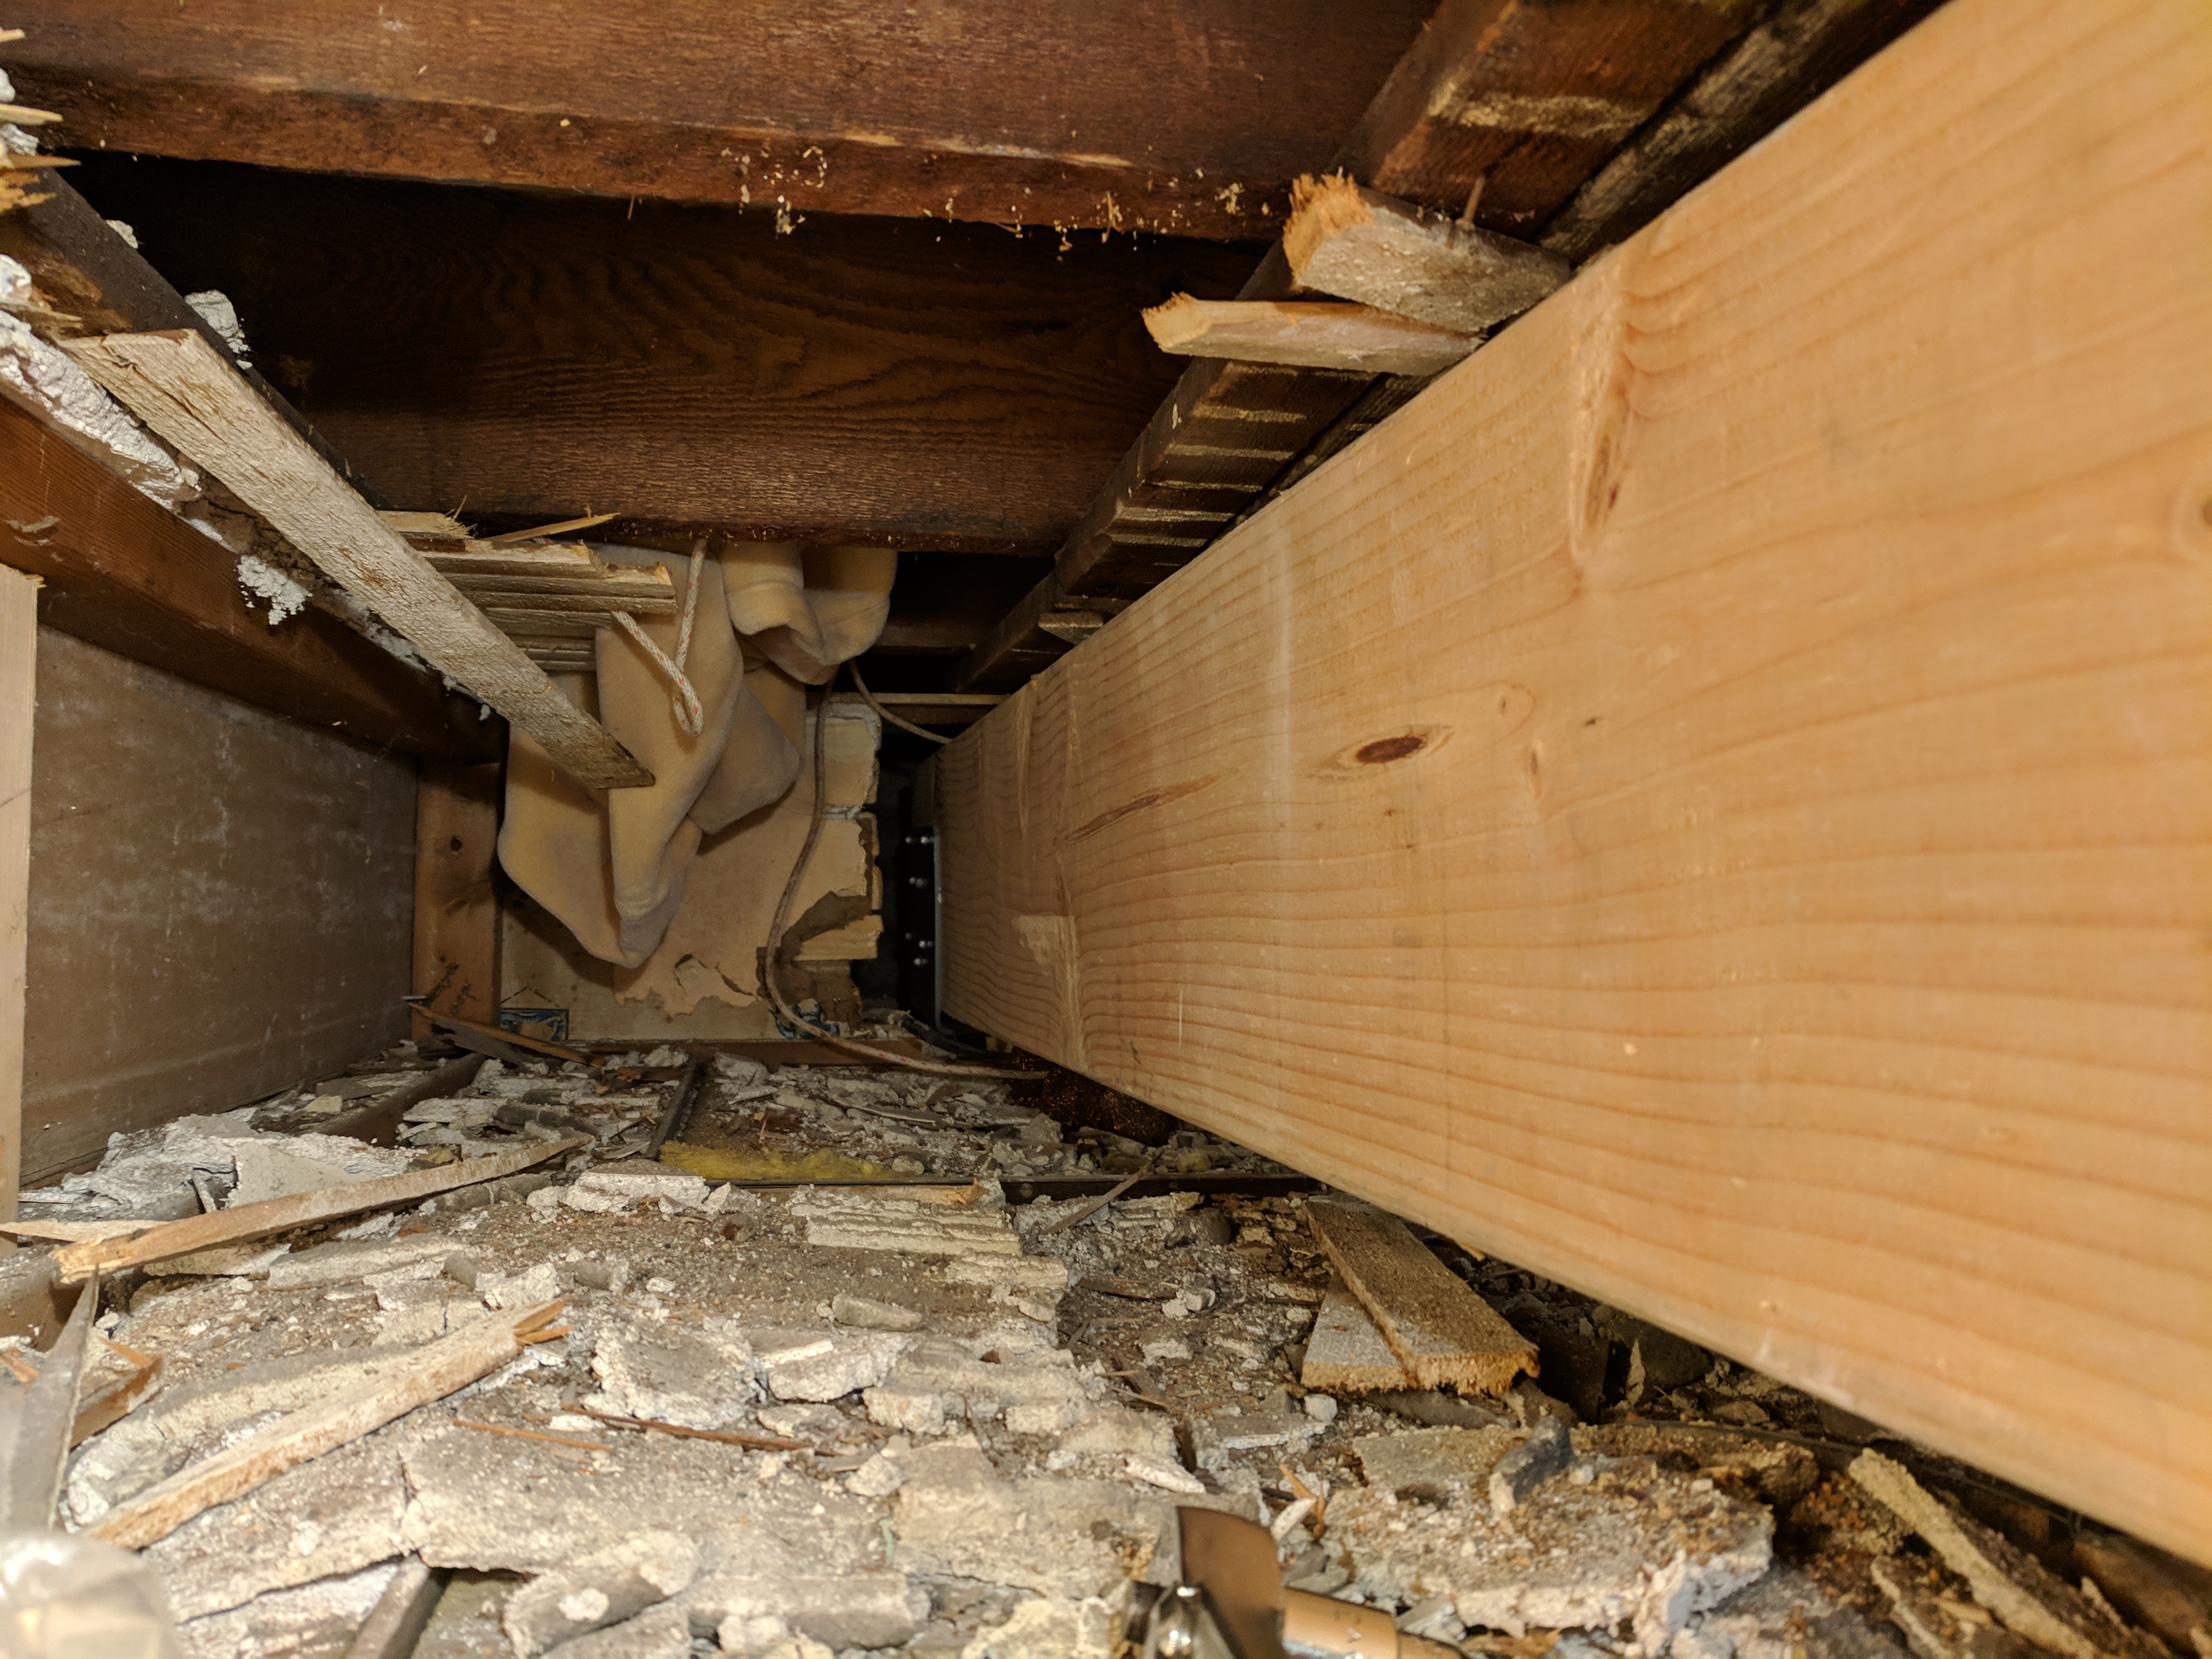
Now there was enough space to lower down a 9-foot triple 2x6 column in one piece, and have it sit directly on the end of the central beam.
Header
The bathroom below had a drop ceiling, which meant there was room to run a header between the bottom of the joists and the top of the ceiling.Before putting in the header I carefully measured the columns and cut them exactly to length. The goal was that the bottom of the header would be just above the drop ceiling, to give as much room as possible to move the header pieces around above.
The header needed to be just over six feet of triple 2x10. While the columns could be built from pieces that didn't run the full height, each 2x10 had to run the full span. Getting this into place was very difficult, and I wouldn't have been able to do it by my self. My dad helped with this part (thanks Rick!)
There were 2x3s running horizontally, perpendicular to the joists, and while they weren't intended to be structural I was pretty sure they had fallen into that role. So I didn't want to cut any we didn't have to until we were done with the refit. We figured out how to cut just one section of one of them, and fed the 2x10s one by one through the gap.
Rotating the 2x10s, first horizontally and then vertically, was an extremely tight fit. This was very difficult, and involved some carefully targeted additional demolition before they would make the turn. This took a long time!
There was also a vertical 2x3 that they had used as part of boxing in the stack which was in the way of where the header would need to run. Unfortunately it looked like it was probably holding up about one joist's worth of the floor weight! Before we could remove it we needed a temporary support. We ran another 2x6 from the central beam in the basement to just this joist, and hammered it into place to take the load. Once I cut the 2x3 it was very clear that the 2x6 was carrying a lot of weight.
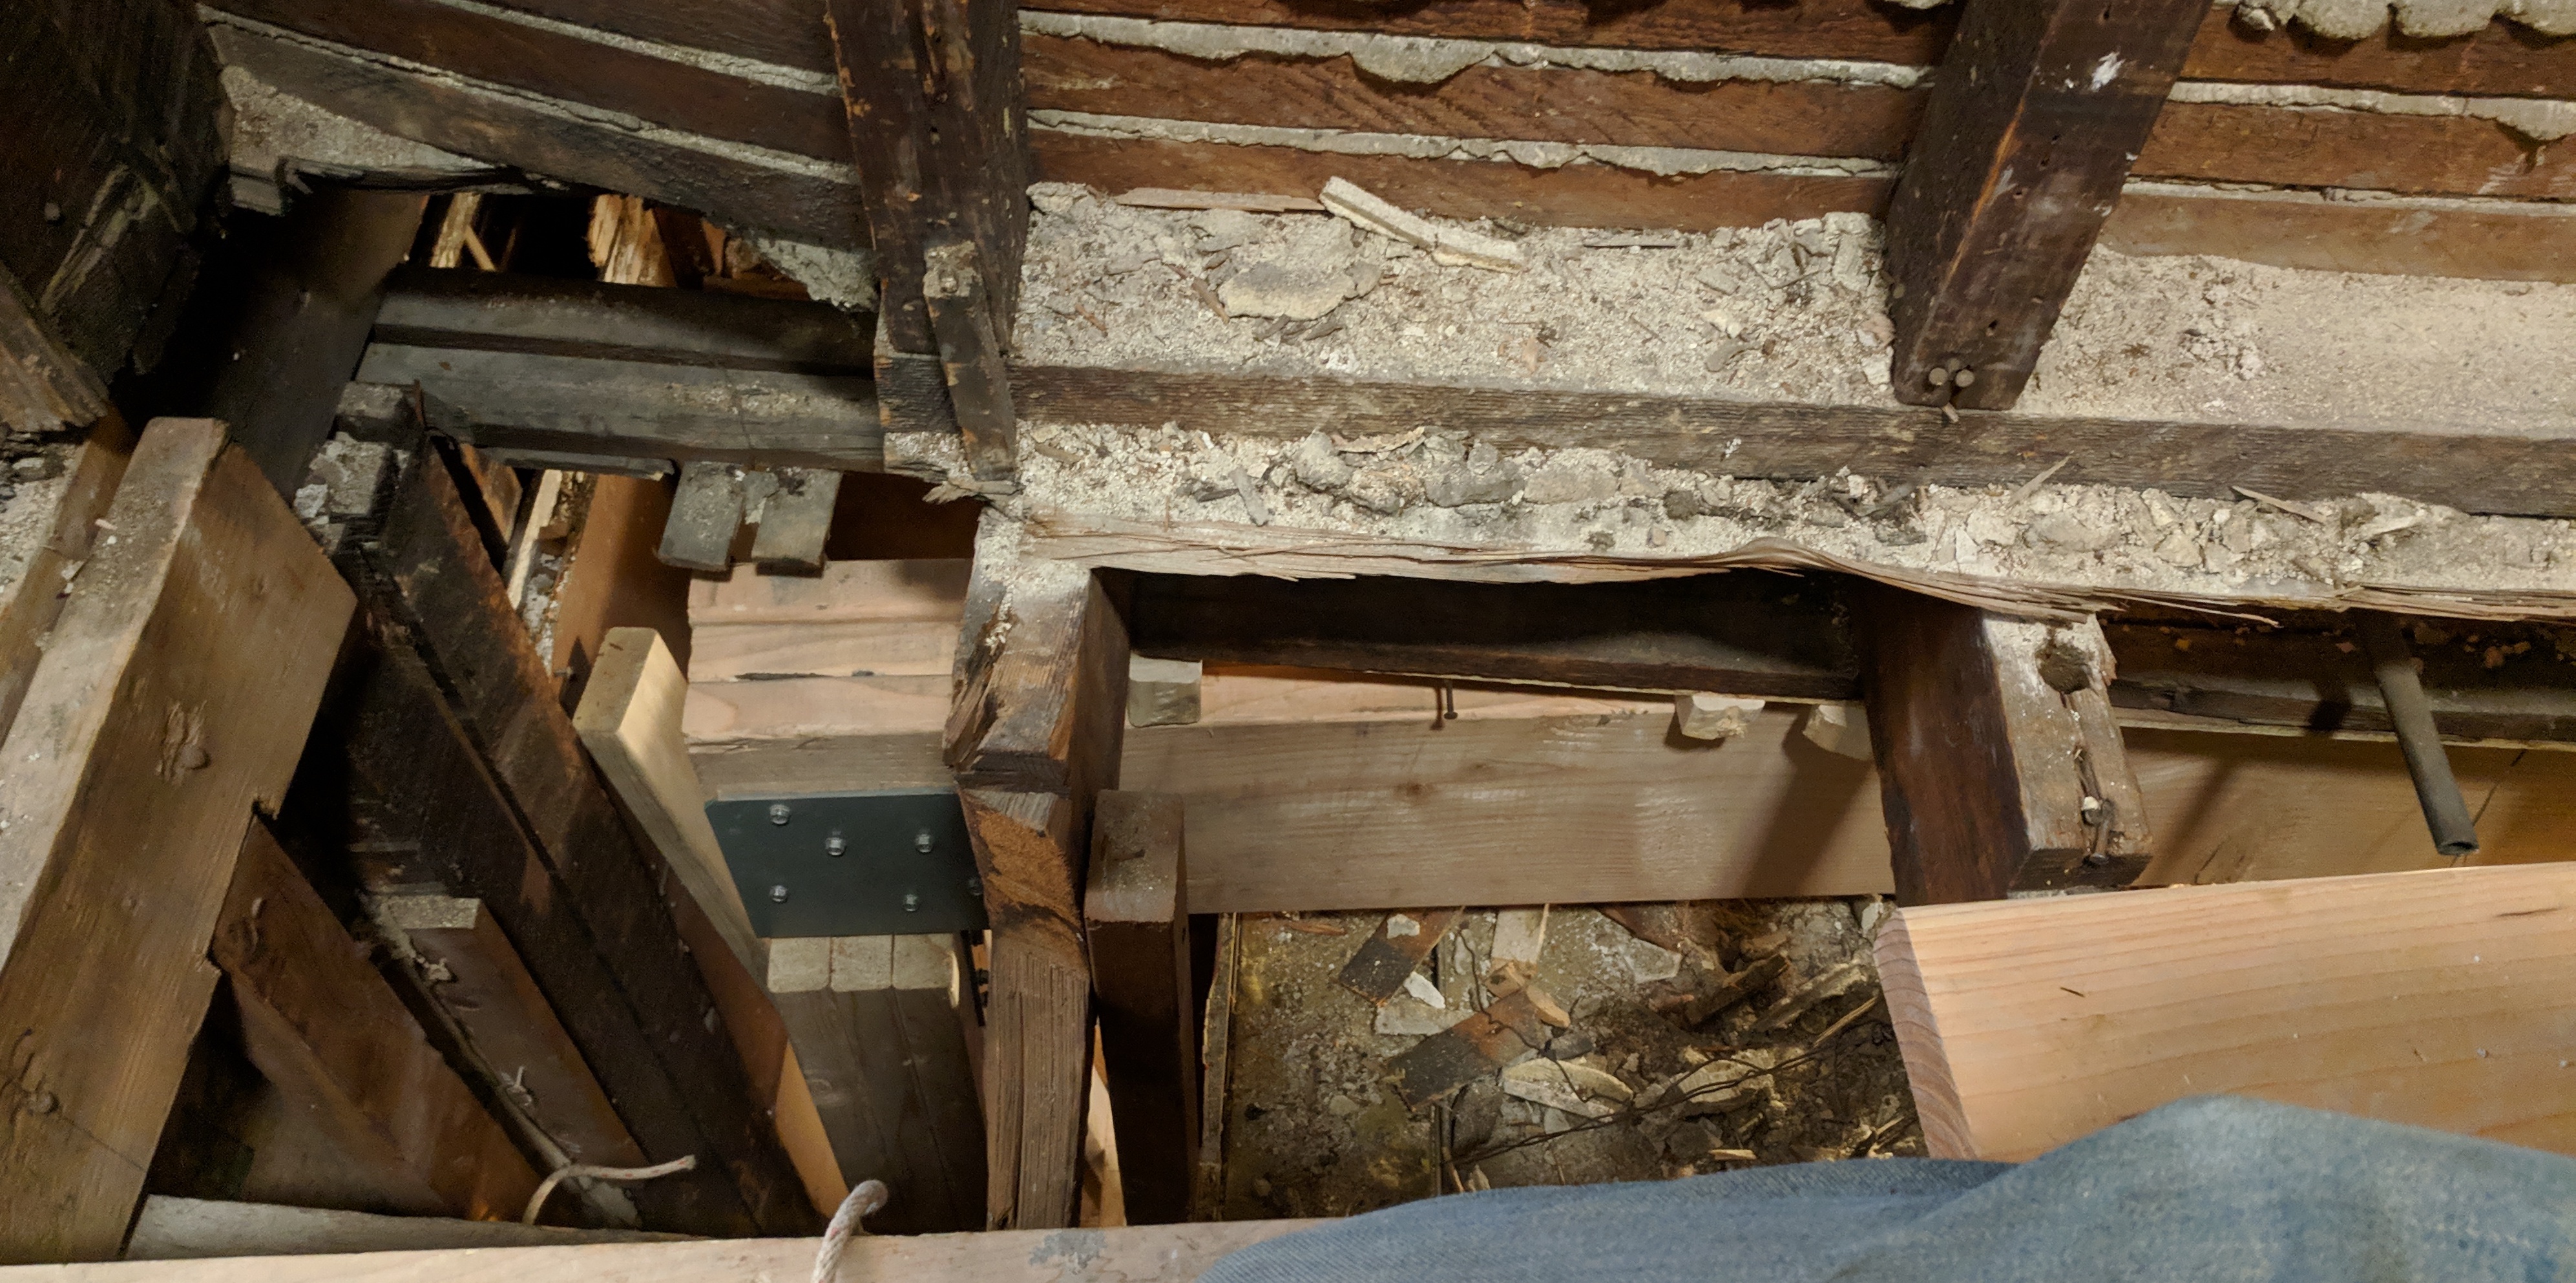
We were finally able to get the header fully in place, and sitting on the column caps, which aren't yet bolted on.
Bolting on the caps was slow going because it was such a confined space. No room for the drill, so I needed to use a ratchet. It's possible I could have done it with a right-angle adapter; I've gotten one to try the next time this comes up.
Here's what the header looks like in place:
The top of the header was an inconsistent distance below the joists, so I needed to shim it up. Over a few days I brought the center section up by about 3/8", one eighth at a time. The goal wasn't to make the floor level, but to makde sure the load was fully on the new header.
![]()
Sistering
Nathan came over and helped me sister the joists. It would have been possible to do alone, but much more work. The engineer had said I could use single 2x8s or double 2x6s, and since I didn't want to raise the floor I went with the 2x6s.From the wall to the header was just under thirteen feet and I had bought fourteen-footers. We decided not to cut them, since they'd fit into place just as they were. We worked from the chimney side over, being very thoughtful about when to cut crosspieces and when to remove existing inadequate sistering. Having someone to talk this through with was another substantial benefit of working with someone else.
Several joists had been cut all the way through, some of them in multiple places. Most, but not all, of these cuts had been sistered with about 3' of 2x6 as a sandwich, which is way too short. We sandwiched all of them for their whole length.

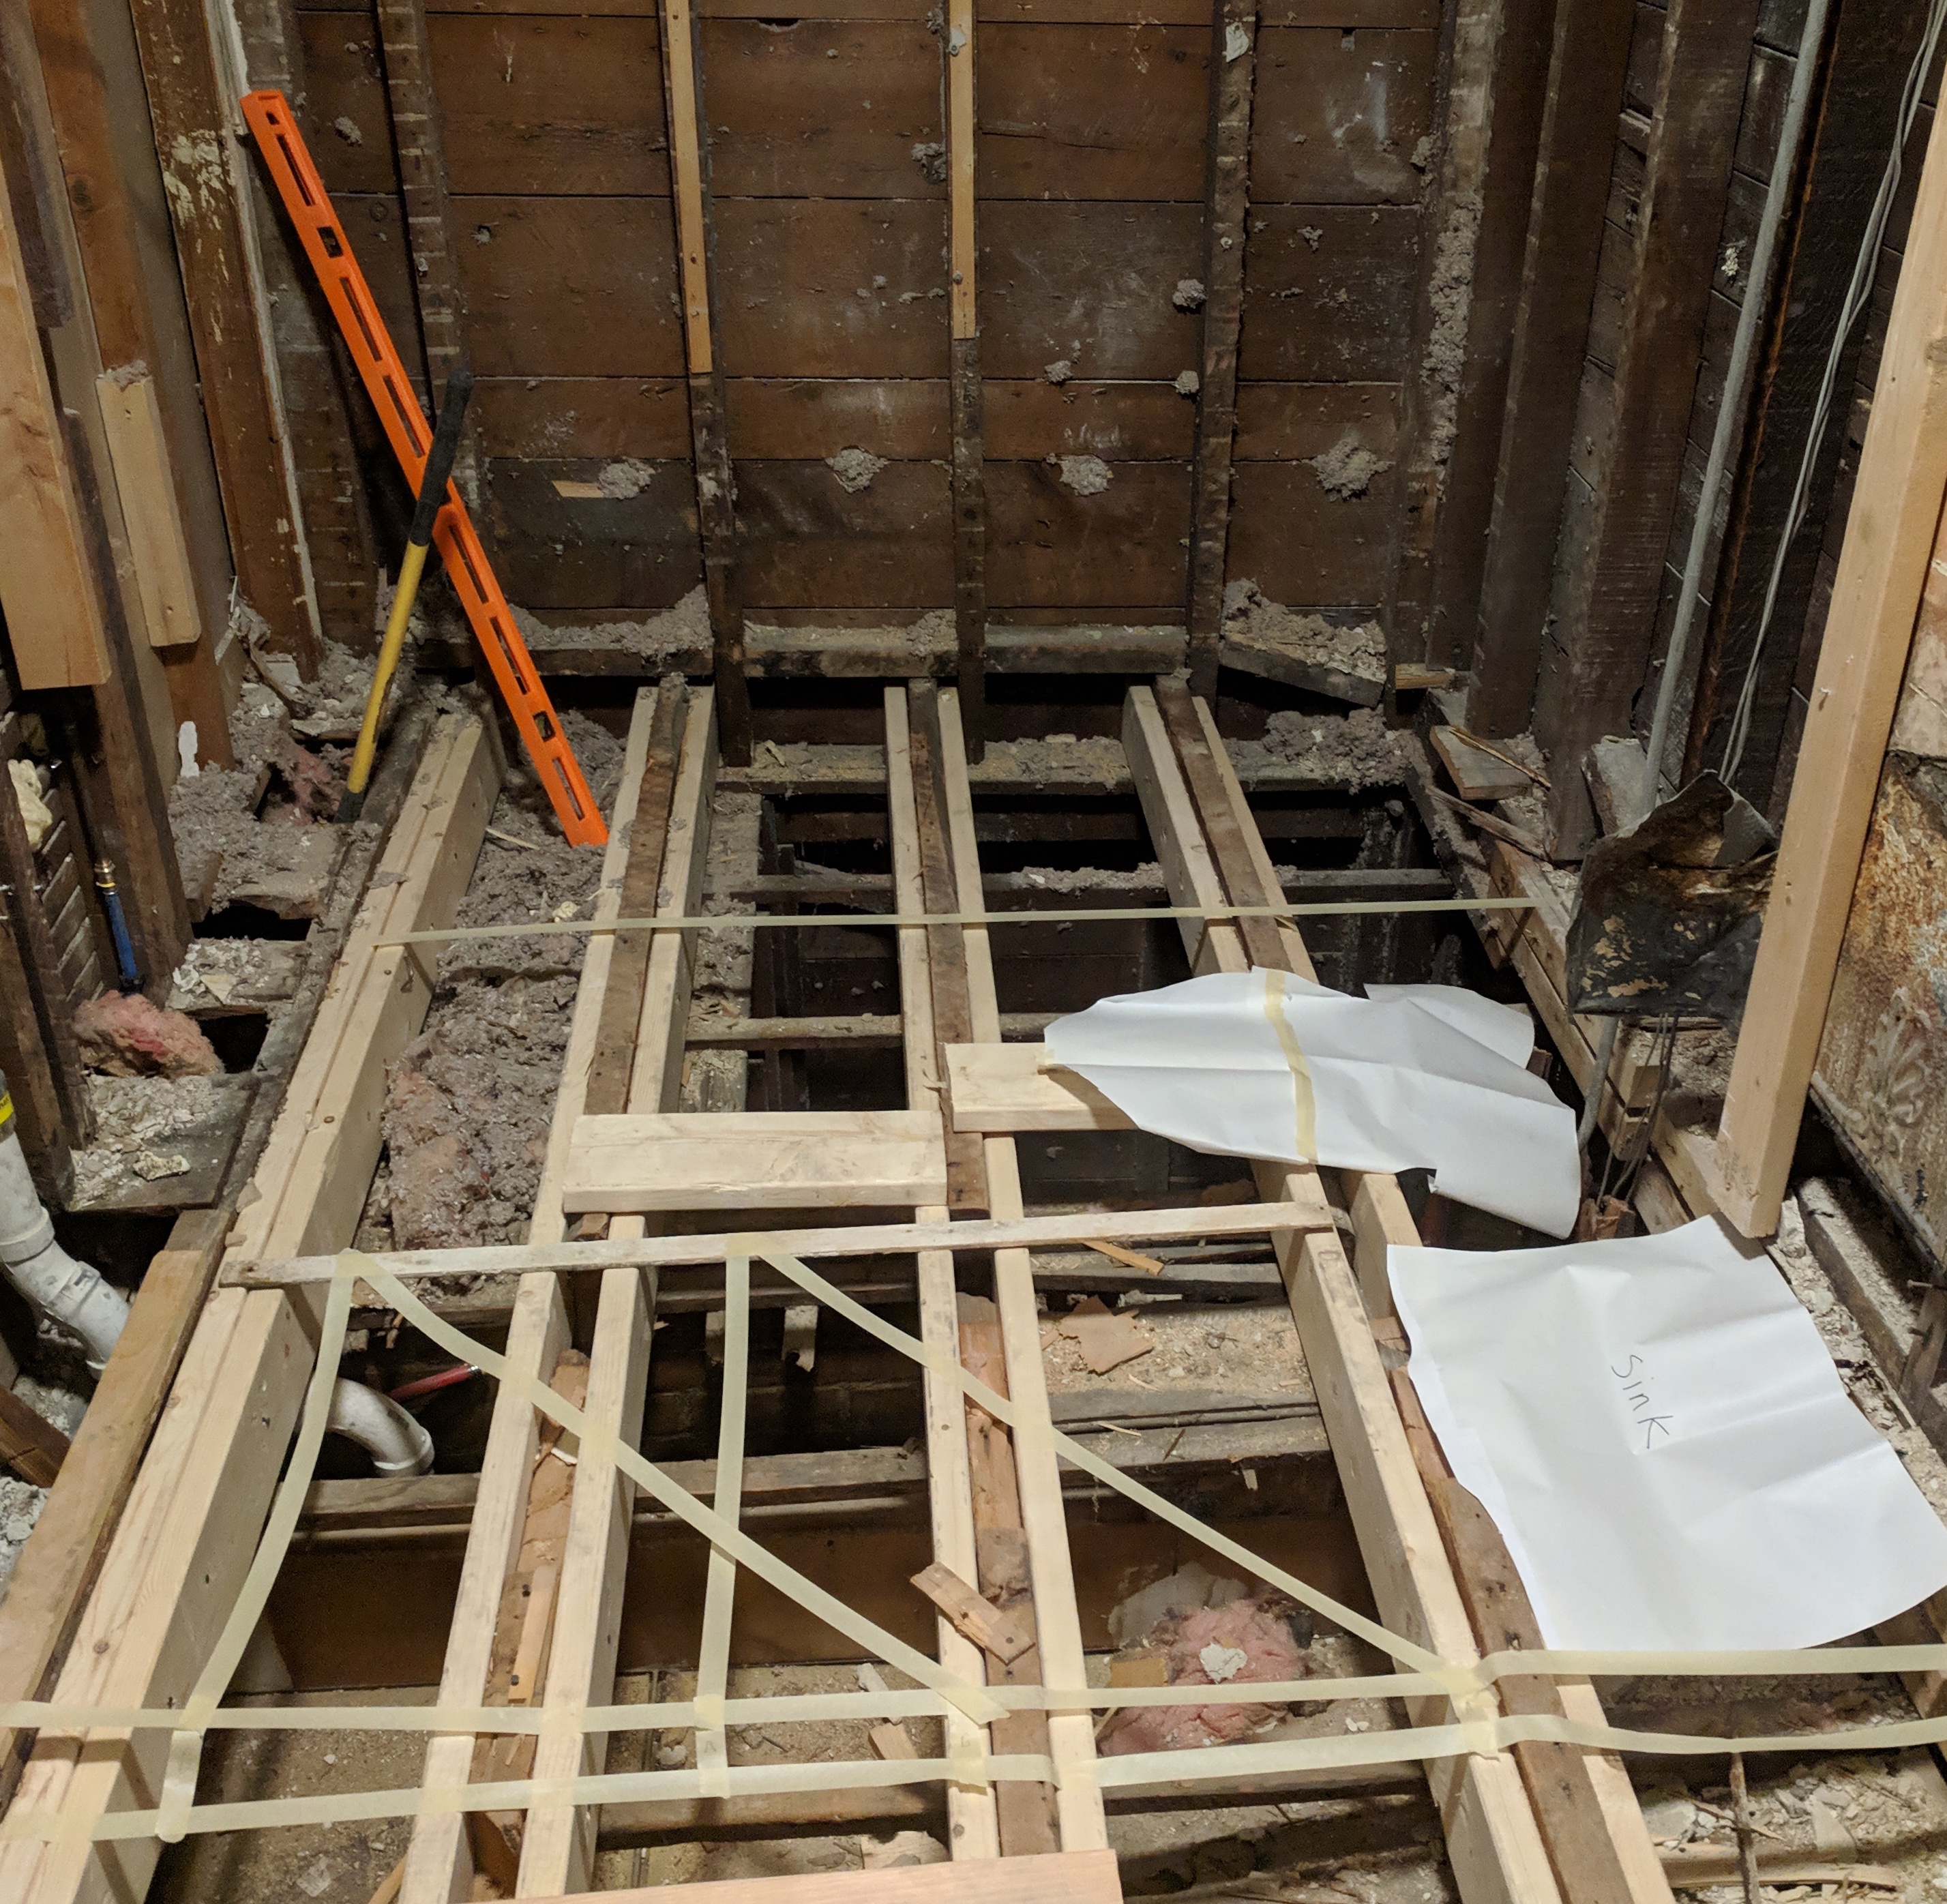
Here's what it looks like with some masking tape on it to represent where we were considering putting fixtures, walls, and doors:
Blocking
The next day I put full-height blocking between the joists so they wouldn't be able to rotate. I also connected the blocking to the header, so the joists wouldn't just be sitting on the header.
Door
When I was doing the demo I cut a very rough opening where the door would go in order to bring demolition debris out. The joists on either side of that had an inside dimension of 29", which was just a little too tight. I considered skipping the jack studs and using header hangers, and even bought the header hangers, but then decided to just reframe it all. Initially we had:
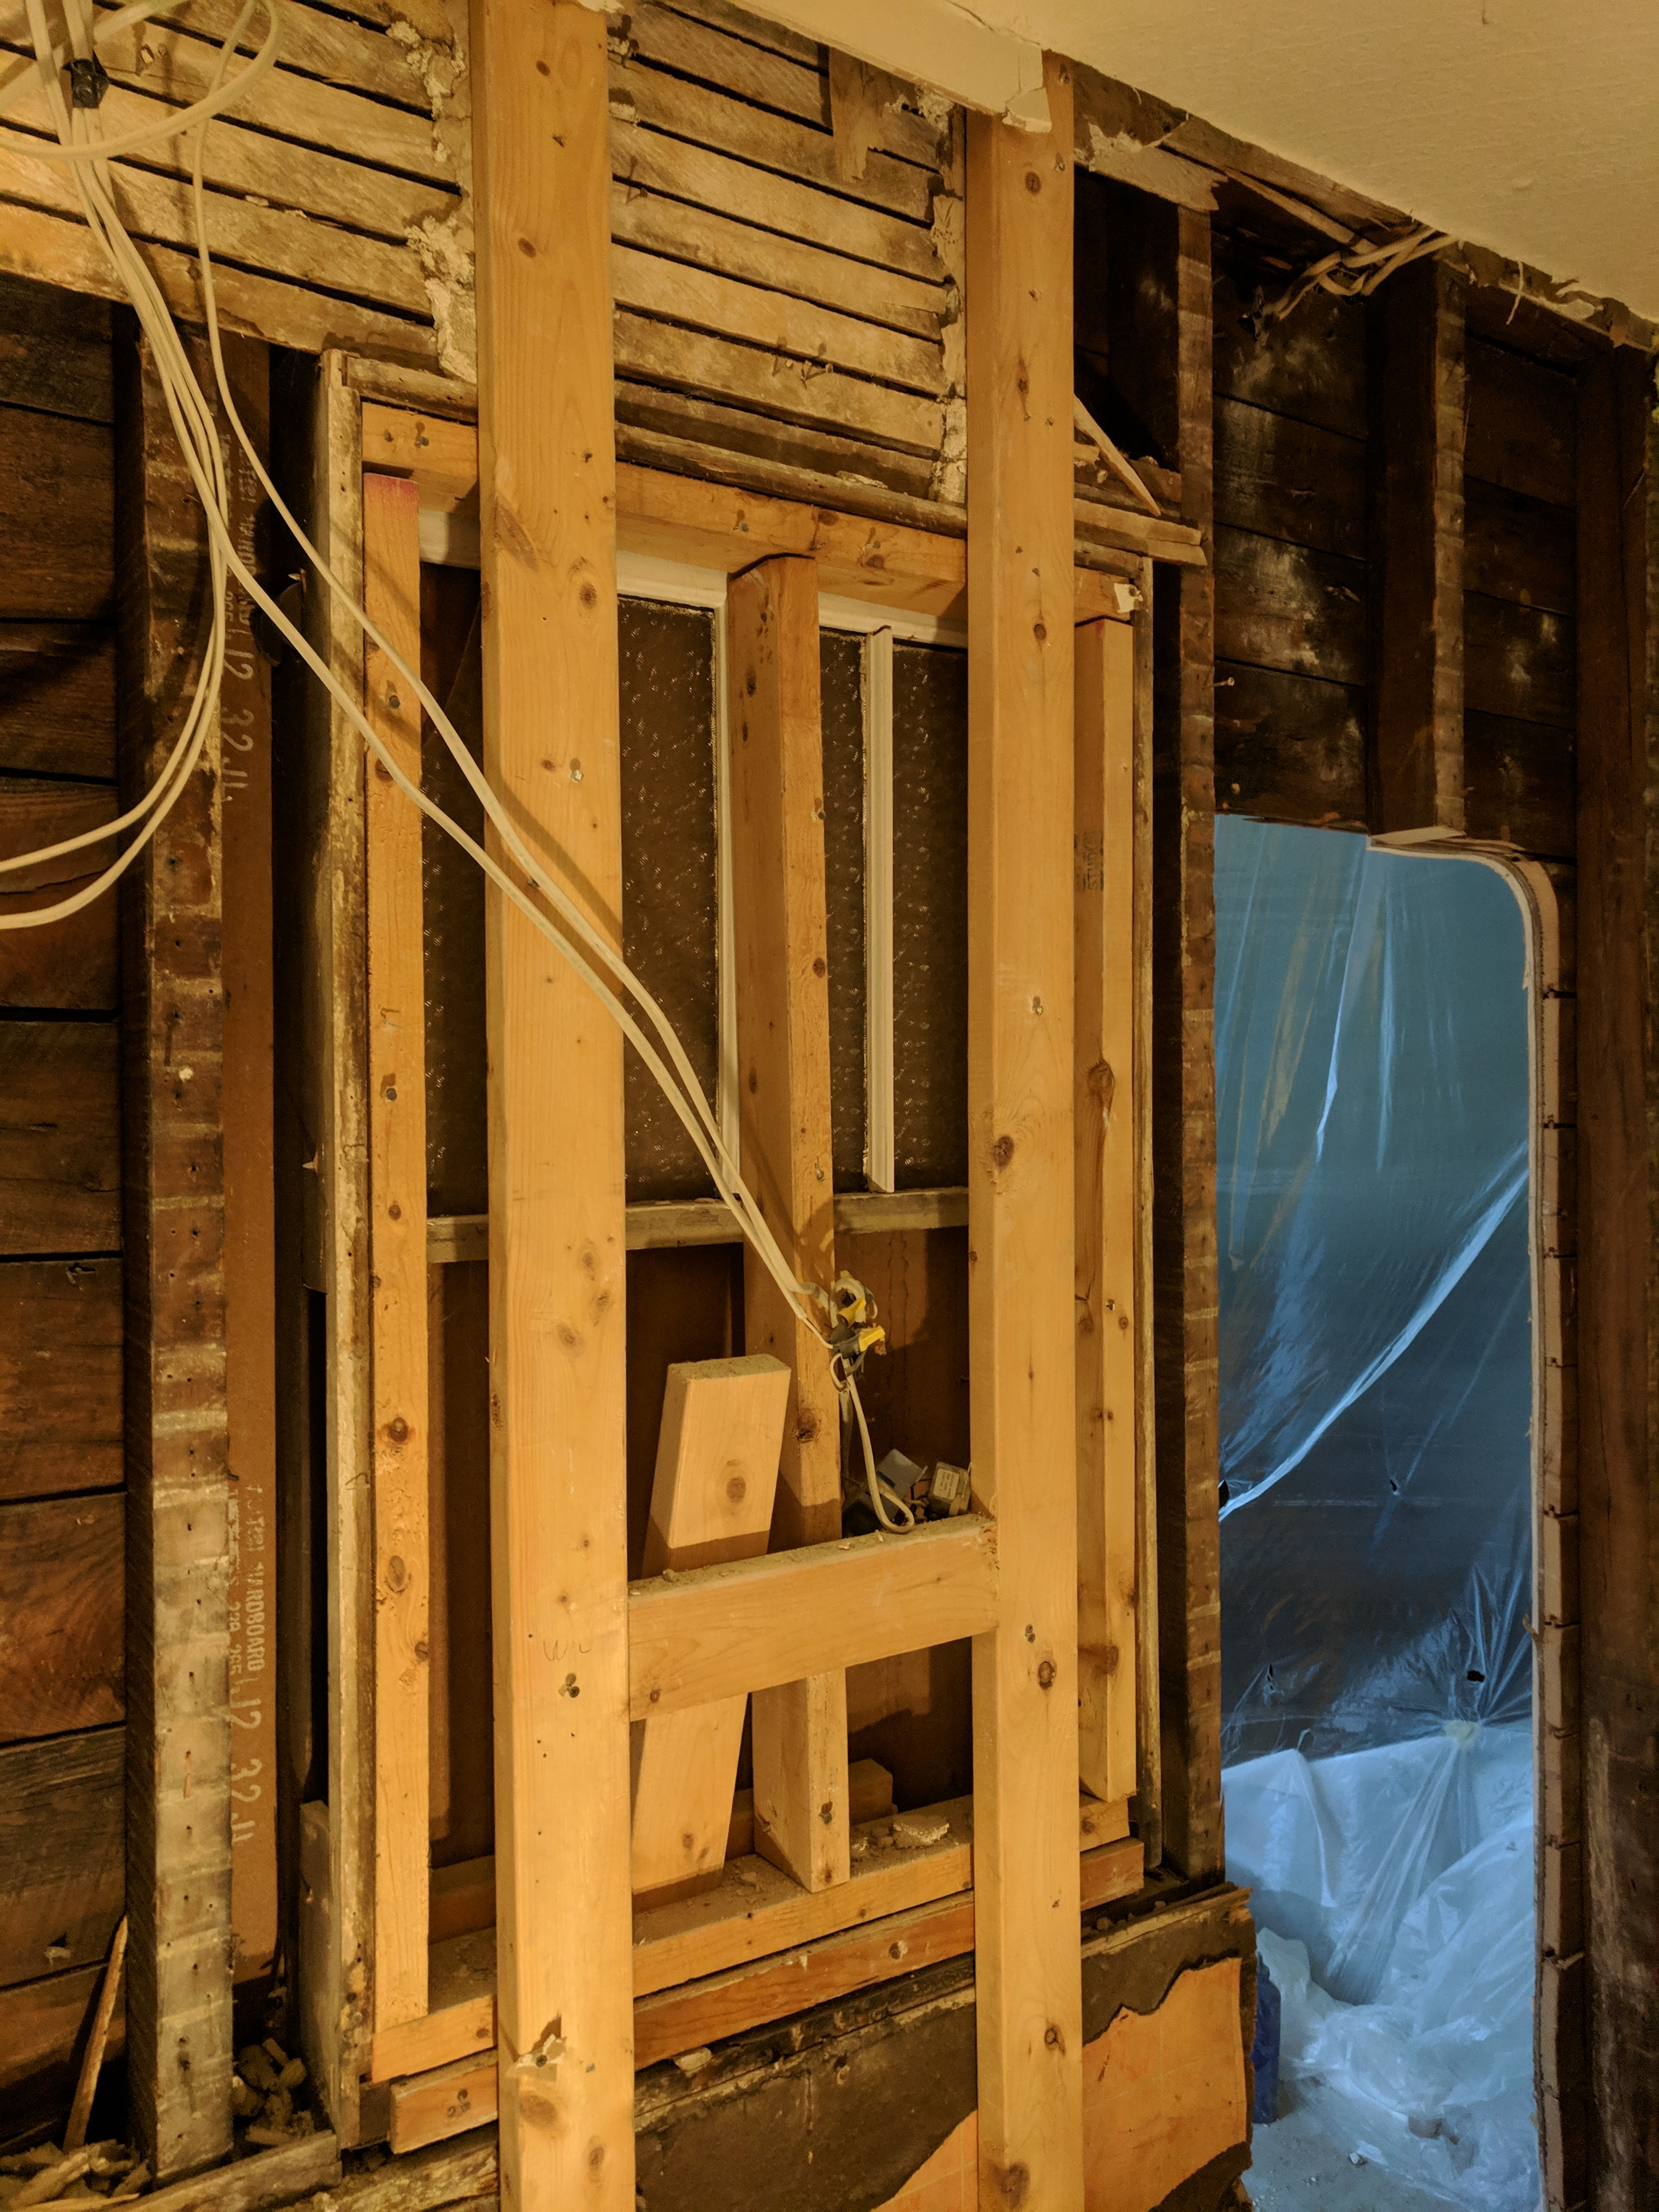
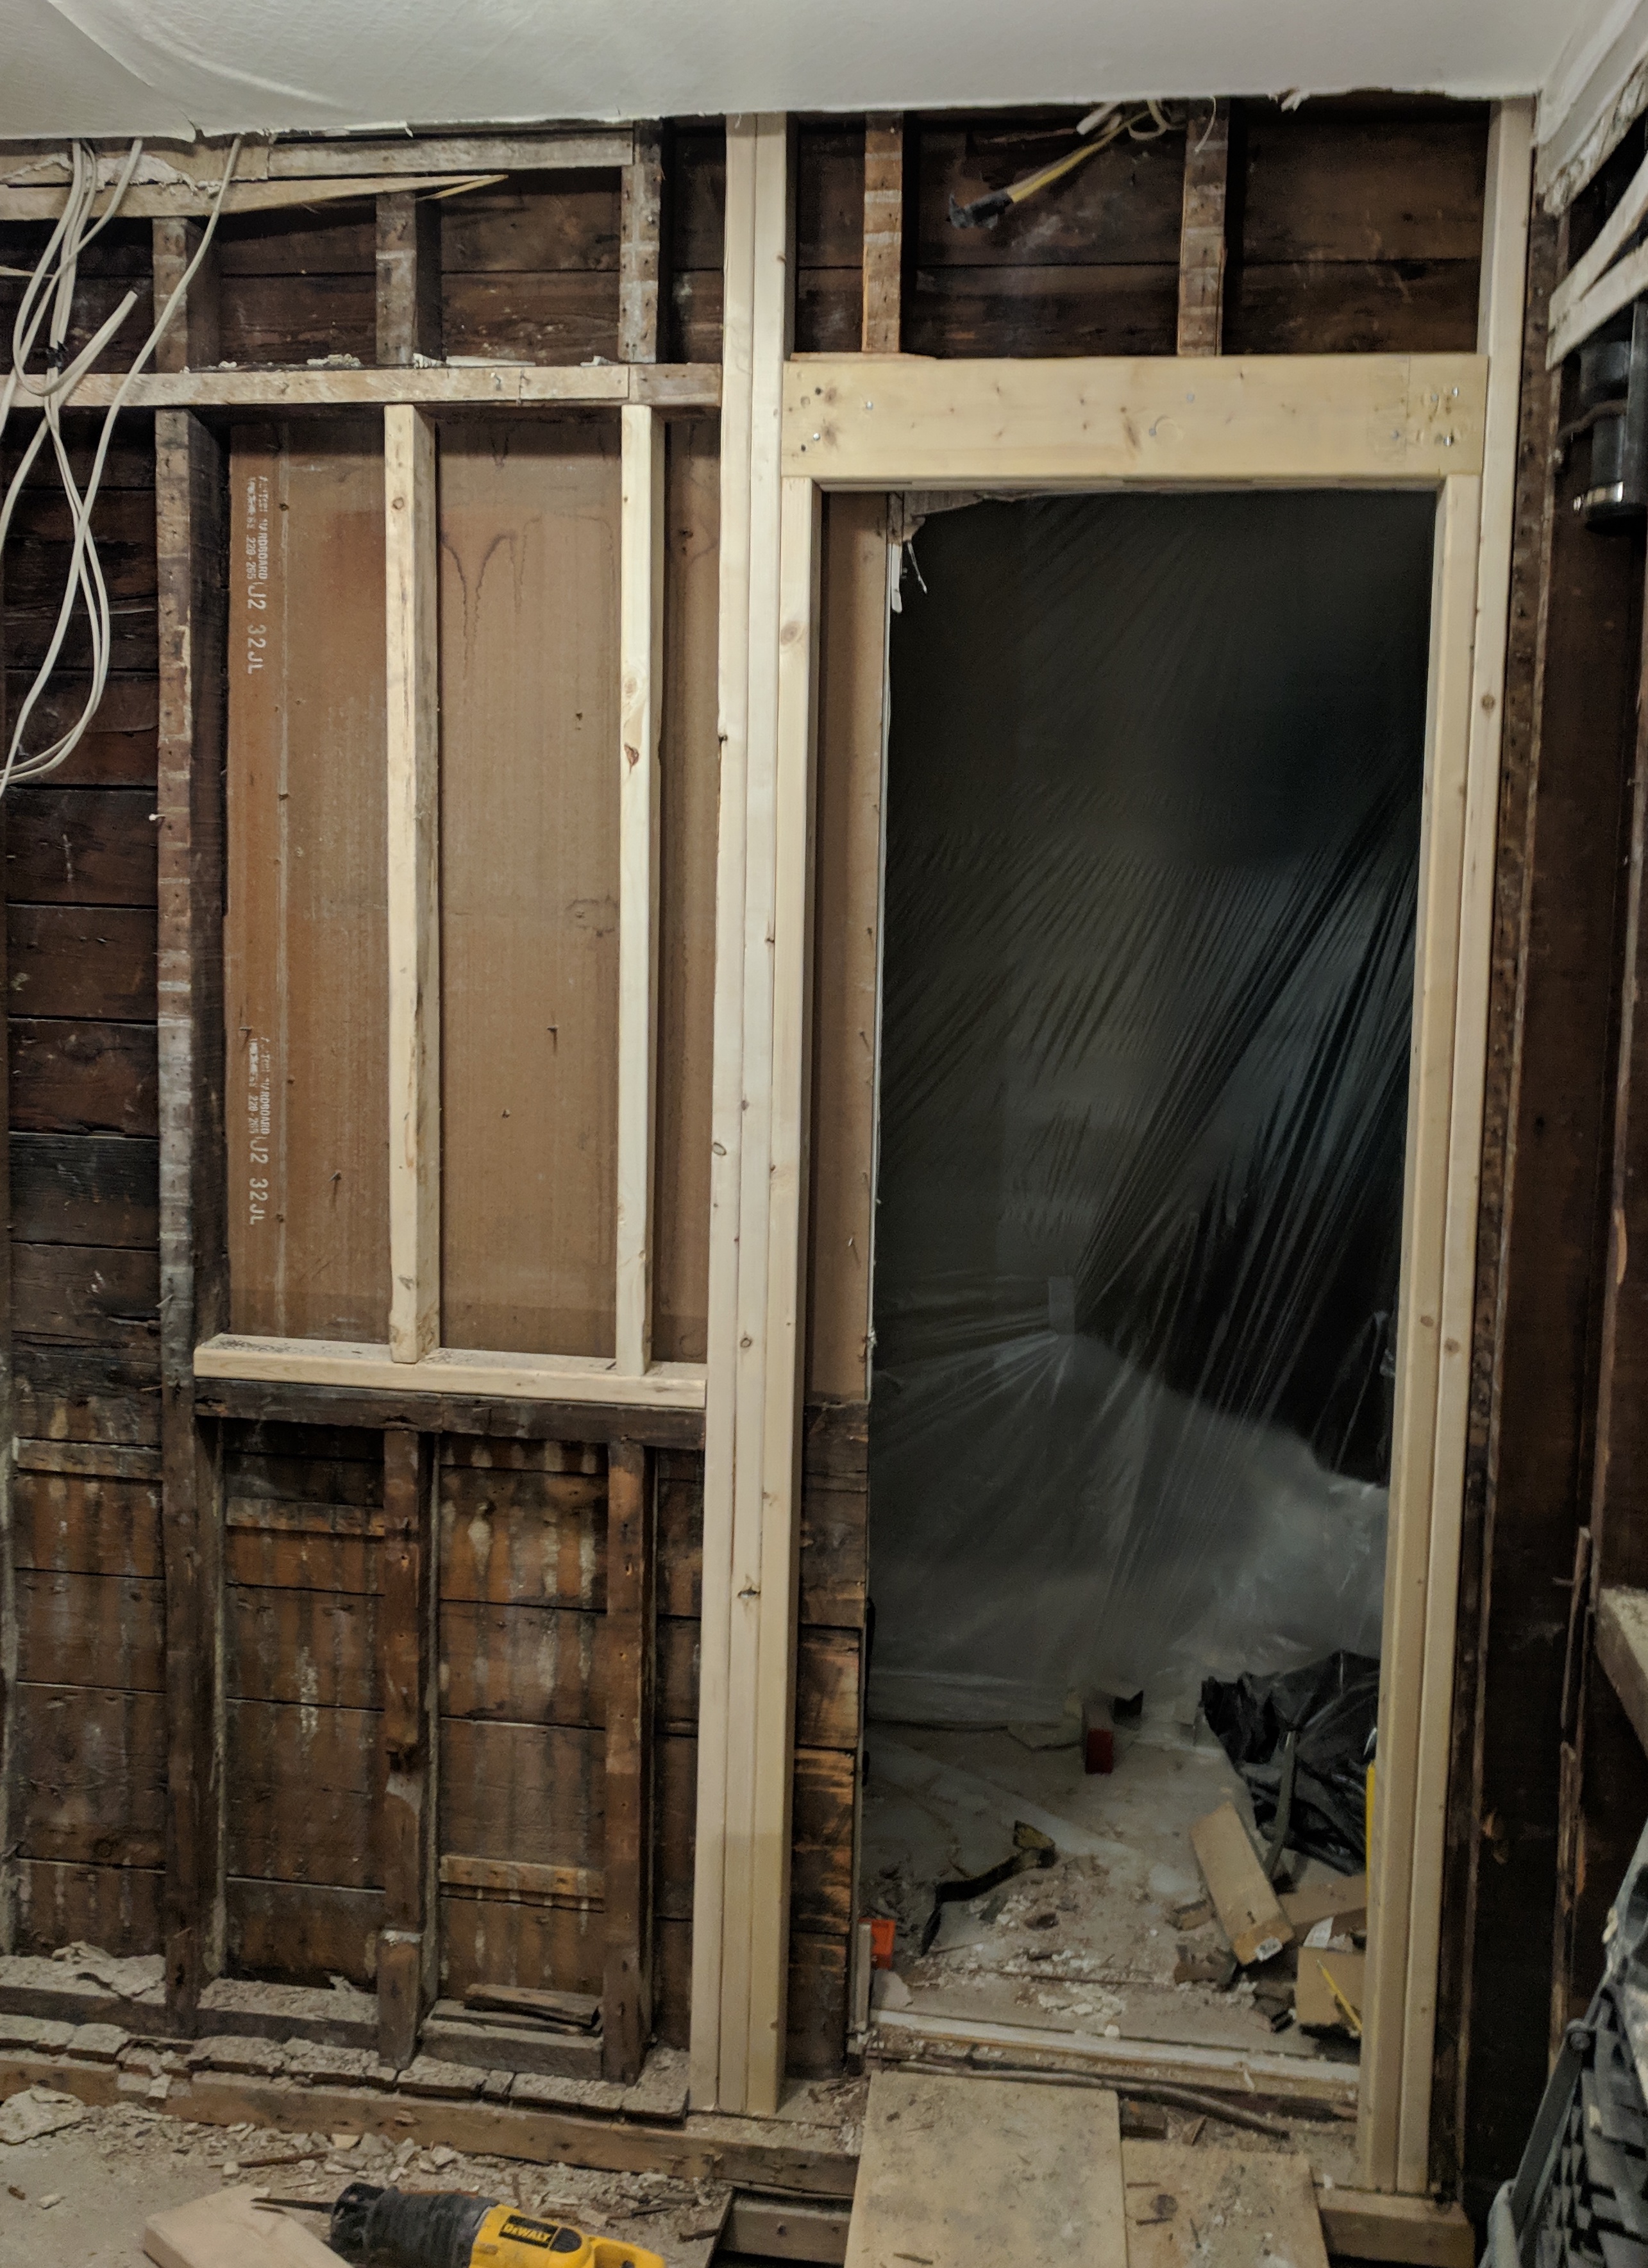
I took out the window and supported the inside of the window with new short studs. Then I doubled up the king stud on the right of the door, and put in double king studs on the left as well. Each time I cut them very slightly long and hammered them into place to make sure they were taking the load. I removed the stud on the left of the rough opening, made a header out of double 2x6s with a 1/2" spacer, and put that in place. Then I put jack studs underneath. A nice new framed opening:
Next steps
Now I need to get this inspected, and it's possible there will be things that need fixing. Then it's time for insulation, rough plumbing and electrical, subfloor, framing the partition wall, etc.- Bathroom is usable!
- Old and New Saw Blades
- Running Wired Ethernet
- Bathroom Construction Cost Comparison
- Accidentally Load Bearing
Comment via: facebook, substack